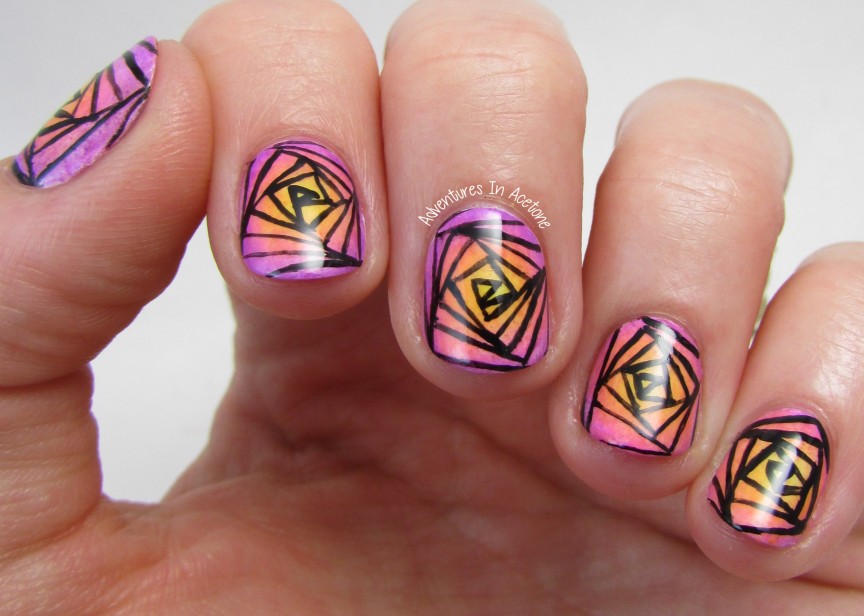
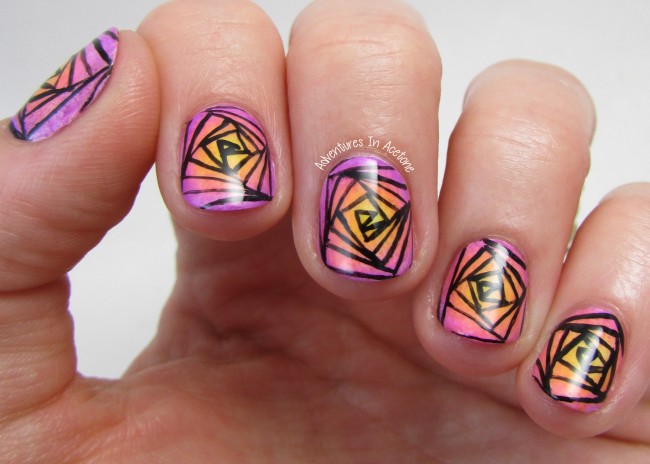
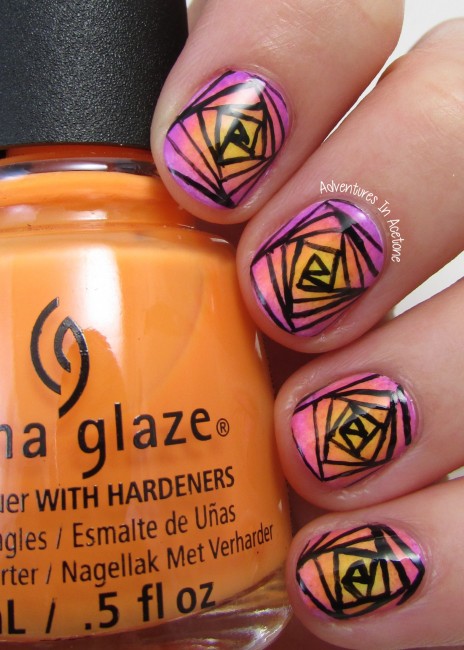
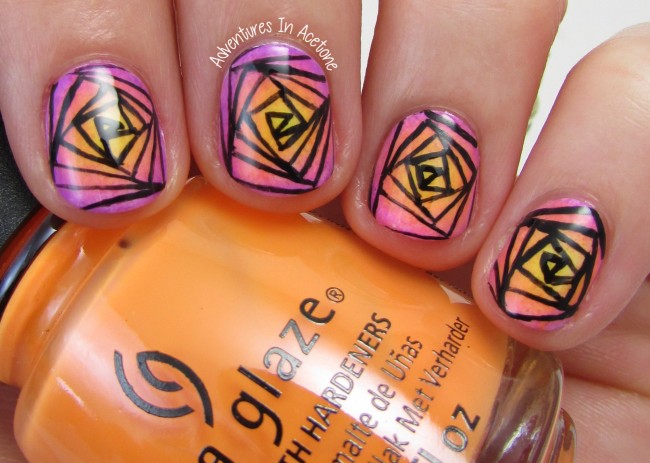
Good morning, readers! Are you ready for another Re-creation Week mani with The Digit-al Dozen? Today’s post was inspired by the fabulous Laurie from Dressed Up Digits! Laurie always has awesome stamping manis and this is one of my favorites she has done. It was from Neon Week, and it posed two challenges for me: a radial gradient base (which I hadn’t managed to accomplish previously) and a really awesome spiral staircase stamp image from the FUN 16 plate (which I don’t have). I had to wing it for the base and I freehanded the stamp image with a nail art brush and black acrylic paint. Guess what? It’s one of my favorite manis in a long time!! I think I’ll try to re-create more of Laurie’s awesome manis in the future and not let the lack of stamp plates stop me. Take a look at her original design, on her much longer nails (I may still be pouting about my new shorties) here: The Digit-al Dozen Does Neon–Spiral Staircase!
- I started out with a coat of Salon Perfect Sugar Cube and let dry.
- Then, I painted a layer of Girly Bits Border Patrol latex barrier all the way around my nails to help with cleanup in the next step.
- I started experimenting with a radial gradient on a sponge. Using China Glaze Plur-ple, China Glaze Glow with the Flow, China Glaze Home Sweet House Music, and China Glaze Daisy Know My Name?, I started out with a strip of each color in a row and turned my sponge in a circle on the nail, but it wasn’t working very well.I was getting frustrated and decided to just paint the bullseye circles of colors onto the sponge and pressed that onto each nail a few times with much more success than the first attempt.
- It was quite bumpy because sponge bits had started sticking to the nail, so at this point I removed the Girly Bits Border Patrol and topped the gradient base with KBShimmer Clearly on Top to even it out.
- Once that was dry, I grabbed my black acrylic craft paint and a nail art brush and painted on the stamp image while looking at Laurie’s picture. I began in the middle and painted each line outward, it really got easier once I figured out the design.
- I topped the nails with one more coat of KBShimmer Clearly on Top and they were done!
What do you think? I lost some of my gradient colors on my smaller ring and pinky nails, but I love that the design is funky and draws the attention away from how short my nails are. I don’t want to take this mani off!! Come back tomorrow to see what my next re-creation will be, and check out the rest of the ladies below!
 Loading InLinkz ...
If you enjoyed this post, please Sign Up for email updates and you will have the latest news, reviews, nail art, and tutorials delivered right to your inbox! Never miss a post from Adventures In Acetone again. Thank you so much for reading.
– Let’s paint something amazing! –


Comments
Love!!! the radial gradient 🙂
You killed it! You always kill it! Haha!