Press Sample
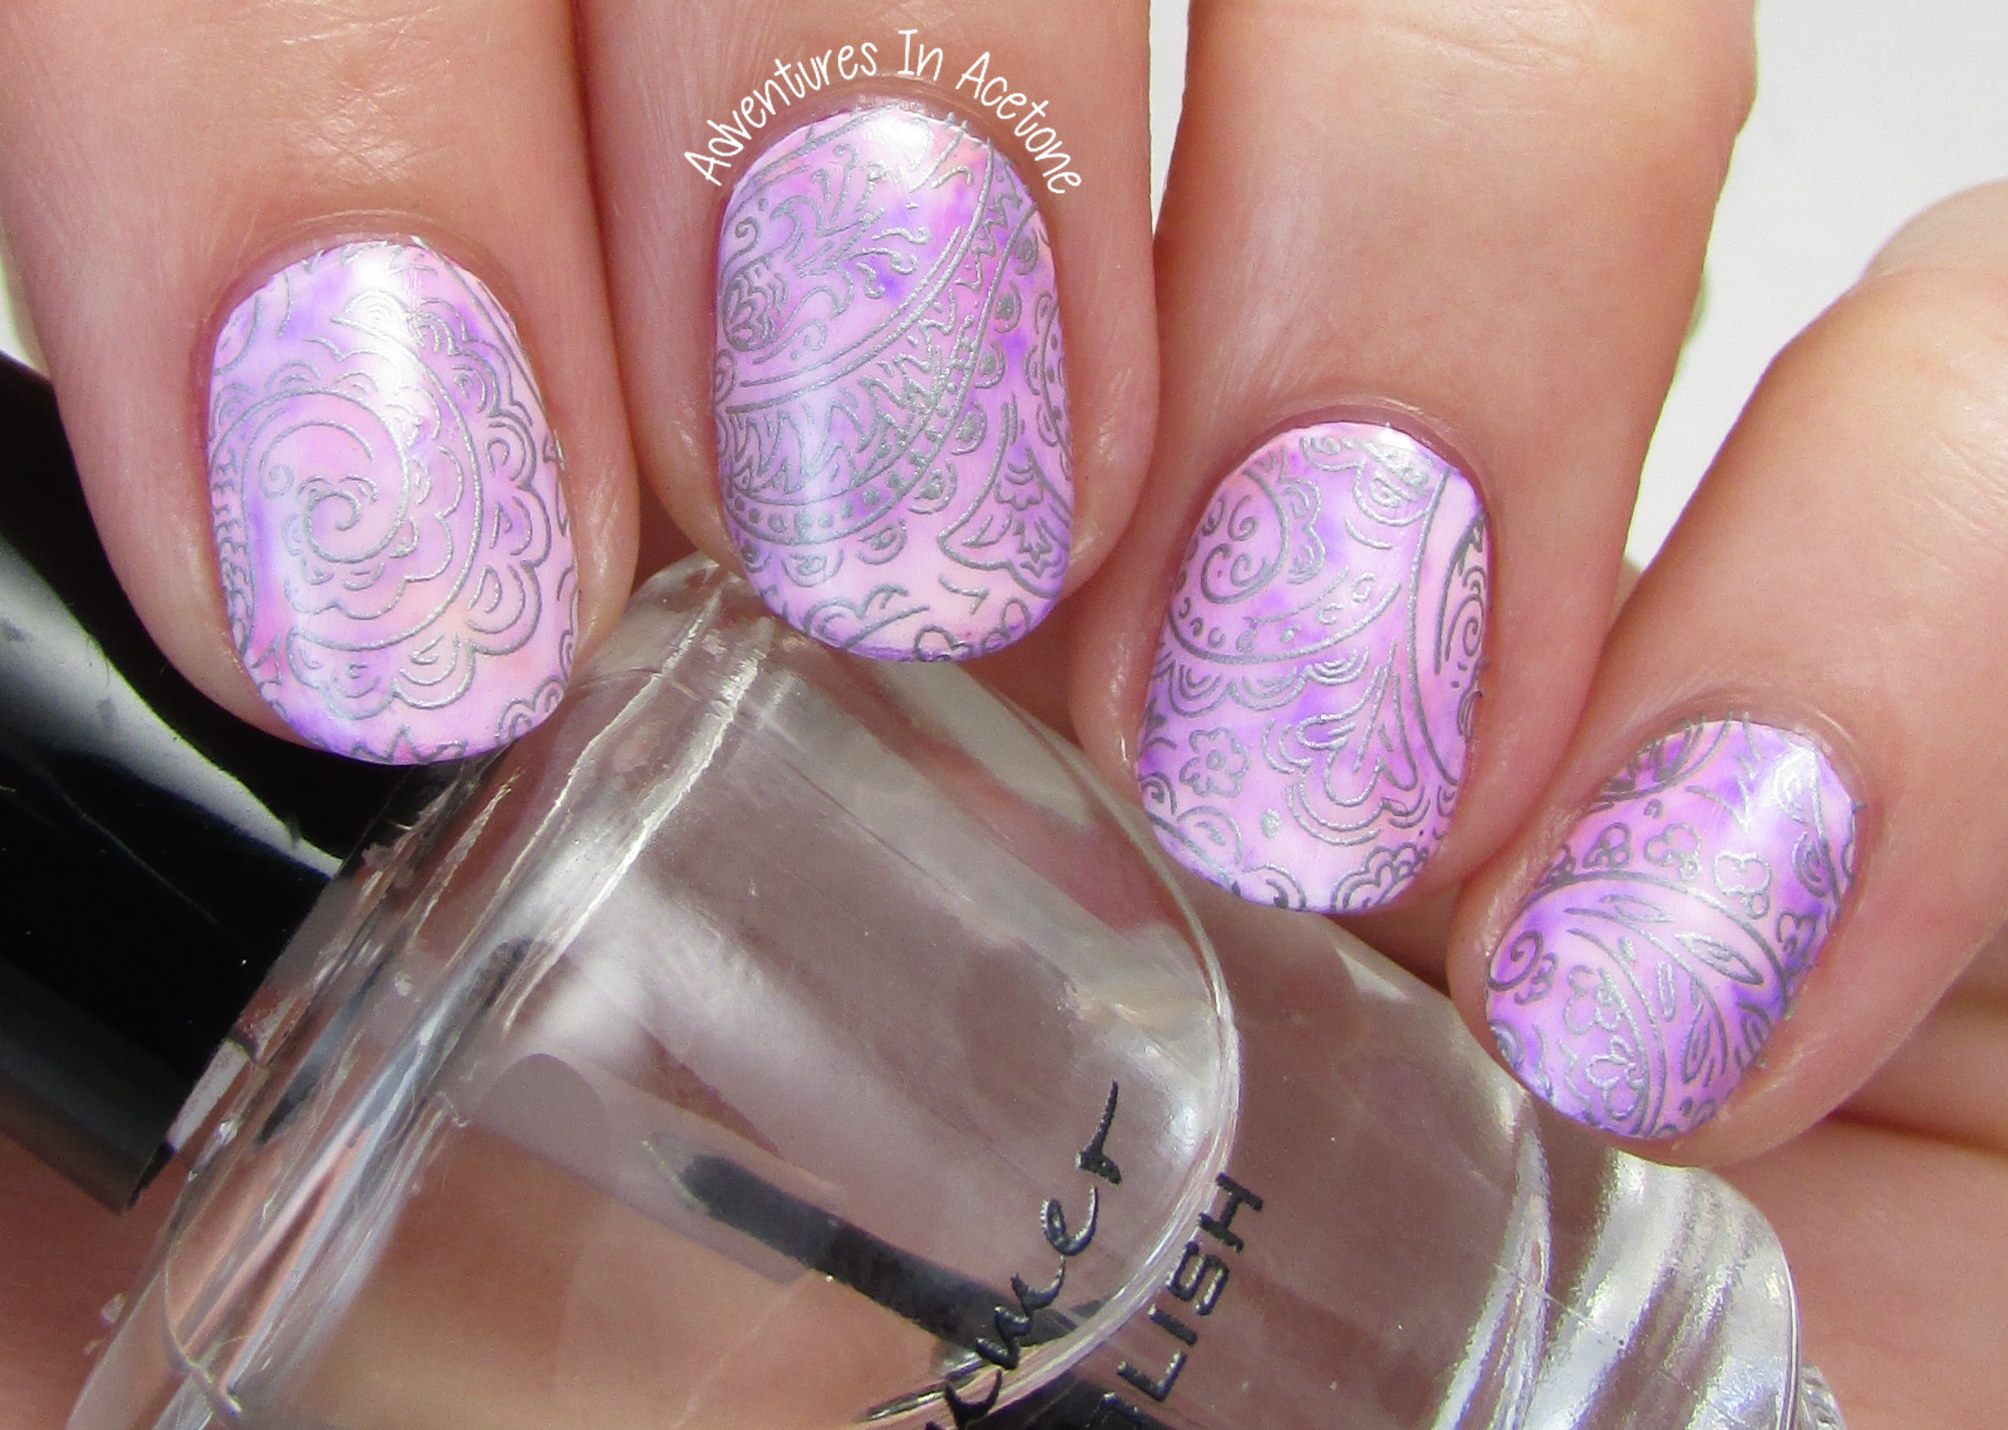
Good morning, readers! Do you remember my post on the KBShimmer Silver Swirl Water Slide Decals a few weeks ago? Well, I have the other set of decals I received to share with you today. If you aren’t familiar with water slide decals, check out that original post here. I showed step by step instructions on how they work–and it’s so easy! Basically, you cut out the decal that will fit on your nail, soak in water for about 10 seconds, and then you can slide it off of the paper backing and onto your nail. For this mani, I used the KBShimmer Gray Paisley Water Slide Decals. They are a bit different than the Silver Swirl Decals I already showed you–instead of 10 pre-cut nail shapes, you have an entire square of decal to cut out of. This can work to your advantage if you have longer/wider nails than the precuts, or if you wanted to use them on your toes. I liked that I could decide which part of the design I wanted on my nail and cut accordingly.
For my base, I finally tried out “sharpie nail art.” Nicole from Nail Polish Wars is constantly wowing me with her gorgeous sharpie nail bases and I just had to try it for myself! I colored on a white polish base with sharpies, and used rubbing alcohol to swirl and blend colors together for a unique base. Let’s take a look, I’ll be able to explain a bit better below with a few step by step photos.
I began with a white base color and topped it with a coat of KBShimmer Clearly on Top. Once it was dry, I grabbed three Sharpie markers and scribbled some flowery shapes on the nail, filling in over the white base. (A note: keep a piece of paper nearby so you can scribble on paper in between nails, I noticed they didn’t transfer as much color if I wasn’t doing this, like coloring on top coat dried the tips a bit.)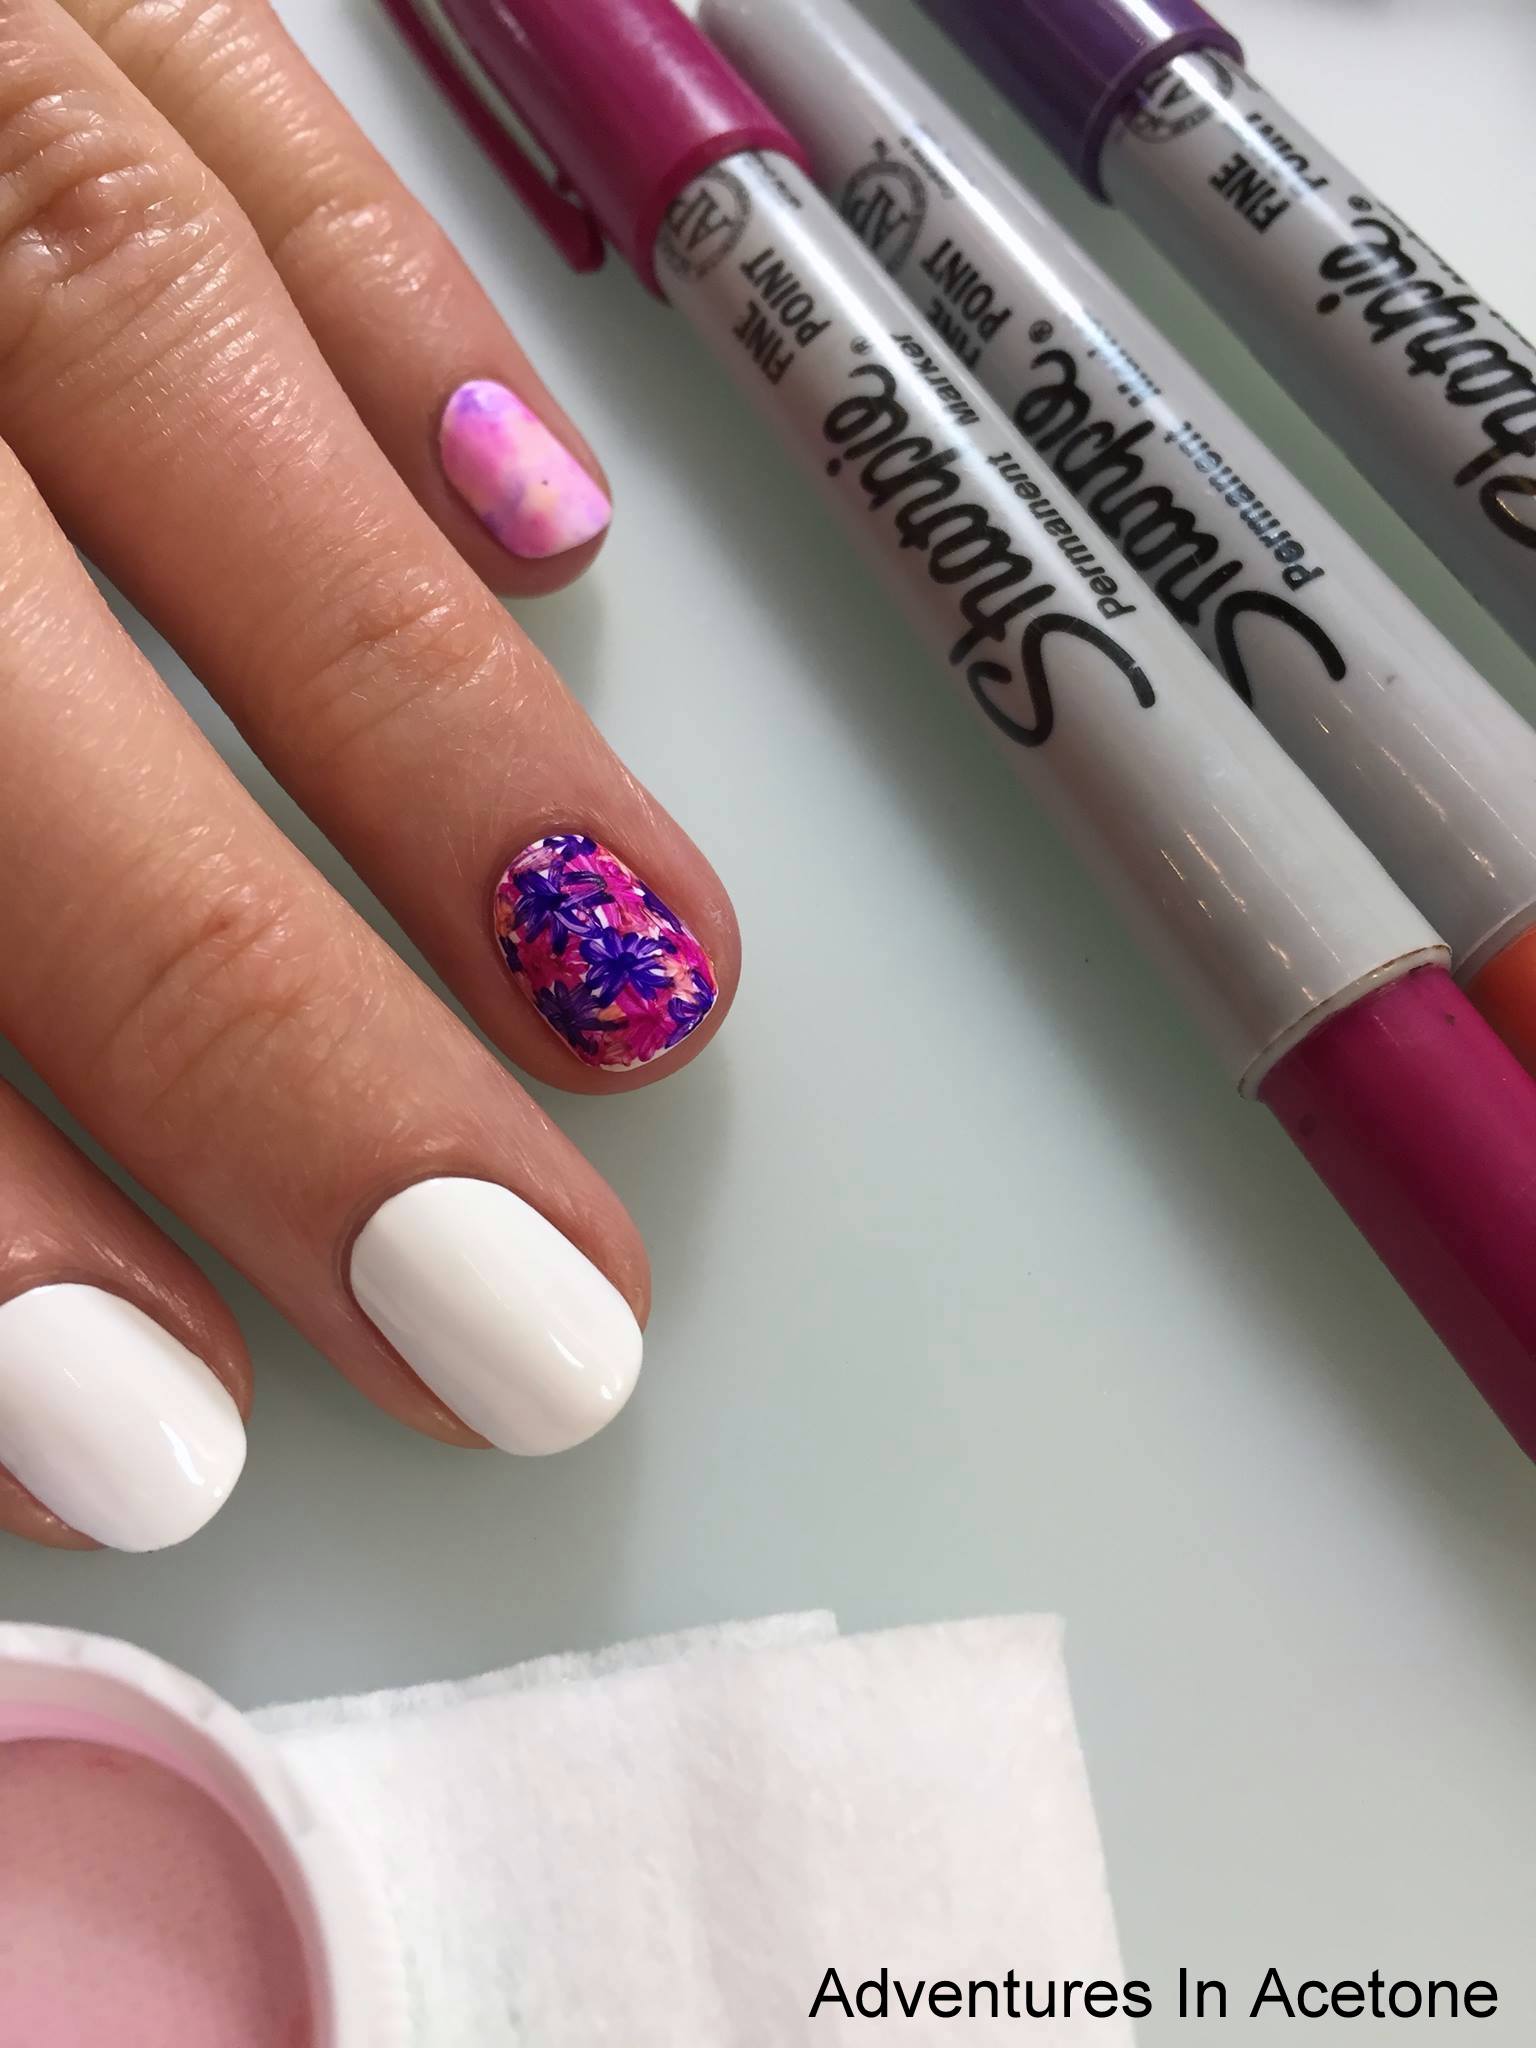
Next, I filled the cap of my rubbing alcohol bottle with alcohol. This is the 91% Isopropyl Alcohol from any drug store. (I have no idea if the 70% works as well, this is the one I already had on hand). This small, flat brush came from a MASH nail art brush kit and I dipped it into the alcohol and then swiped onto the sharpie nail art. I wanted to “water down” the base colors to more of a pastel look, knowing I would be pairing it with the delicate silver paisley decal, so I dipped into the alcohol and swiped on the nail many times until I was happy with the base. I swirled and dabbed without rhyme or reason, so no nail was the same as another. When I was happy with the nail, I used the same brush and alcohol to clean up the skin and cuticles. I was surprised at how easily this removed any sharpie from around the nails. (Note: keep a cloth or paper towel under your nail while you are adding the alcohol, it floods the nails and you will want something to wipe your brush off on before dipping in the alcohol again.)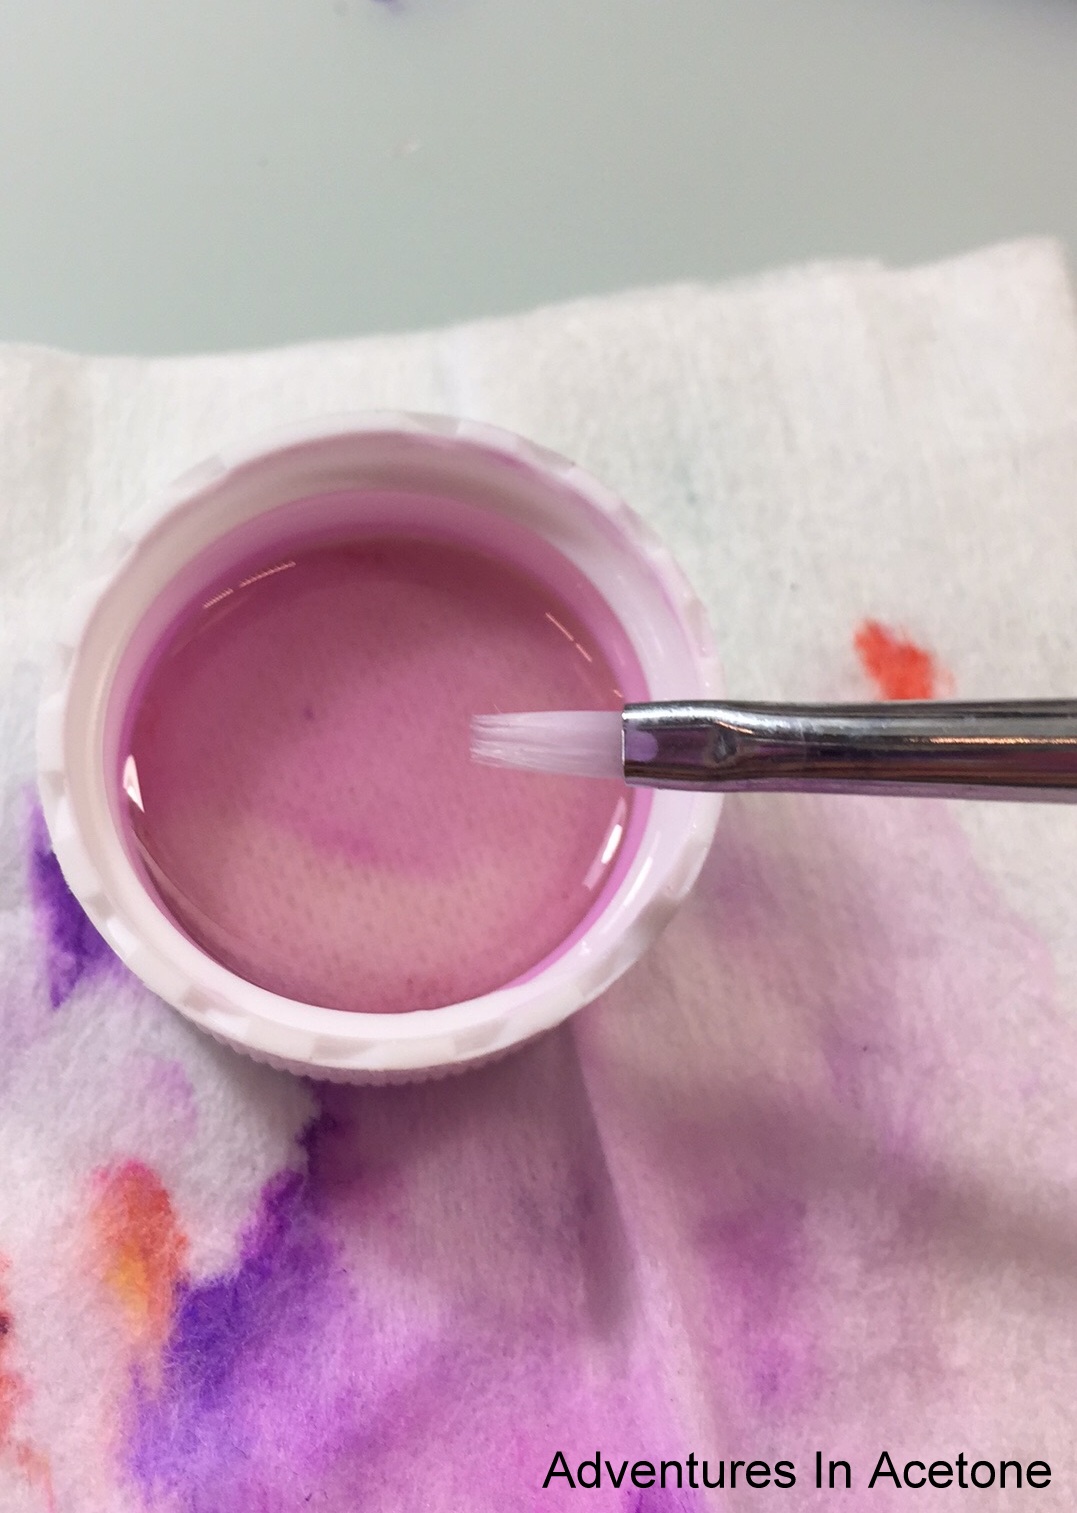
You can see in the photo below what the base looked like after I was done with the alcohol and cleanup.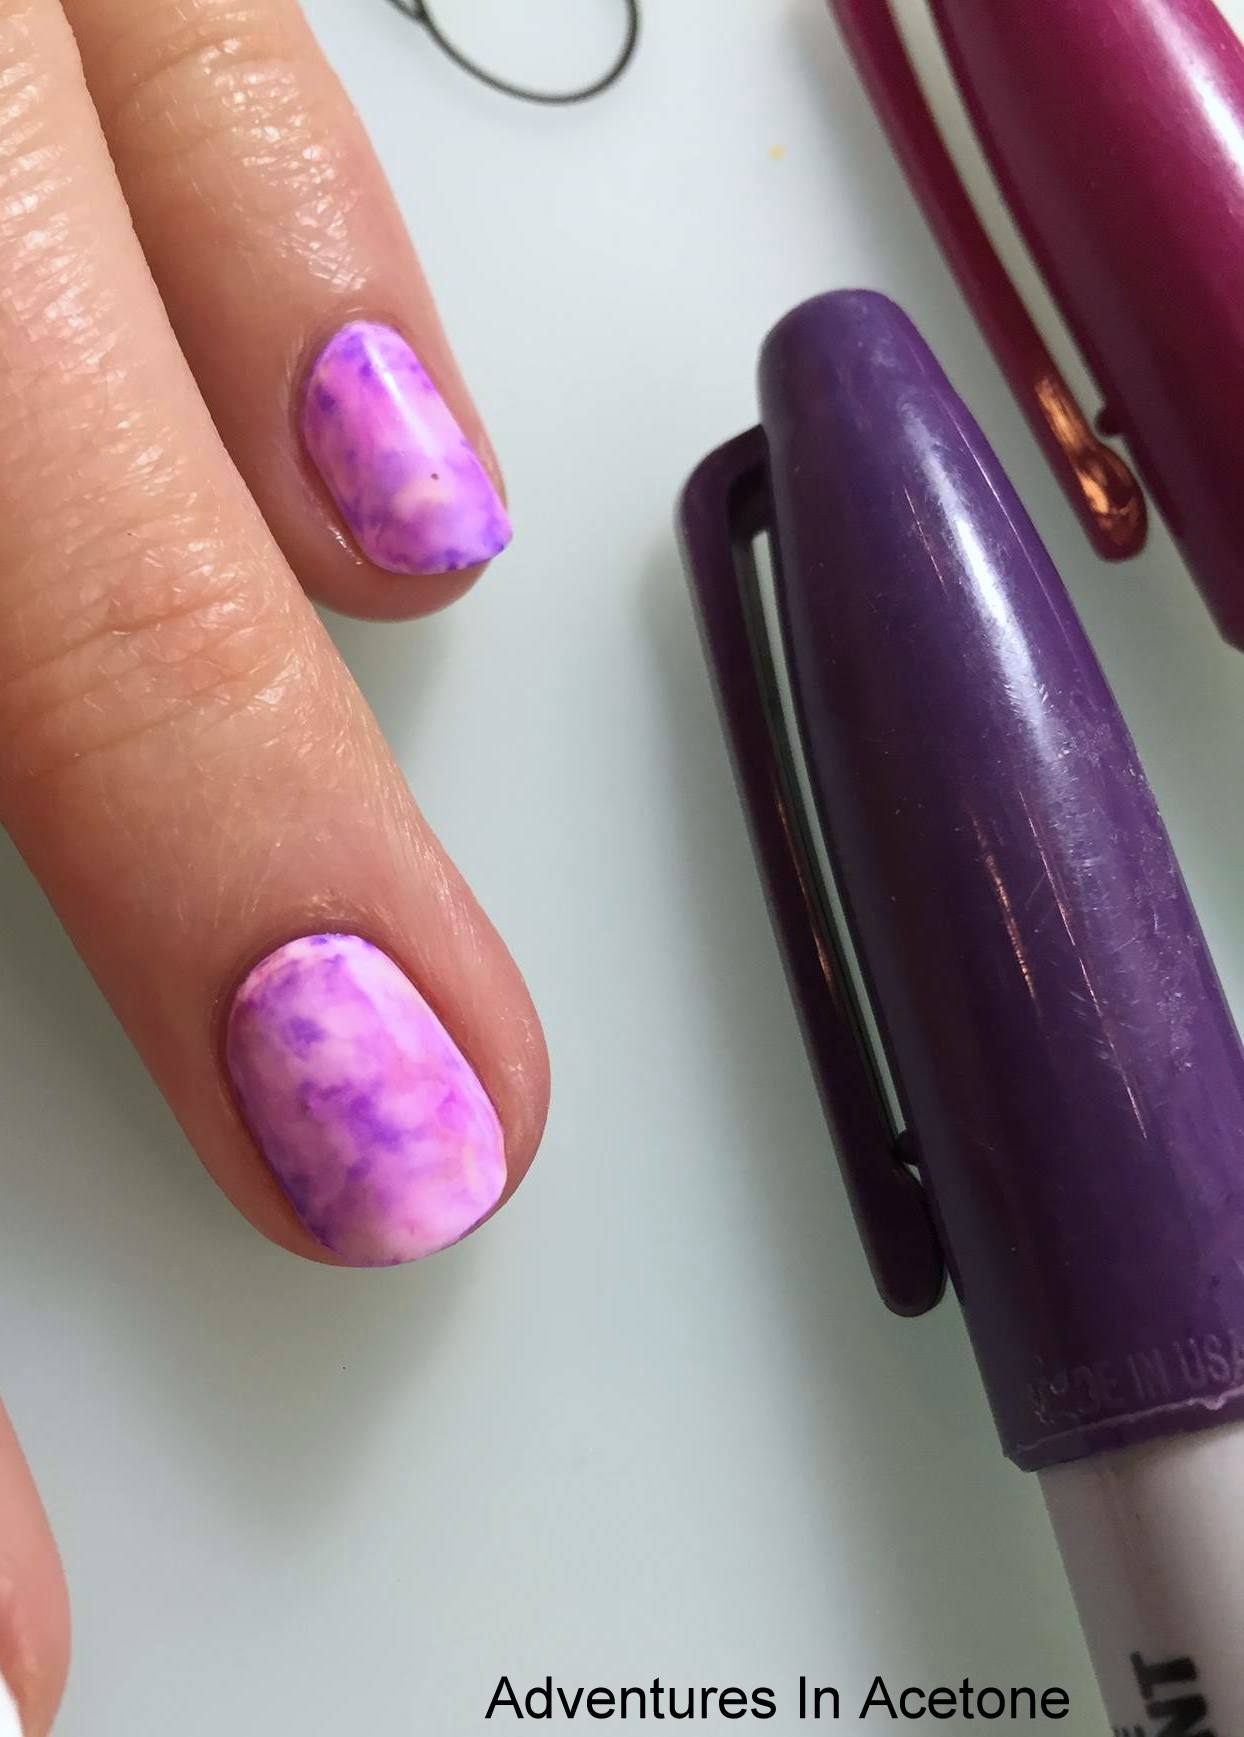
Next, cut out your “nail shaped” from the sheet of Gray Paisley Water Decal and compare it to your nail to make sure it fits. 
Bigger is much better than too small, as you can trim excess after applied to the nail. Once you are happy with the size, drop it in a bowl of warm water for 10 seconds and use tweezers or your fingers to remove from the water. The paper backing will slide off of the decal and you can position it on the nail.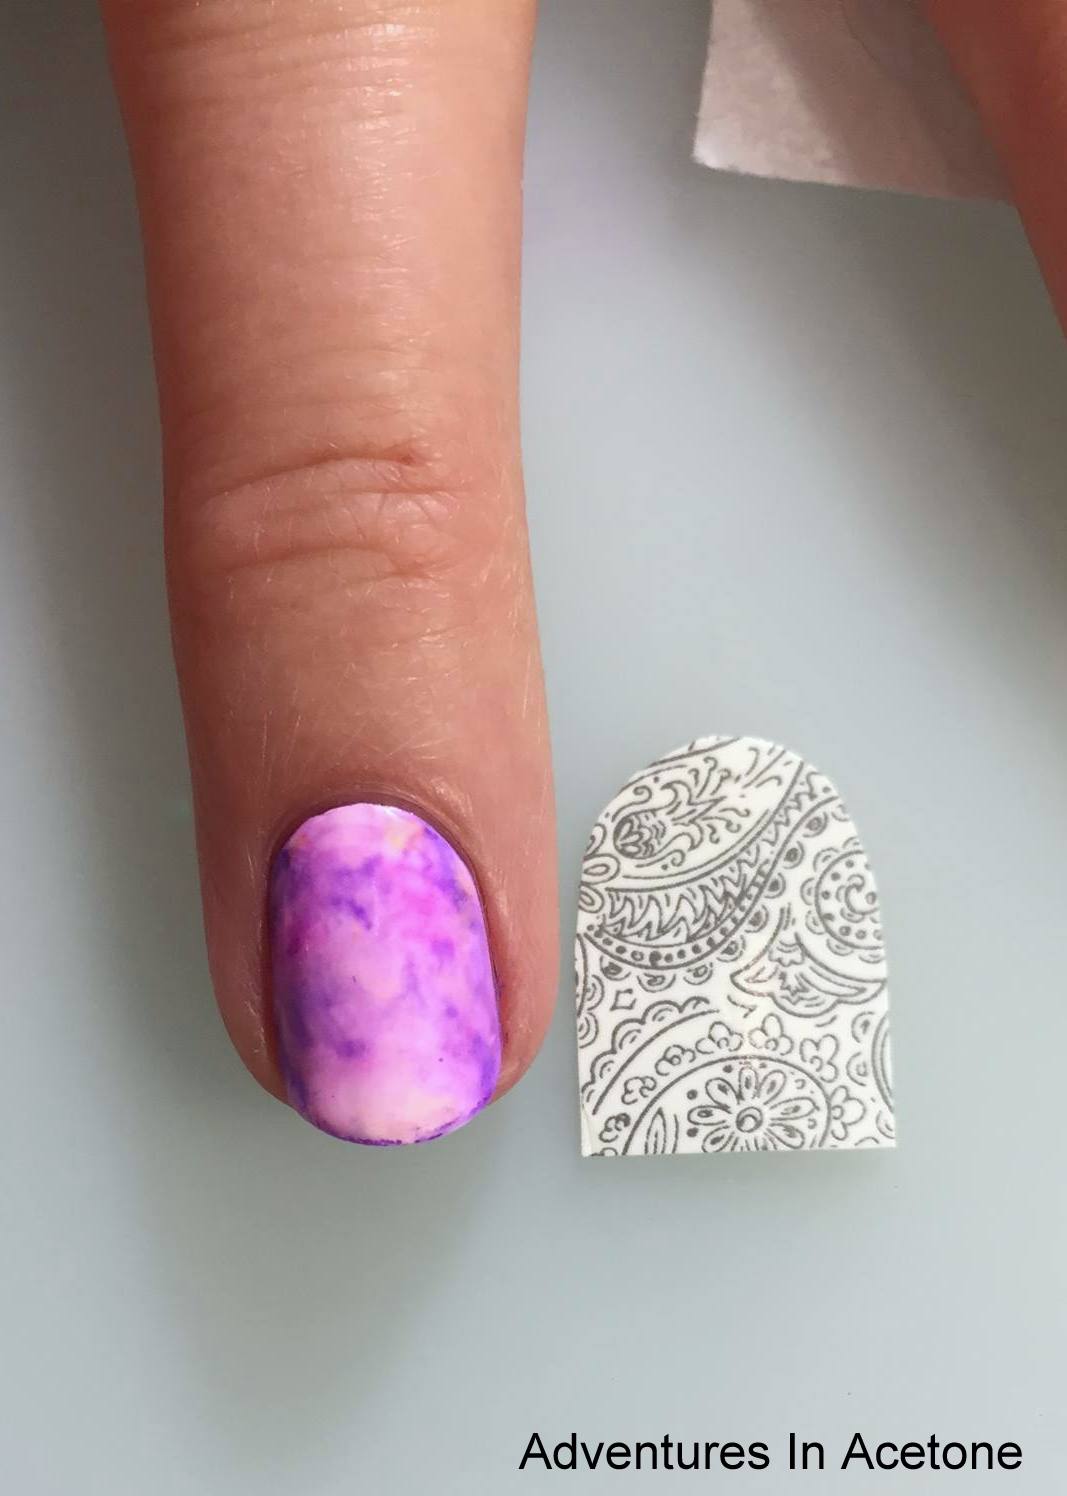
Once you apply it to the nail, you have some time to slide it around into position because it is still wet. I prefer to use the Rainbow Finish Point Tip Tweezers from KBShimmer to apply to the nail. It prevents me from messing up the delicate water slide design. You can use acetone and a cleanup brush to wipe away any excess decal from the side of the nails and tips. It may be easier and save time if you trim excess from the tips with cutters before using the acetone. Top the nail with a coat of KBShimmer Clearly on Top to seal the decal to the nail when you are done!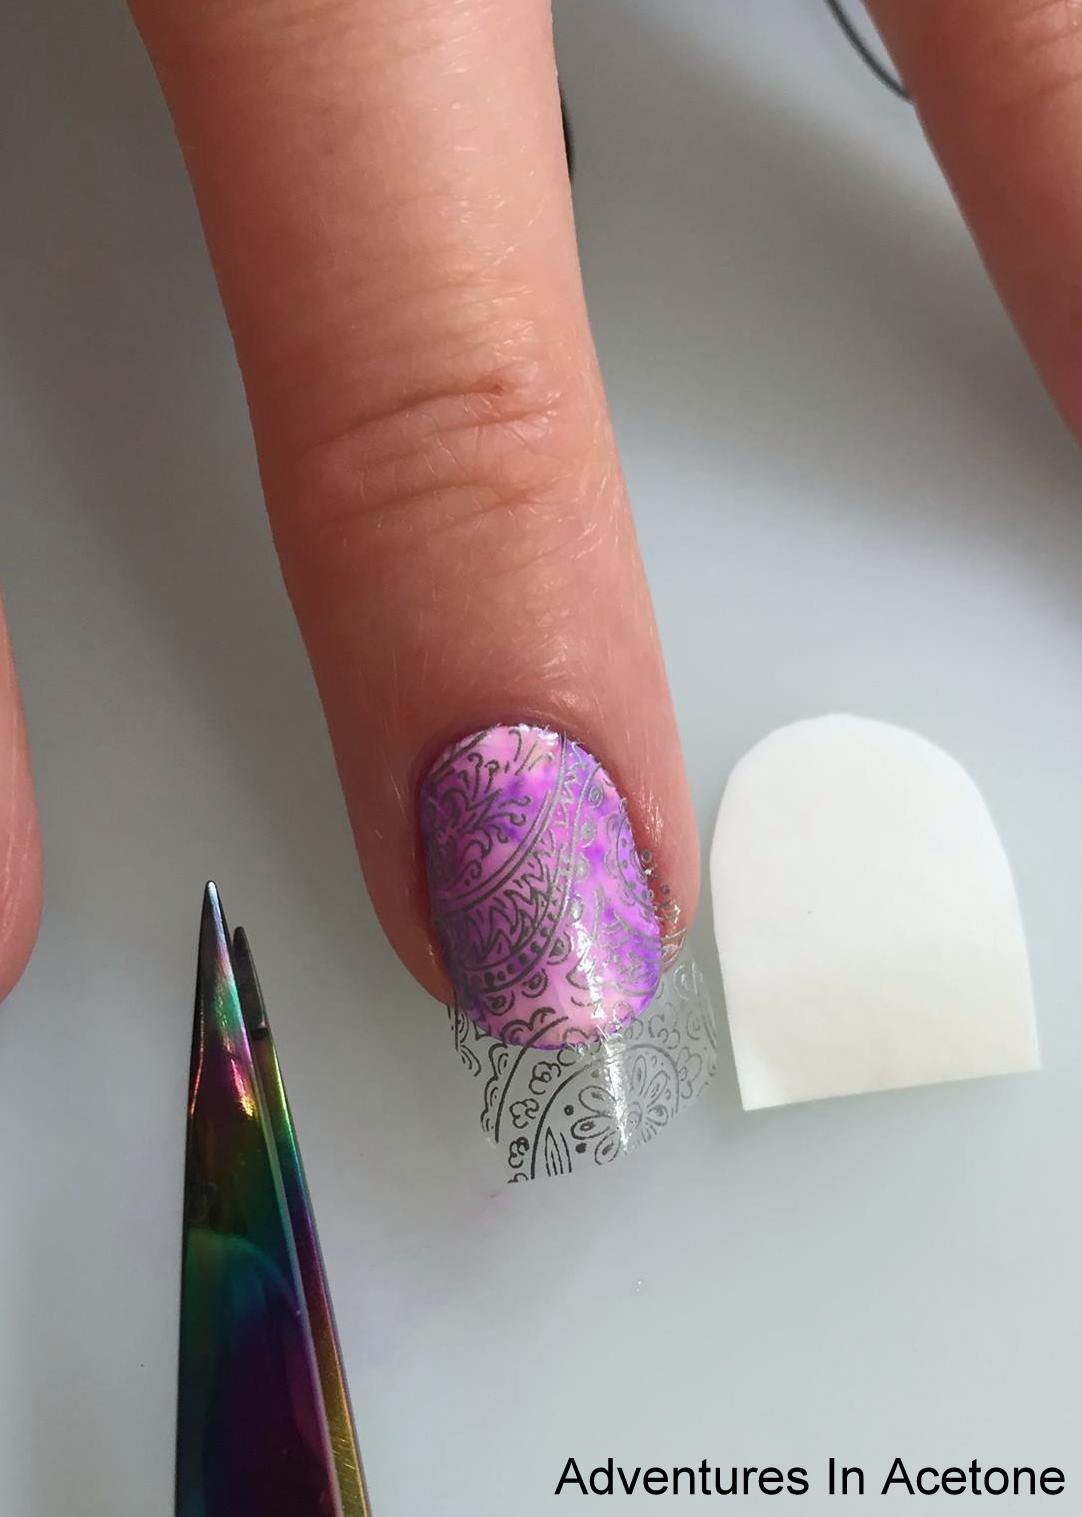
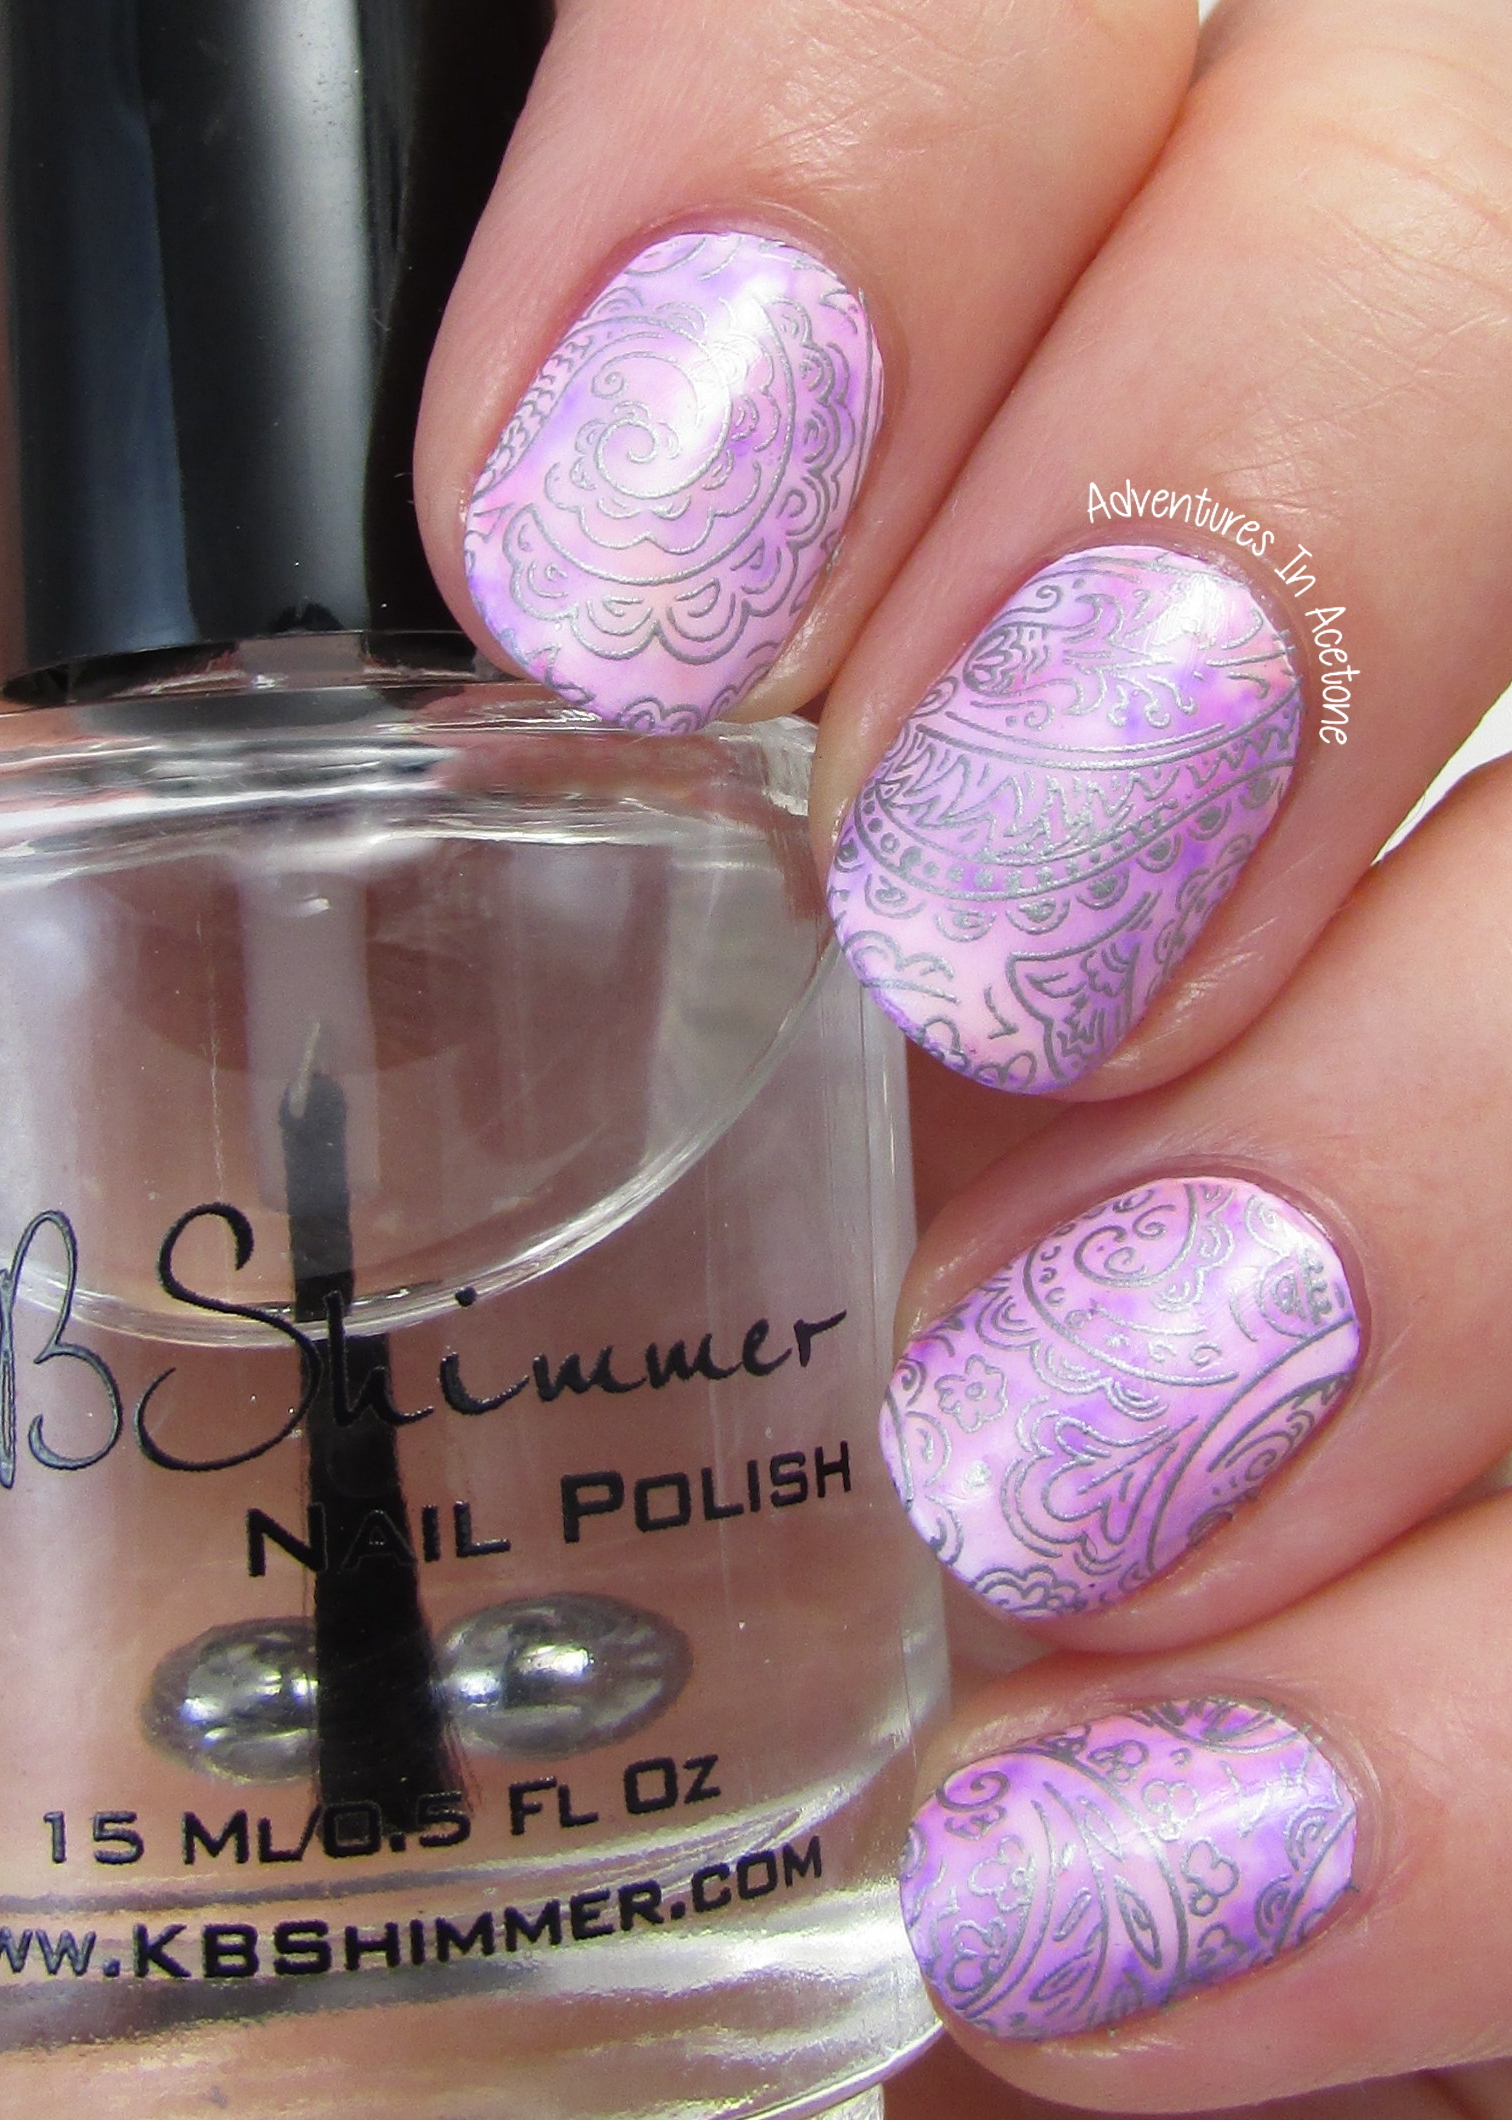
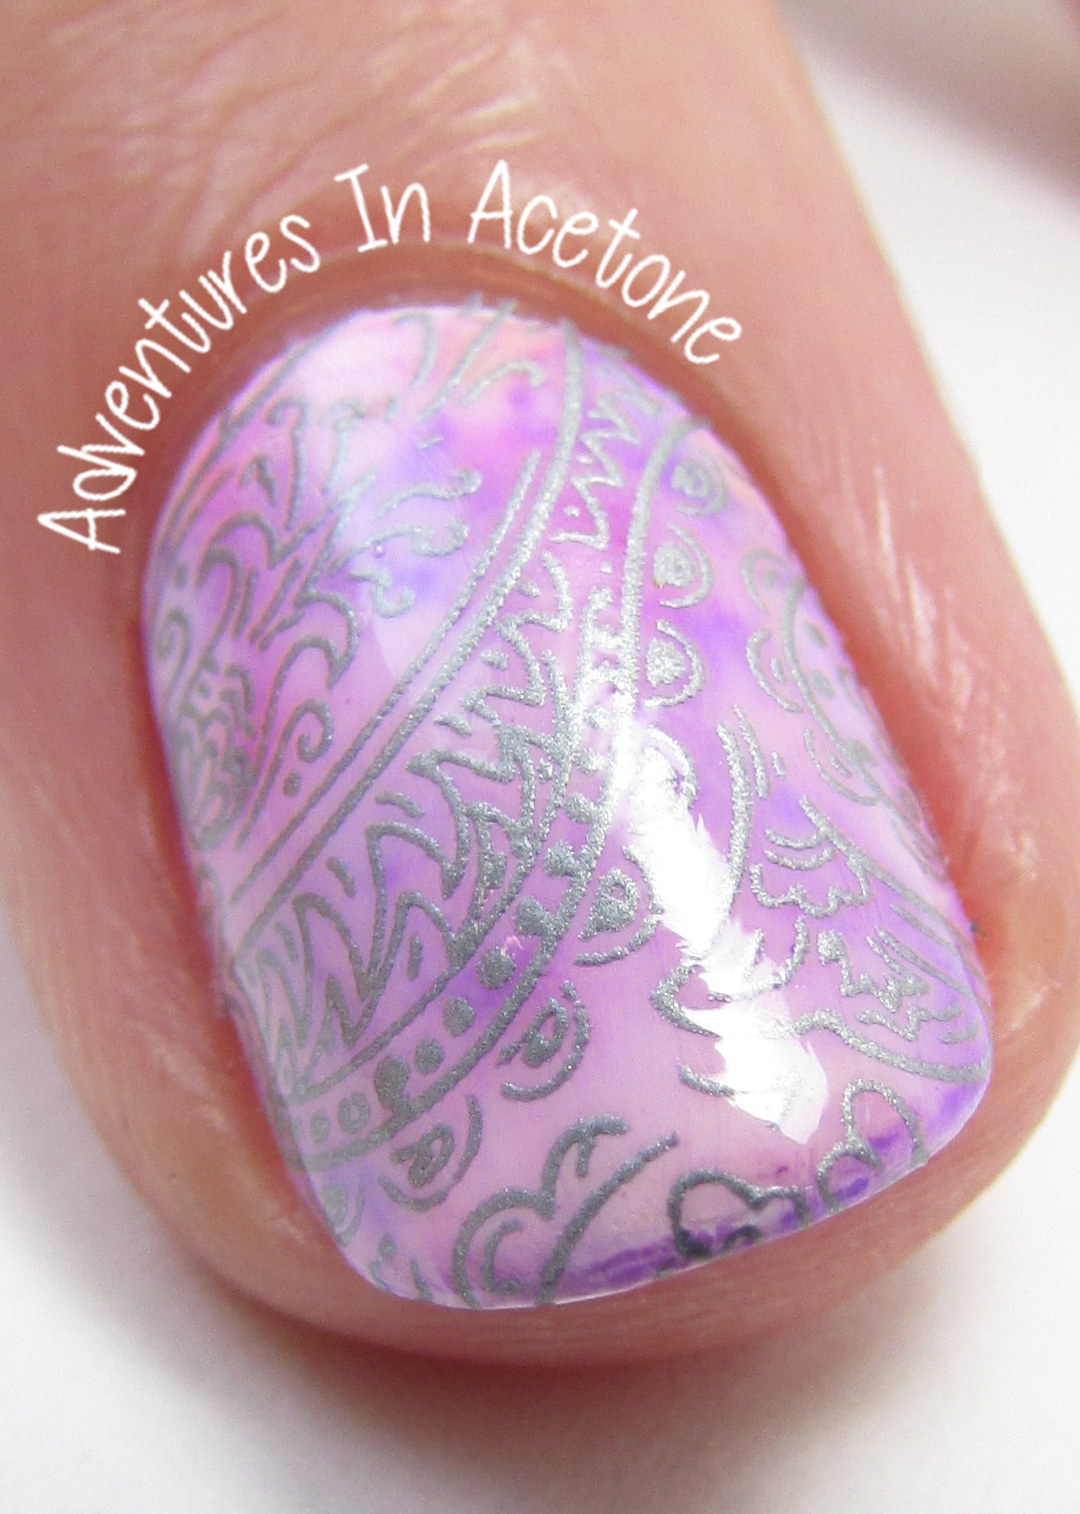
What do you think of this delicate look? I am really happy with how it turned out, the decals are so easy to use and the possibilities of bases are endless–whether you use one polish color, a gradient, or even sharpie nail art.
The KBShimmer Water Slide Decals are $2.95 each set at KBShimmer.com and the Rainbow Finish Point Tip Tweezers are $8.95. For sales outside the U.S., visit www.harlowandco.org.
*The products in this post were sent for me to review with my honest opinion.
If you enjoyed this post, please Sign Up for email updates and you will have the latest news, reviews, nail art, and tutorials delivered right to your inbox! Never miss a post from Adventures In Acetone again. Thank you so much for reading.
– Let’s paint something amazing! –

Comments
Very pretty!
Your Sharpie Nail Art is sooo gorgeous!!!! ♥ and those WD are so cool! Love this mani!
gorgeous!