Press Sample
Good afternoon! I have lots of new KBShimmer goodies to show you over the next week. Are you excited for the Fall Collection? I shared the press release earlier this week and will have my swatches up tomorrow of my picks so make sure to check back then! Today, however, I will show you some of the new additions to the shop that aren’t polish. There are 20 different sets of Water Slide Decals, 4 new Rainbow Finish Tools, and 25 different scents of Mani Shots. I love that KBShimmer is expanding their shop for more items to create not only the perfect manicure, but better nail and skin health.
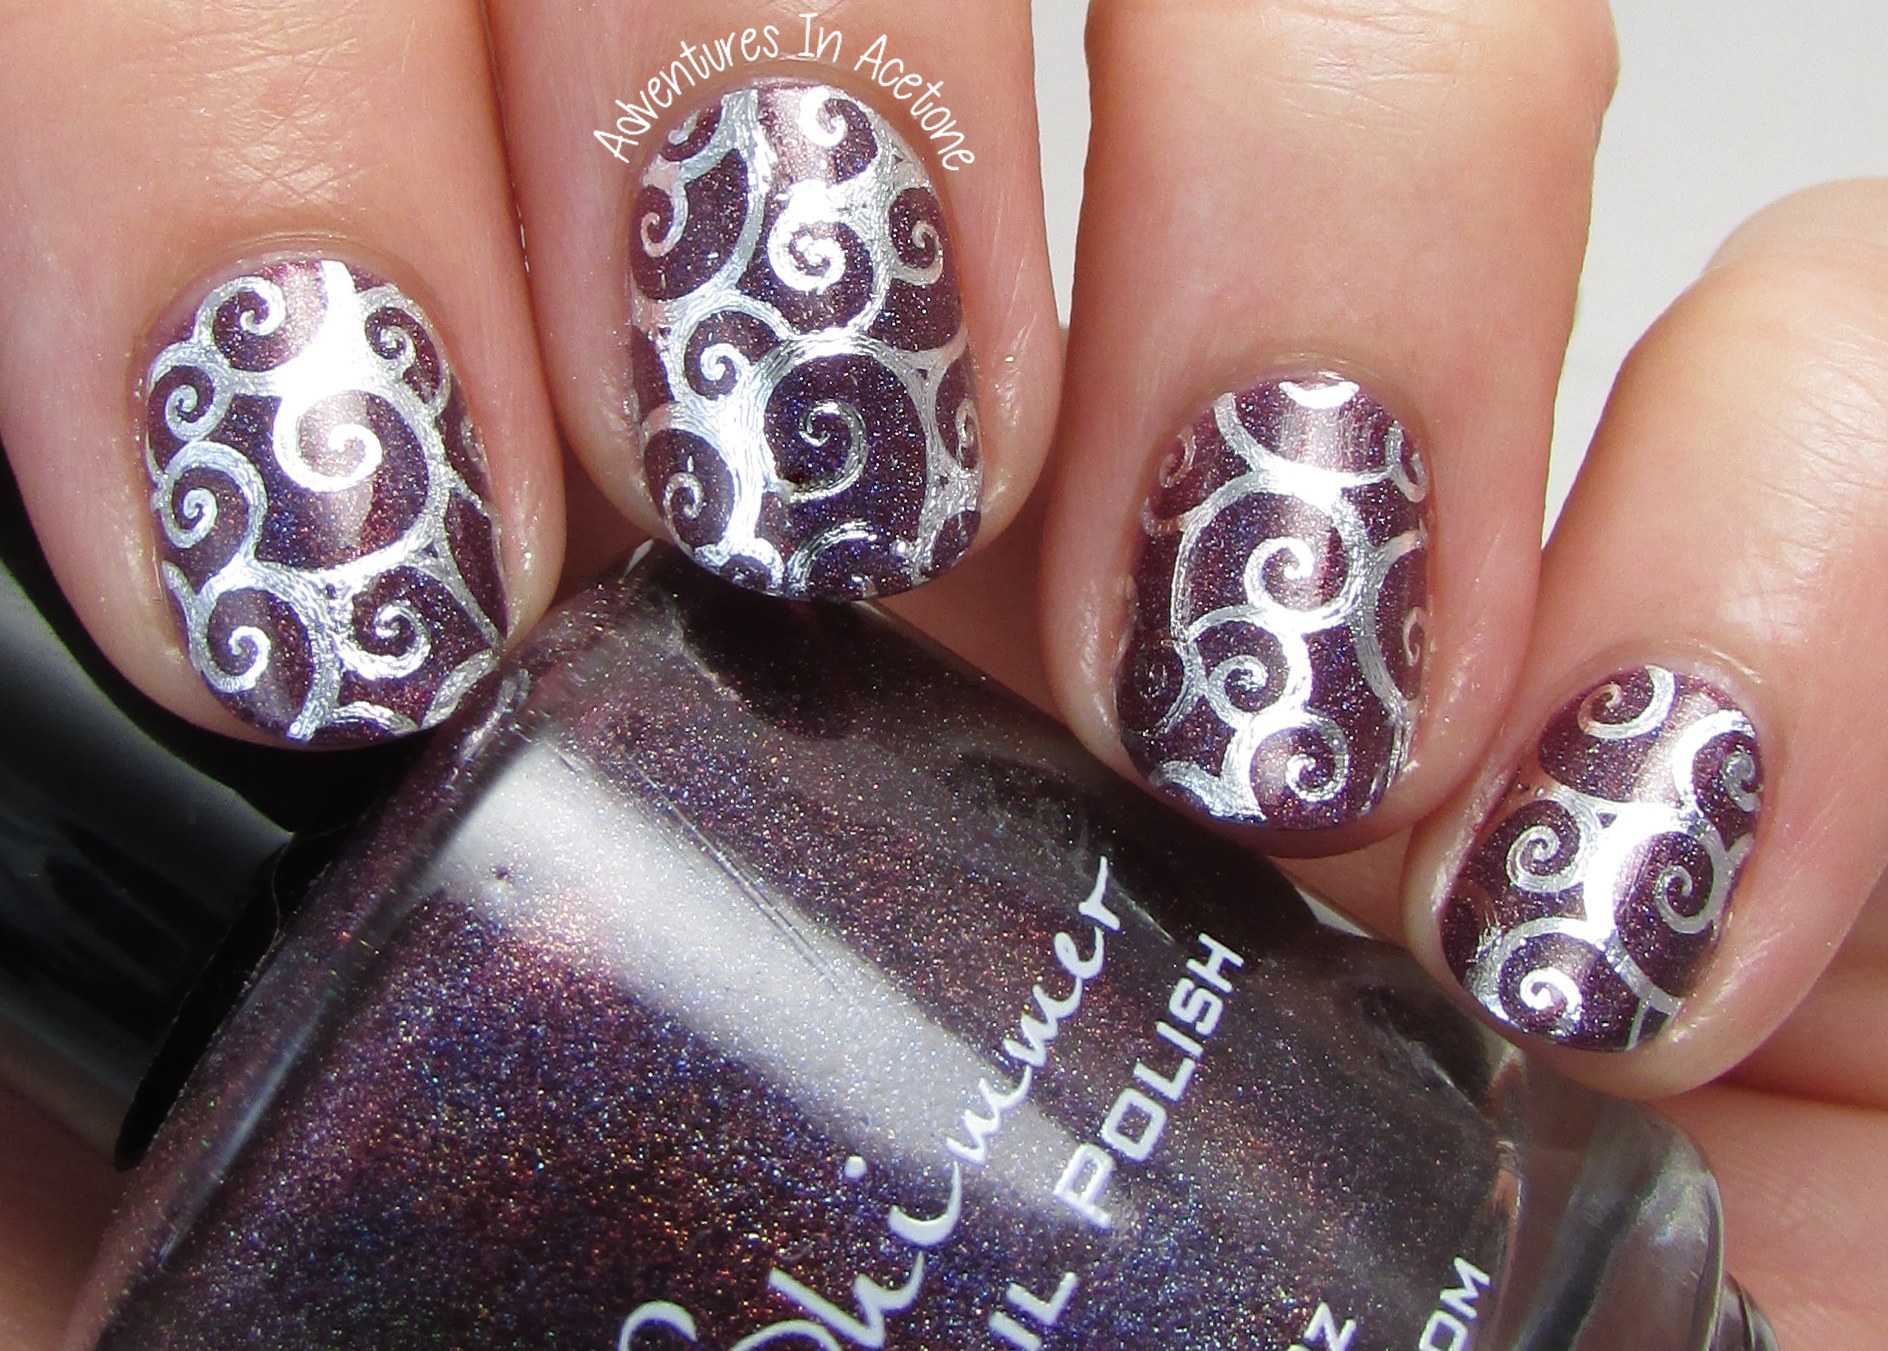
For today’s manicure, I tried out the Silver Swirl Water Slide Decals. I applied them easily over one of the new fall colors: KBShimmer Fig-Get About It. Let’s take a look and I’ll show you step by step instructions on how to apply the decals below.
- I started out with two coats of KBShimmer Fig-Get About It, topped with a coat of KBShimmer Clearly On Top top coat to seal it in and speed up the drying process.
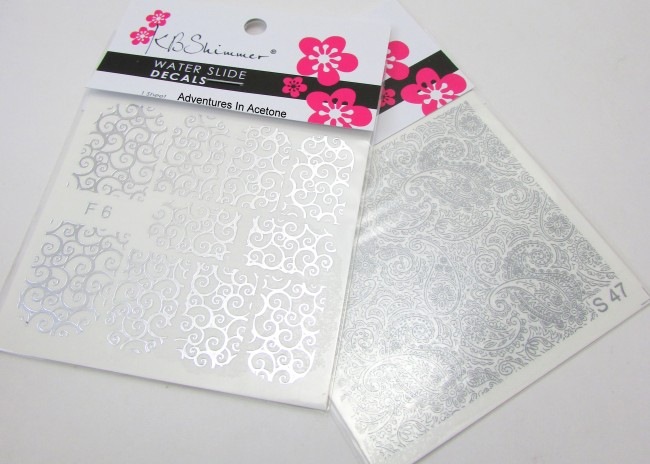
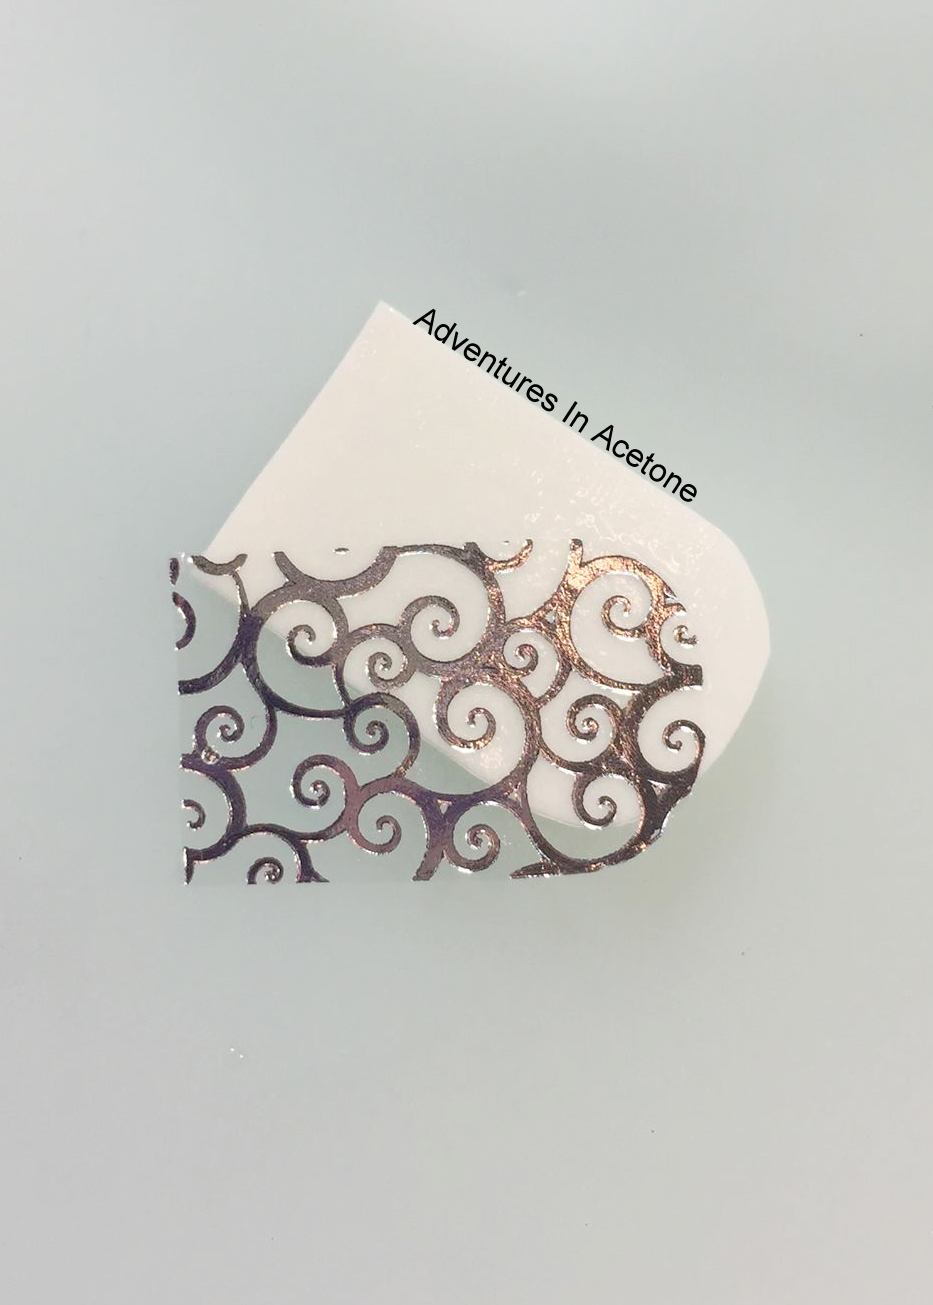
- Next, I took the sheet of Silver Swirl Water Slide Decals out of the packaging. There are 10 “nail shaped” sections on the sheet. (Decal sheet on left in the photo below.)
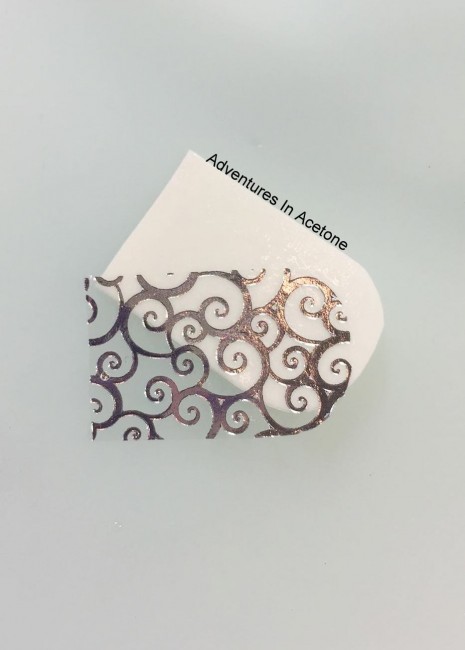
- I grabbed a pair of scissors and followed the “lines” around the nail shapes to get 10 cutouts.

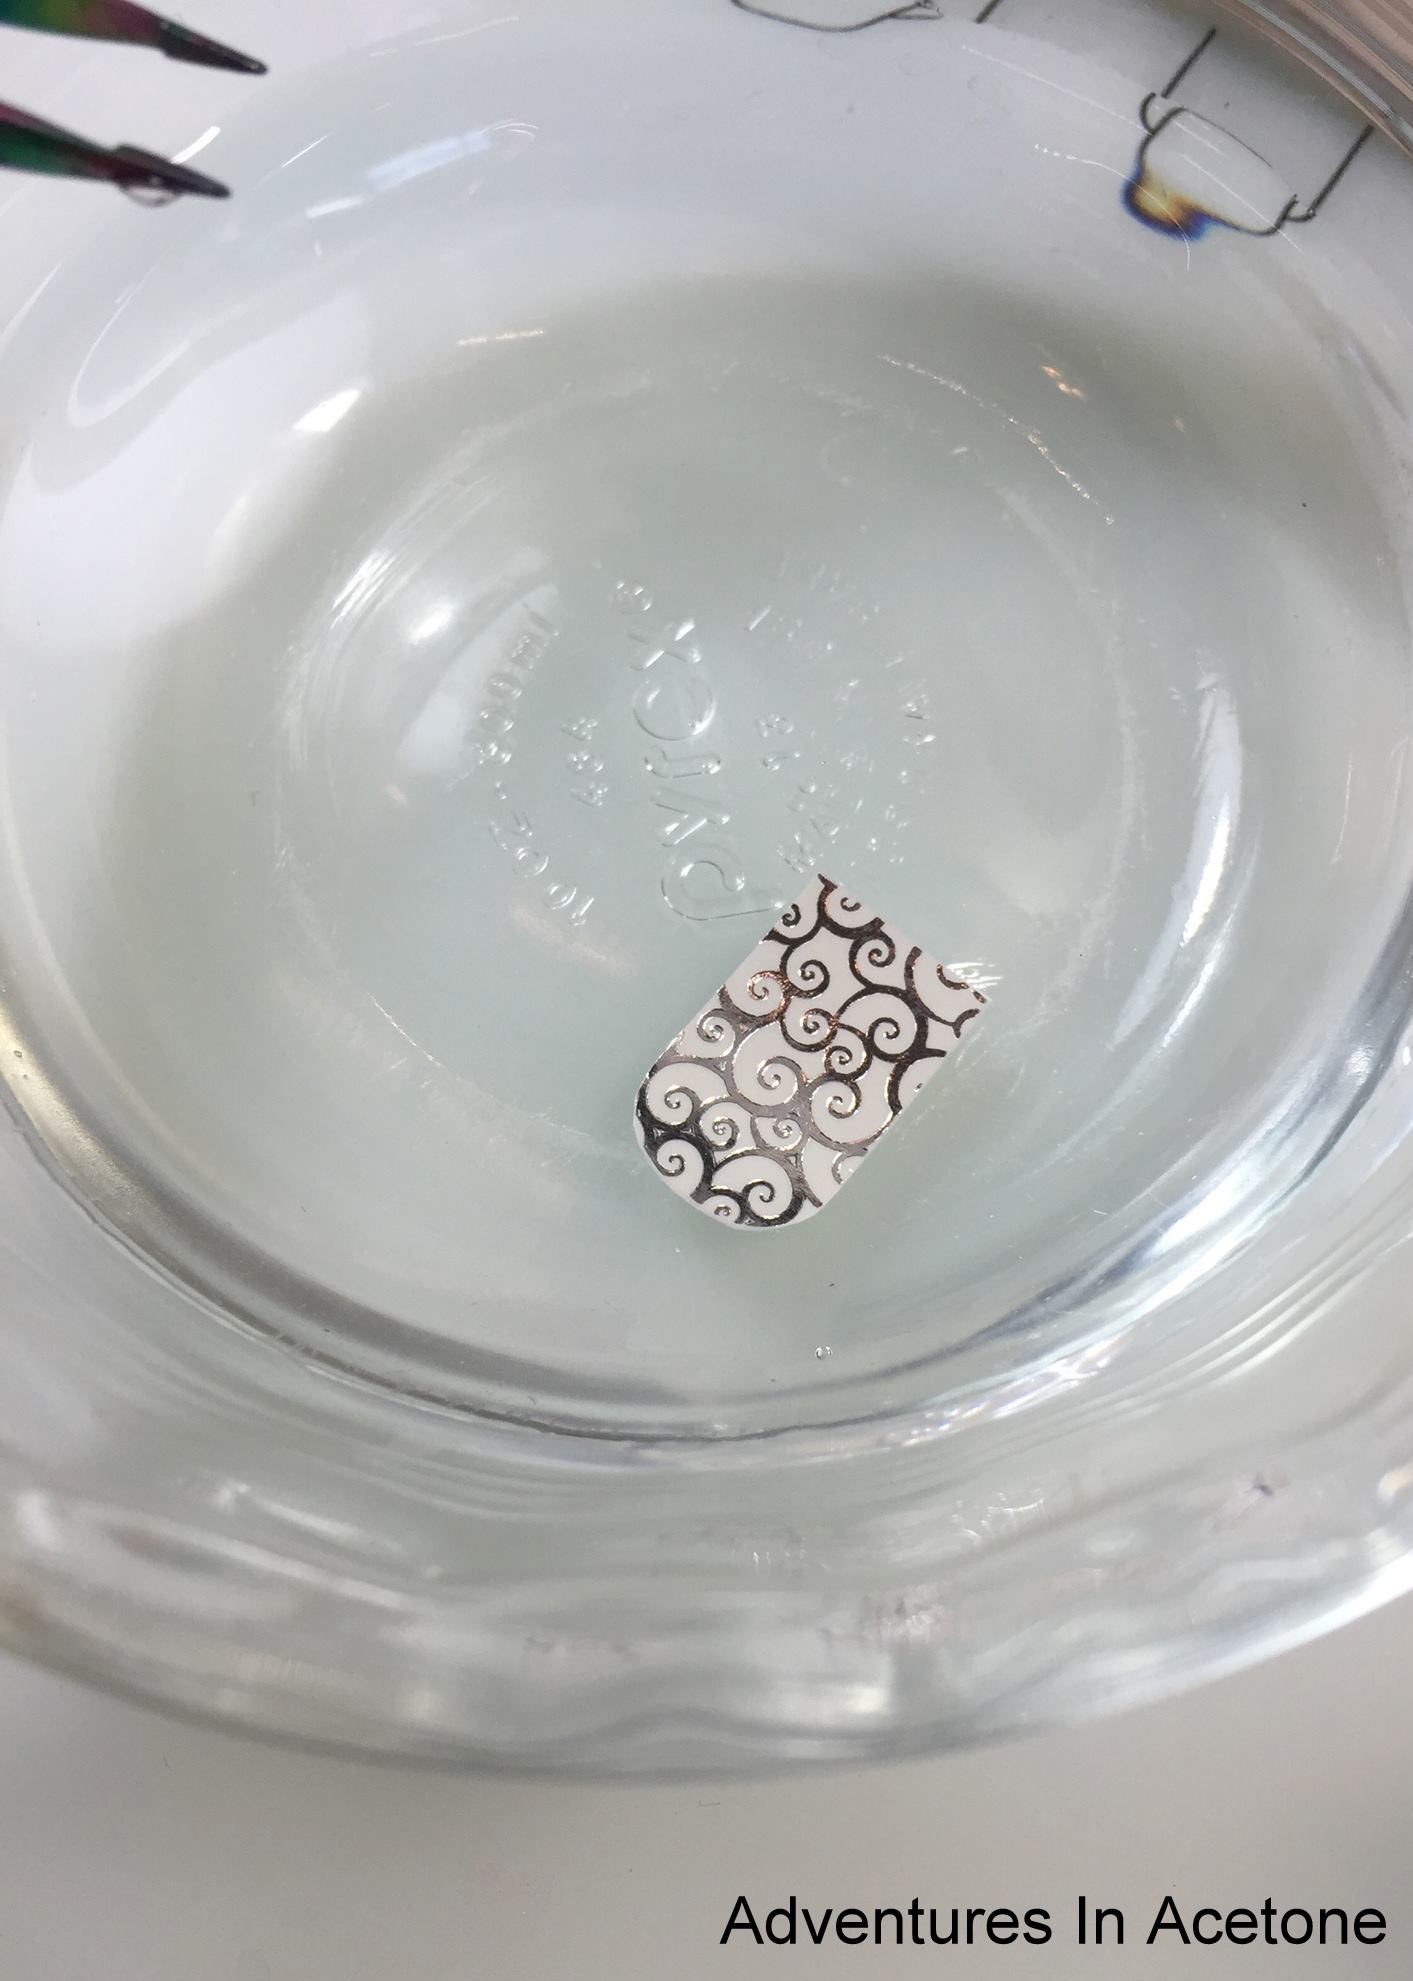
- Once you have your decals cut to size, drop them in a small bowl of water for 10 or so seconds, until the paper backing is soaked through.

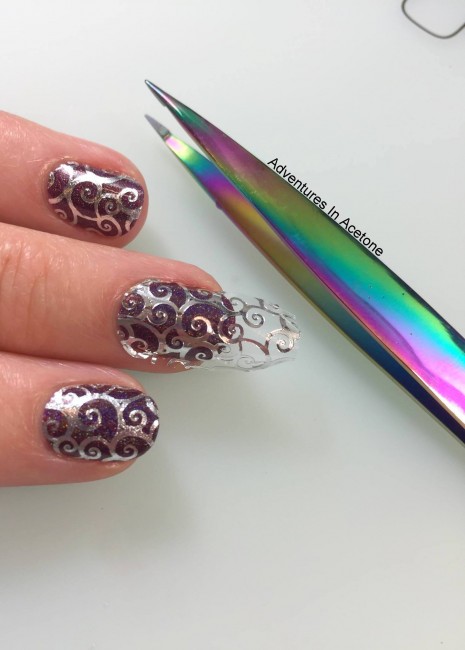
- Remove from the water and slide the clear swirl decal off of the paper backing.
- Next, grab the decal with you tweezers, here I’m using the new Rainbow Finish Point Tip Tweezers. They come to a pointed tip and are perfect for applying and removing decals, vinyls, and striping tape.
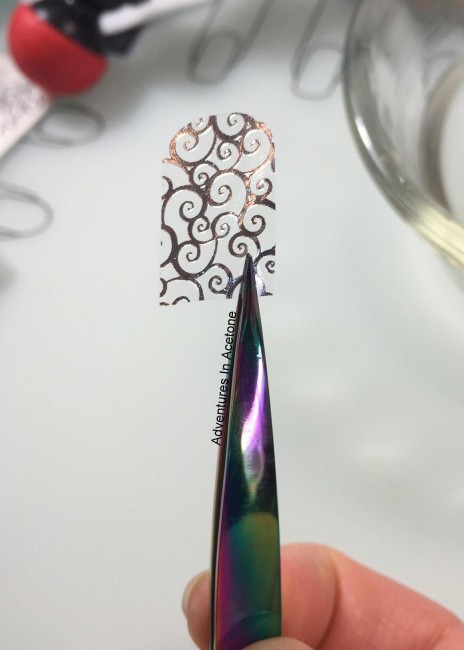
- Place the decal on the painted nail and slide around until you like the placement. Press down on the nail and against the cuticle line to get excess water out, but be careful because they are delicate.
- Now, grab your cleanup brush, dip it in acetone, and carefully wipe away any excess decal from the sides of the nail. It can get a bit gooey because the decal starts to melt, so be careful and keep wiping the brush on a paper towel. You can trim the tips with scissors before using the cleanup brush to melt the excess. Once you are happy with the decal, gently apply a coat of KBShimmer Clearly On Top to seal the decal in and add shine.


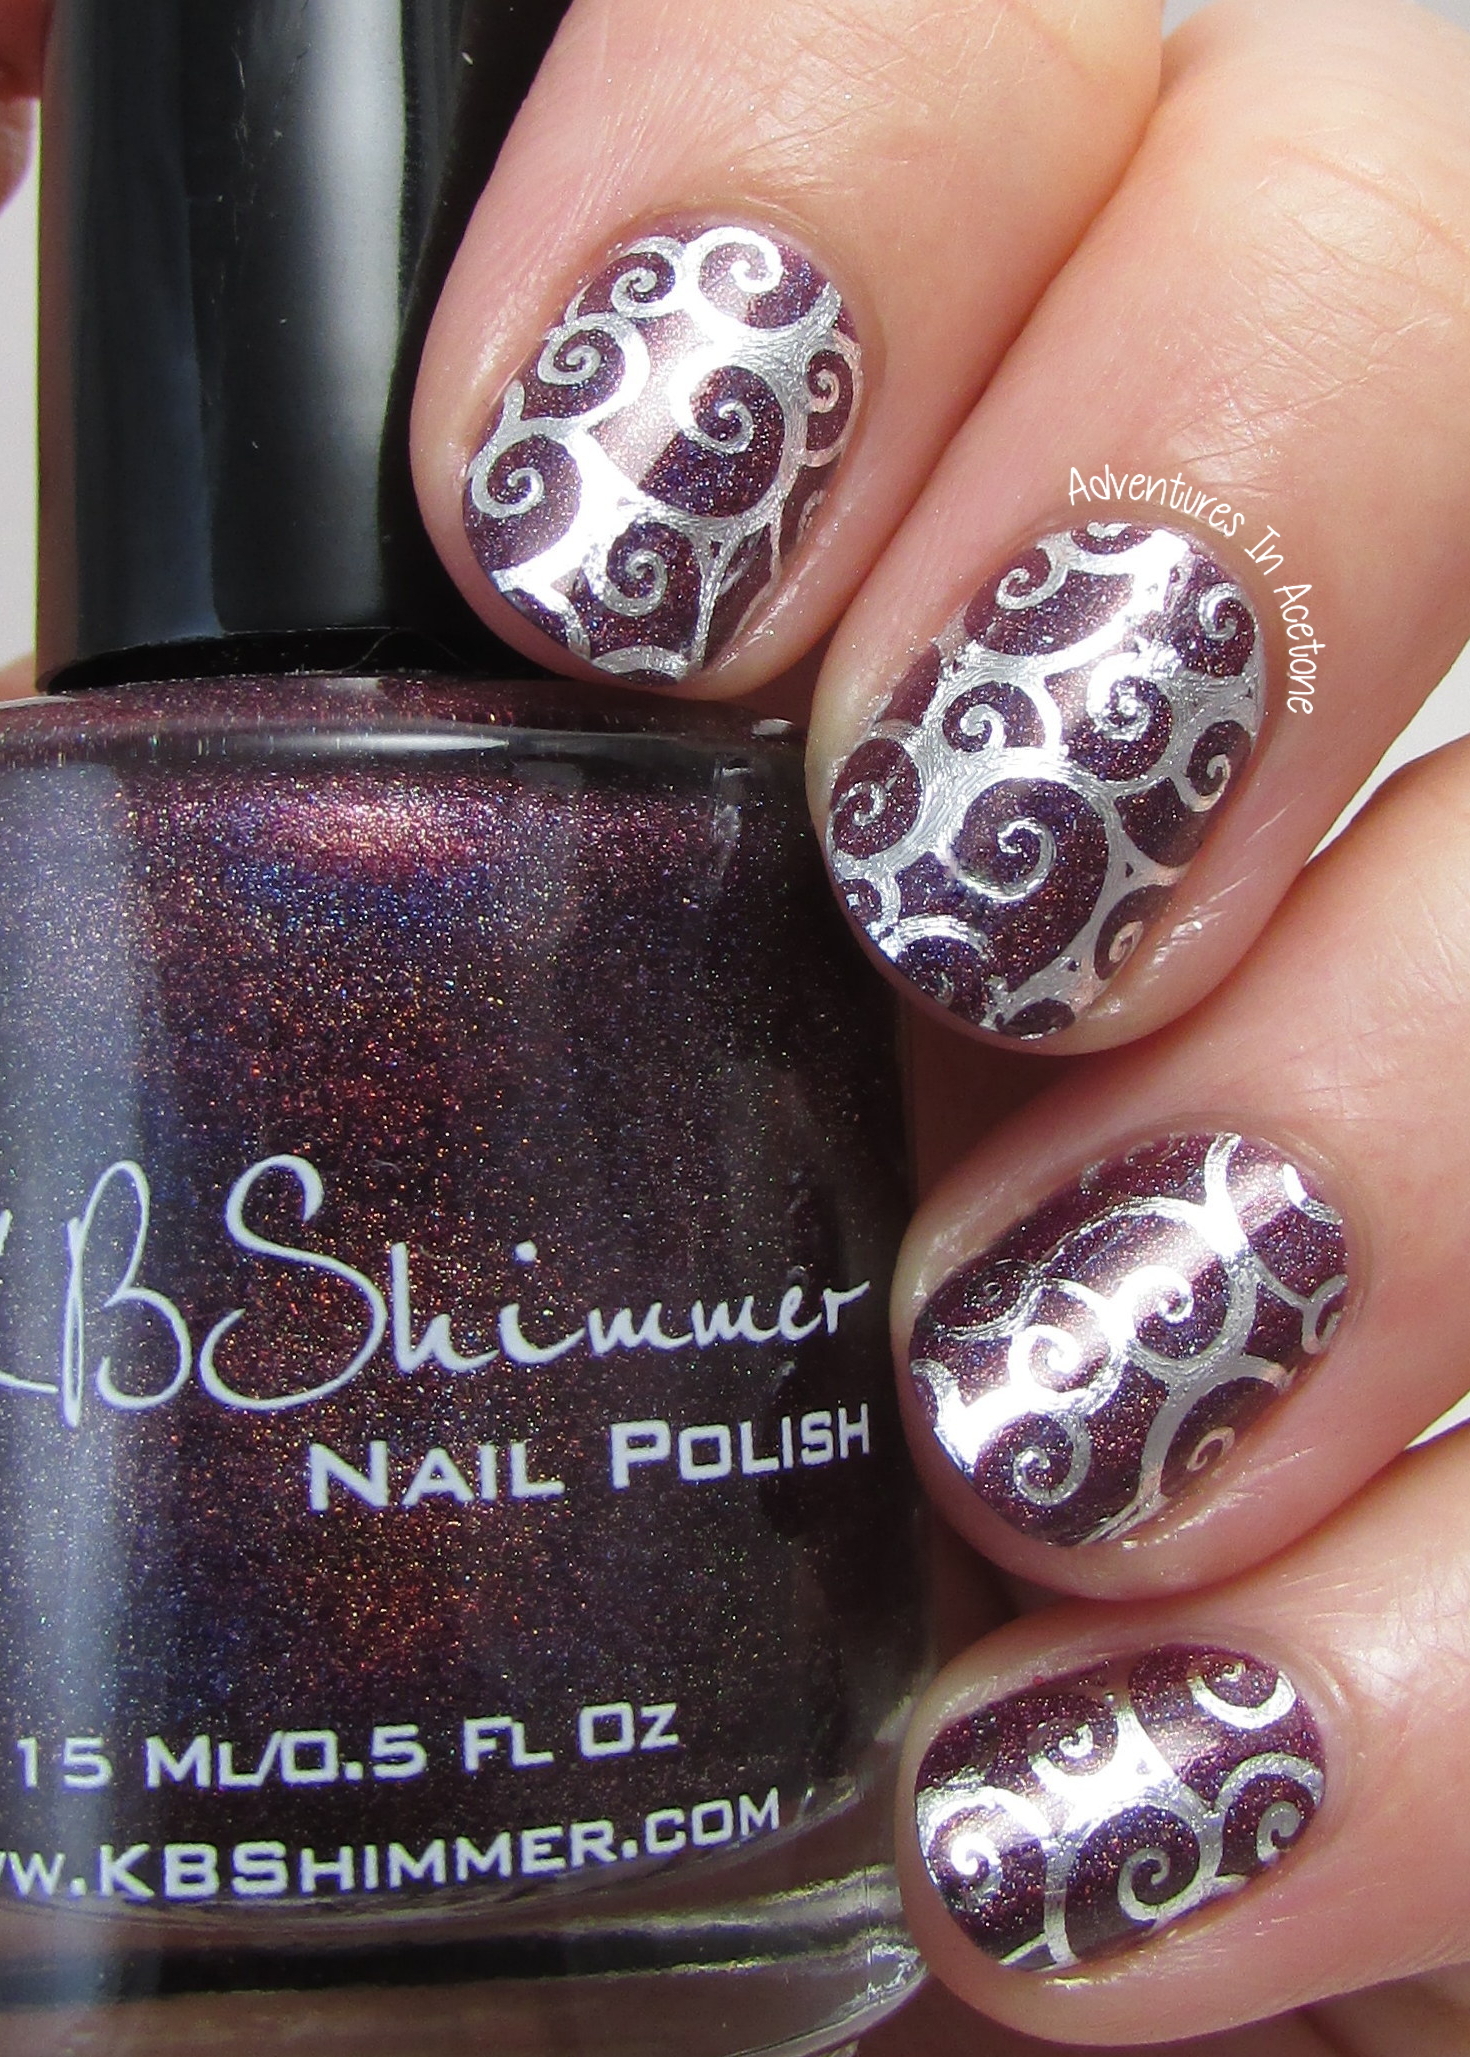
You are all set! These are really easy to apply and I love how they popped against the darker holo base. They looked gorgeous in the sun! I have another water slide decal mani to share with you next week, but they really were this easy to apply and lasted well on my nails.
The KBShimmer Water Slide Decals are $2.95 each set at KBShimmer.com and the Rainbow Finish Point Tip Tweezers are $8.95. For sales outside the U.S., visit www.harlowandco.org.
*The products in this post were sent for me to review with my honest opinion.
If you enjoyed this post, please Sign Up for email updates and you will have the latest news, reviews, nail art, and tutorials delivered right to your inbox! Never miss a post from Adventures In Acetone again. Thank you so much for reading.
– Let’s paint something amazing! –

Comments
These are gorgeous!