
Good afternoon, readers! I am really excited about today’s mani because its a brand new technique to me and I think it turned out pretty neat. I know people have been doing stamp decals forever, but I never felt compelled or comfortable enough to try them. Stamping and I are usually a very simple pair, and I tend to gravitate toward freehand nail art instead. However, ÜberChic recently unveiled the new Über Mat and it is a total game changer for me! I knew I had to have it as soon as I saw sneak peeks popping up on IG.
You can see more info on the mat in this awesome video by ÜberChic. It is first and foremost a mat for protecting your desk while painting and can hold up to polish and acetone. I have a glass top on my desk so that’s not really an issue for me, but you can also dab polish on the surface to test, swirl together before sponging gradients, dollop puddles of polish right onto the mat for dipping nail art brushes and dotting tools into, and it has 10 finger images to create stamping decals! I only have a few different stampers so I was never able to create decals on various stamp heads. This mat, however, allows me to make a zillion at a time and that’s exactly what I did for this mani. I originally made 4 (was anticipating 2 accent nails on each hand), but I loved how it turned out so much that I made 6 more for my full mani. 
The first night I had the Über Mat, I was scrolling Instagram and the darling Serene at Copy Cat Claws just happened to post the best video I’ve seen yet on creating and applying stamping decals. Check it out HERE. It really is as simple as the video looks, so much so that I took a picture each step of my way and threw together this quick picture tutorial collage for you. Serene’s video is easier to understand than my photos, but it was fun to show each step anyway.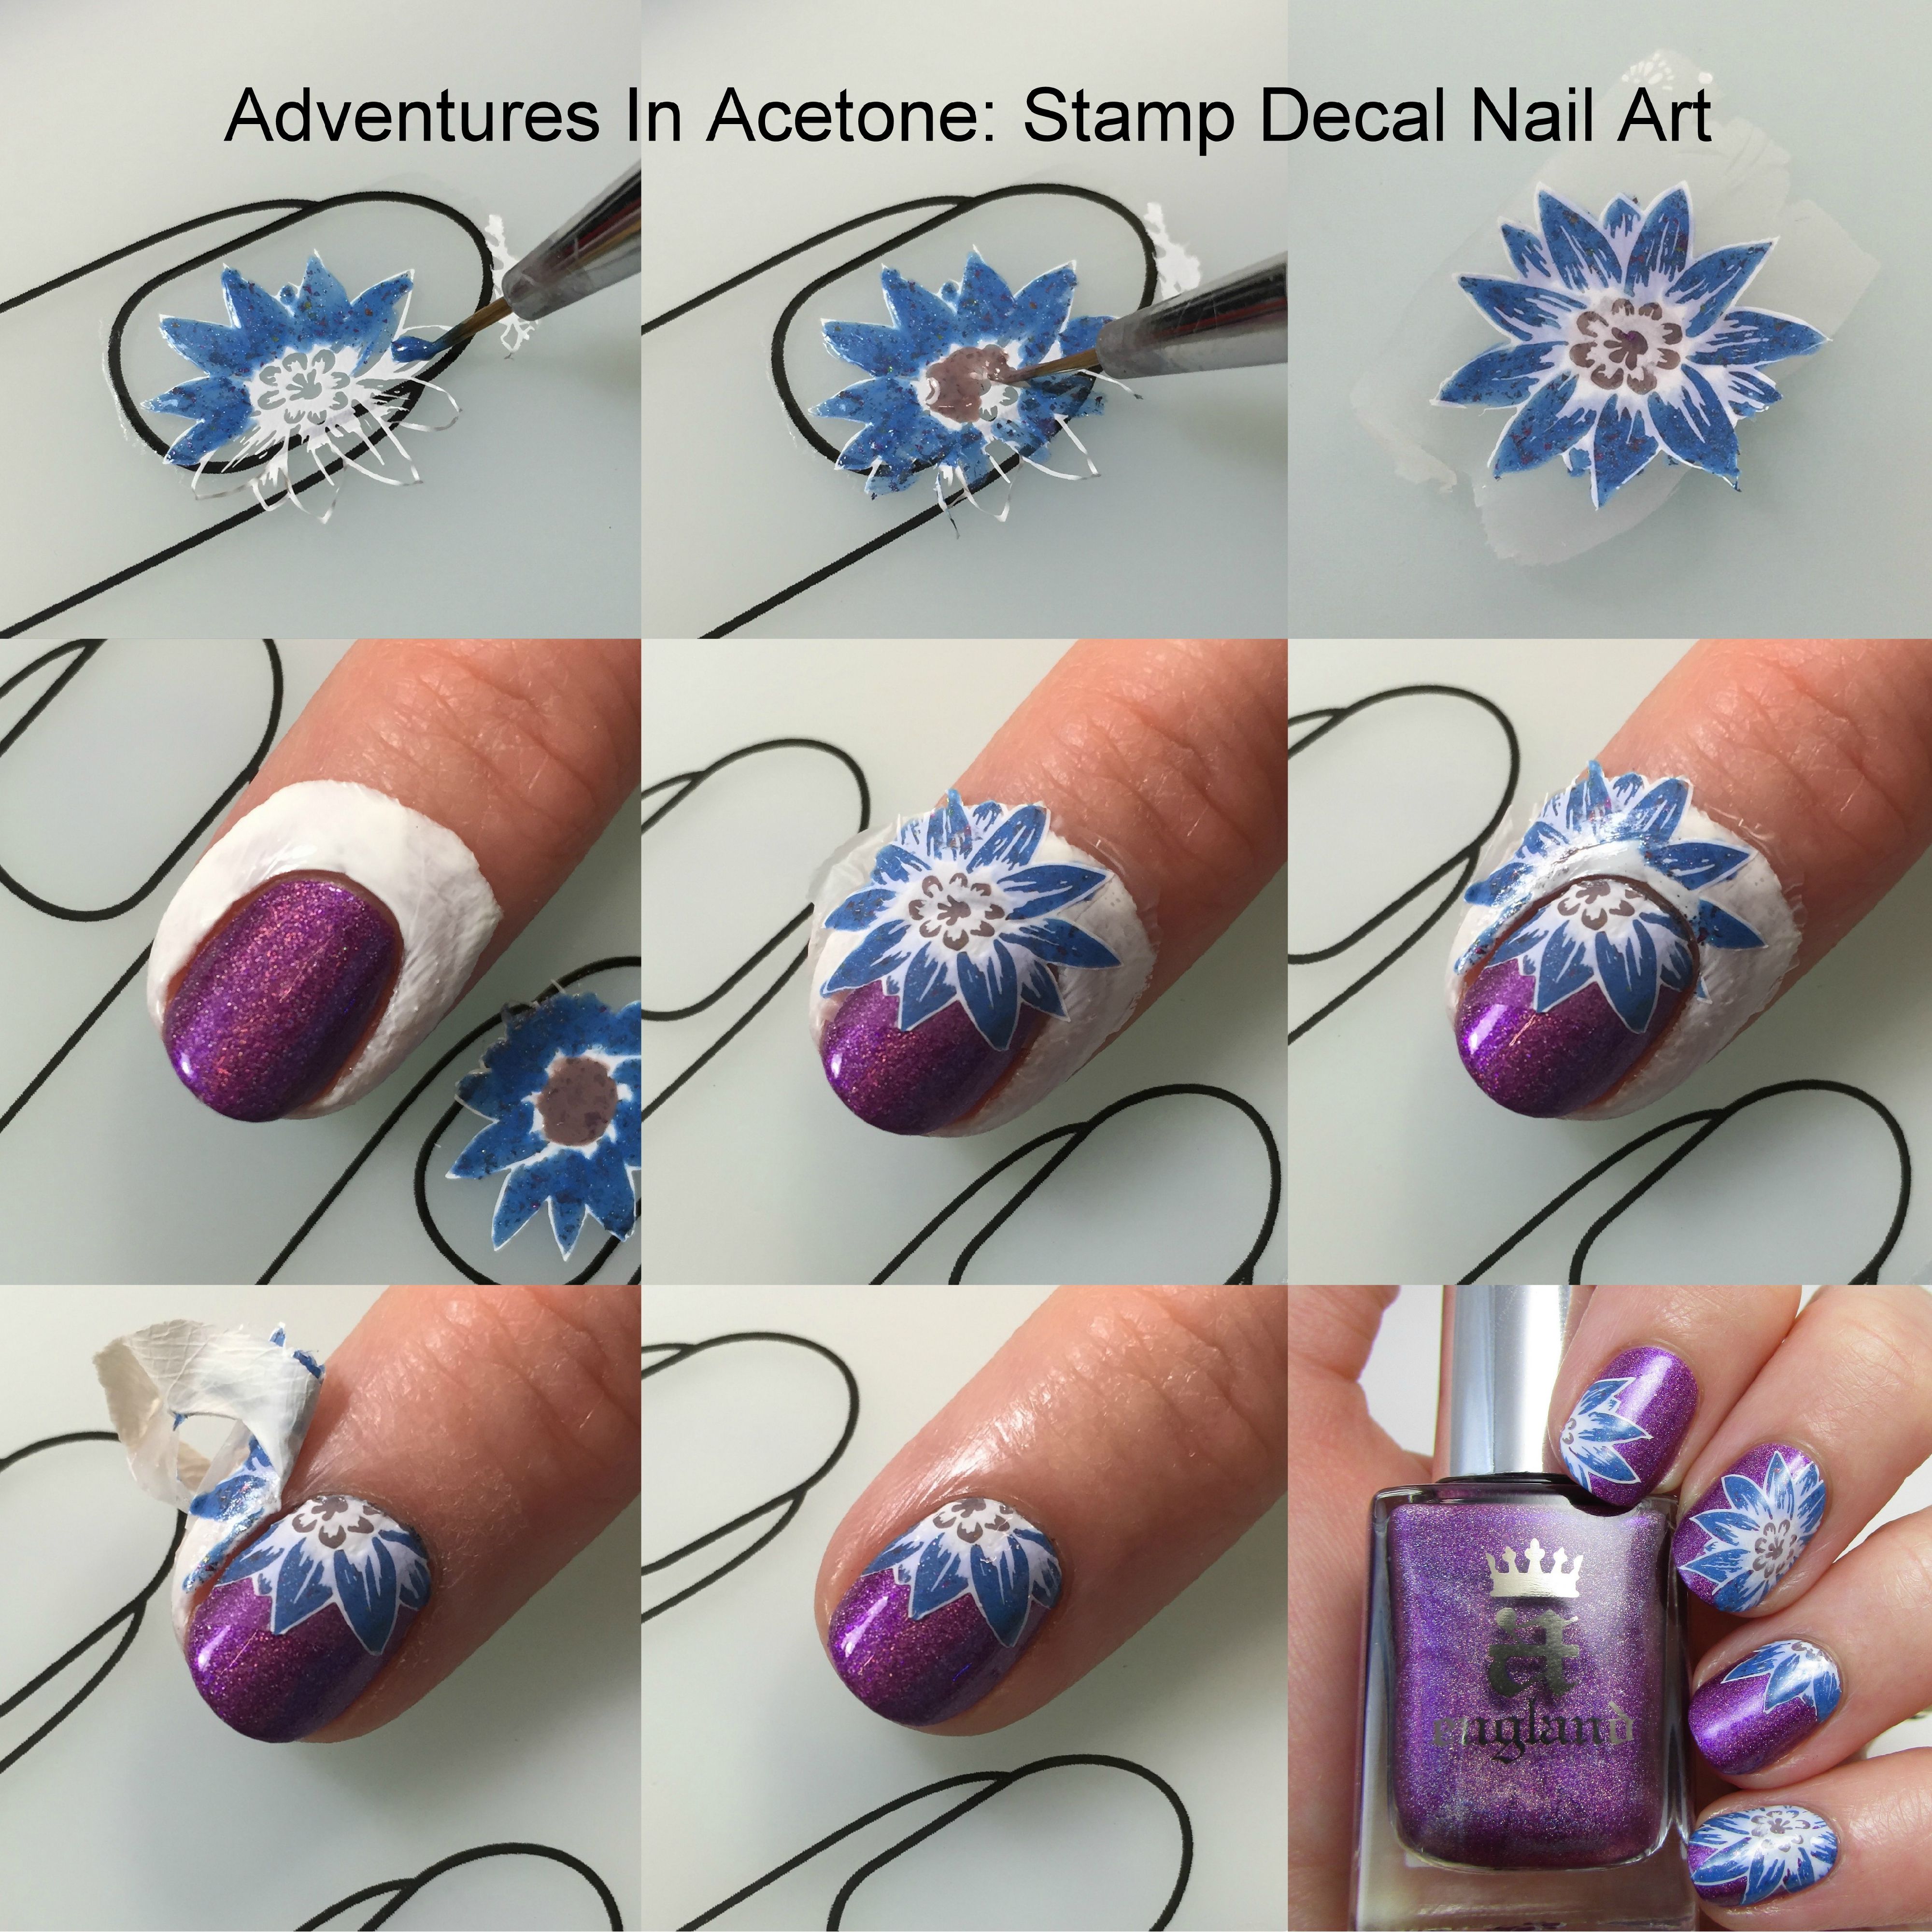
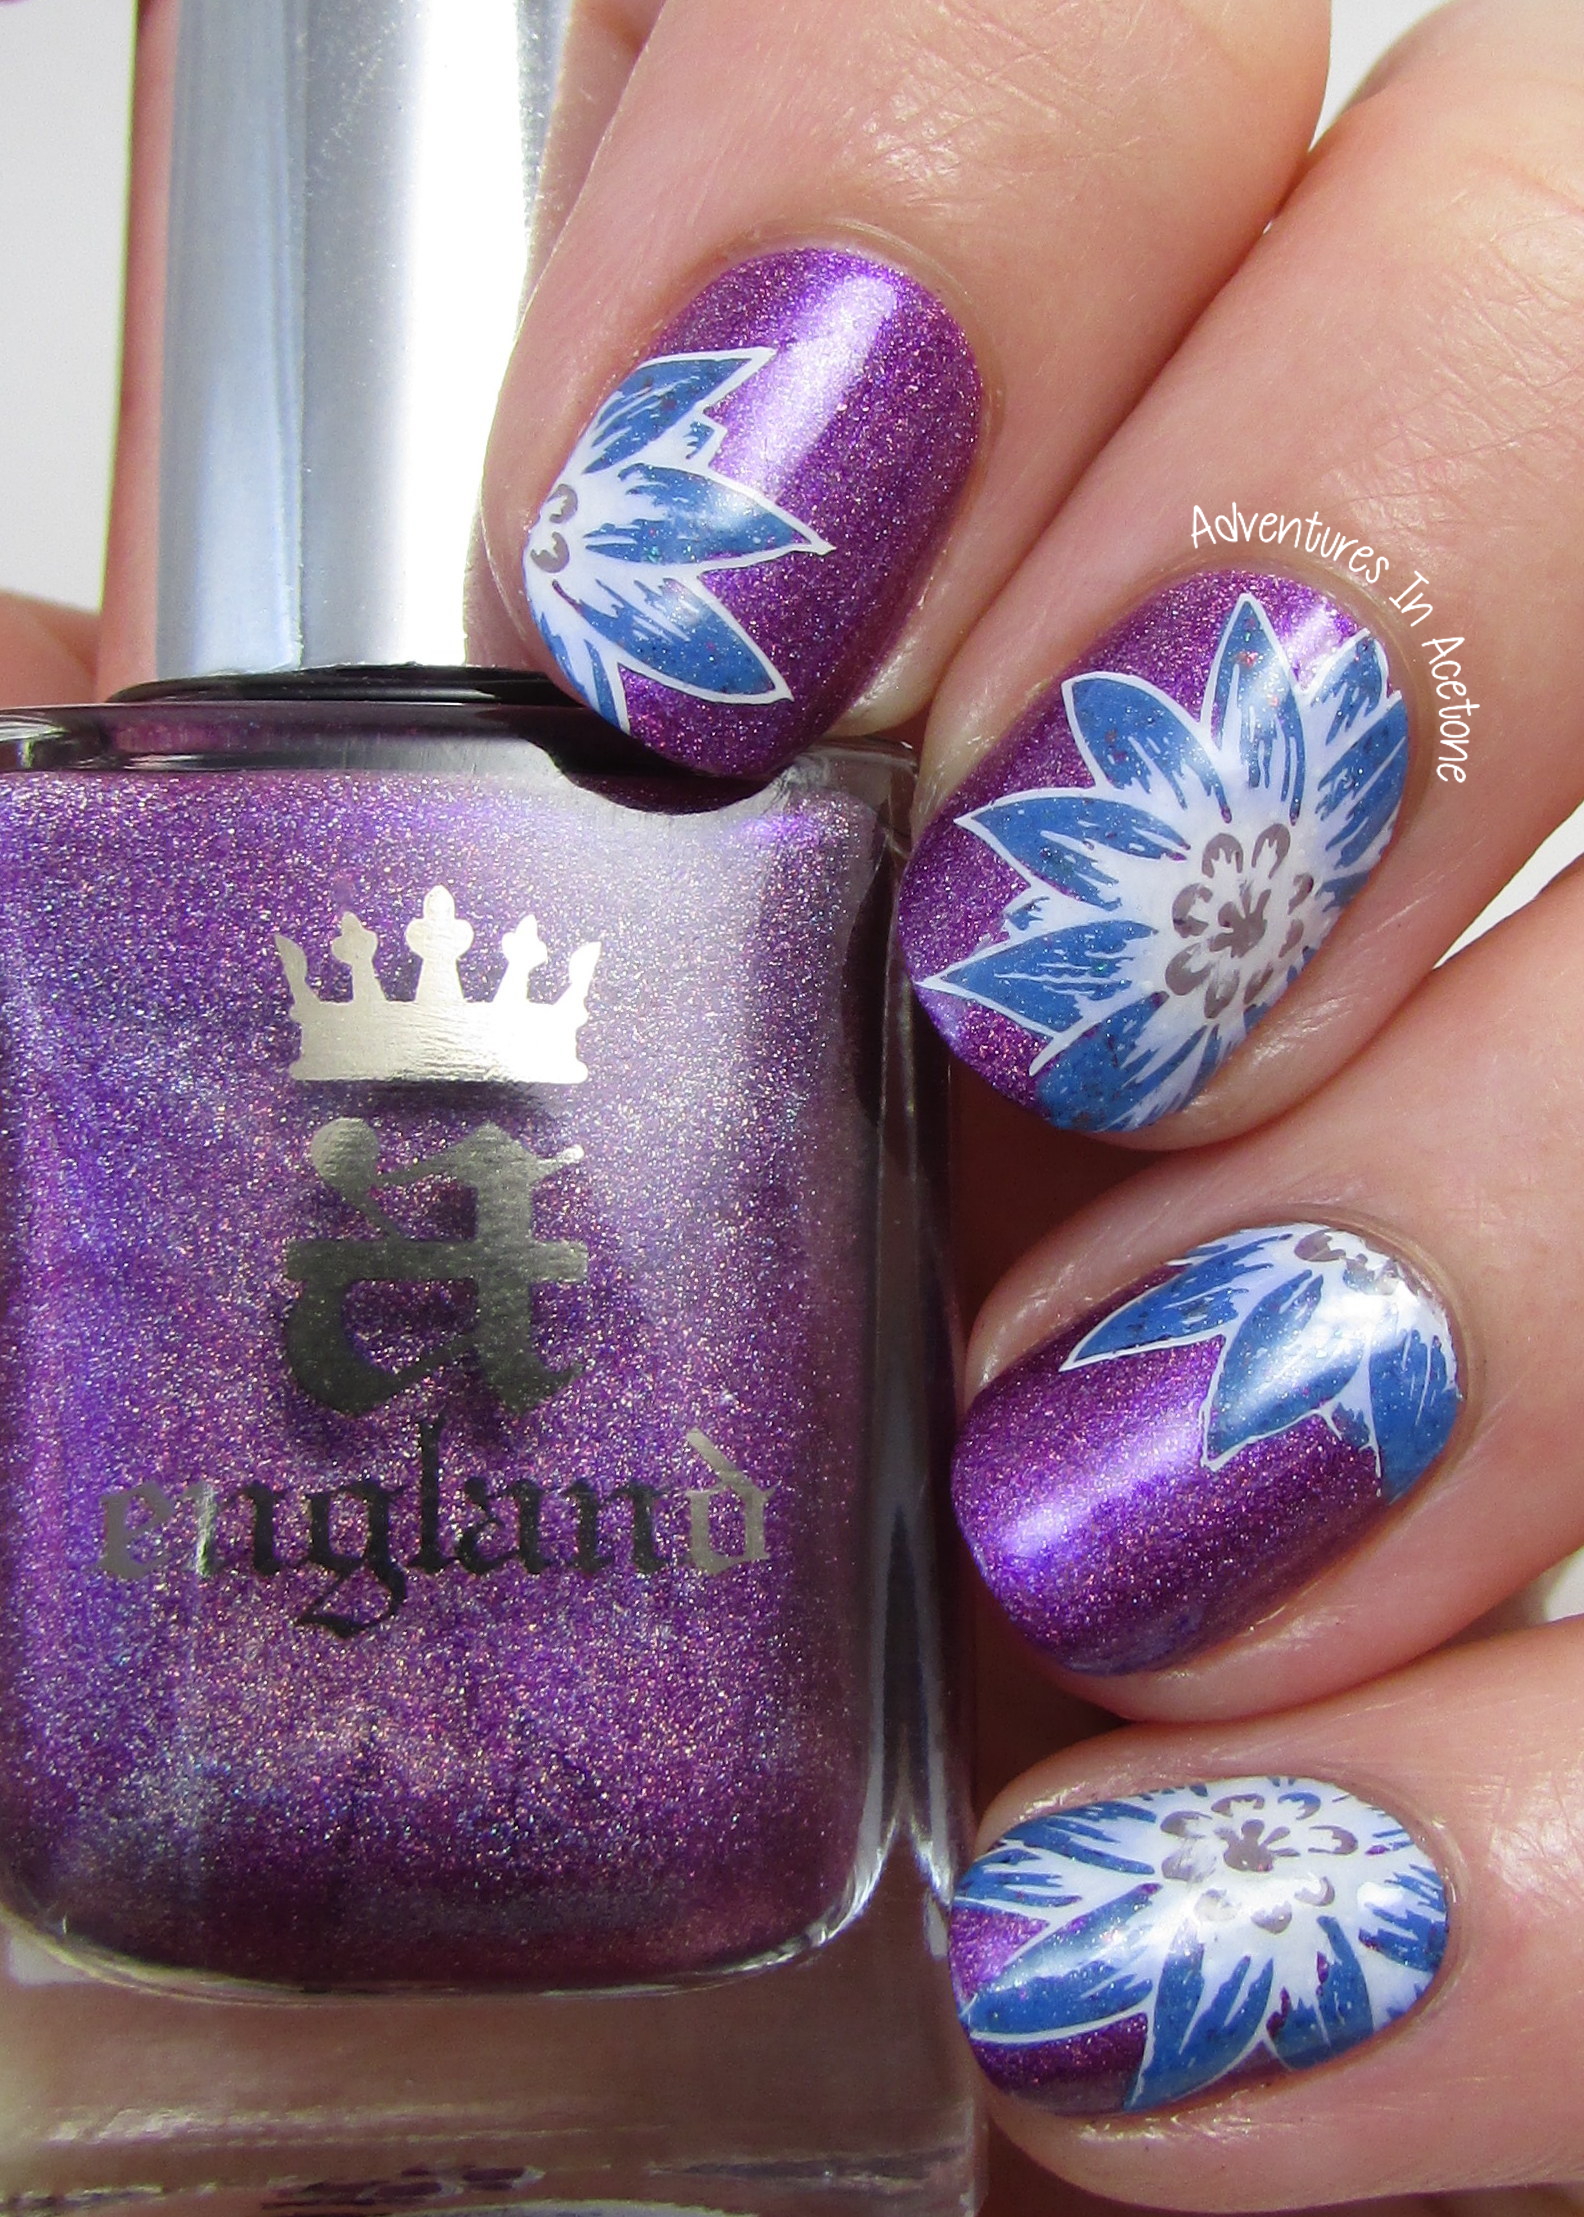
- I started out with a base of the GORGEOUS a-england Crown of Thistles, thanks to a dear friend who surprised me with it the same day. Two easy coats and a coat of KBShimmer Clearly on Top to seal it in. I’ll be honest and say it was dry for a couple of hours before I got to do the decals. I’m not sure if I will have the same easy experience the next time applying a decal, but I will report back.
- For the decal, I first painted a coat of Qtica Extending Top Coat onto the “nail spaces” of the mat and let dry completely.
- Then, I used Funky Fingers Gesso to stamp a flower image from the ÜberChic Plate 3-02 onto each top coated section of the mat and let dry.
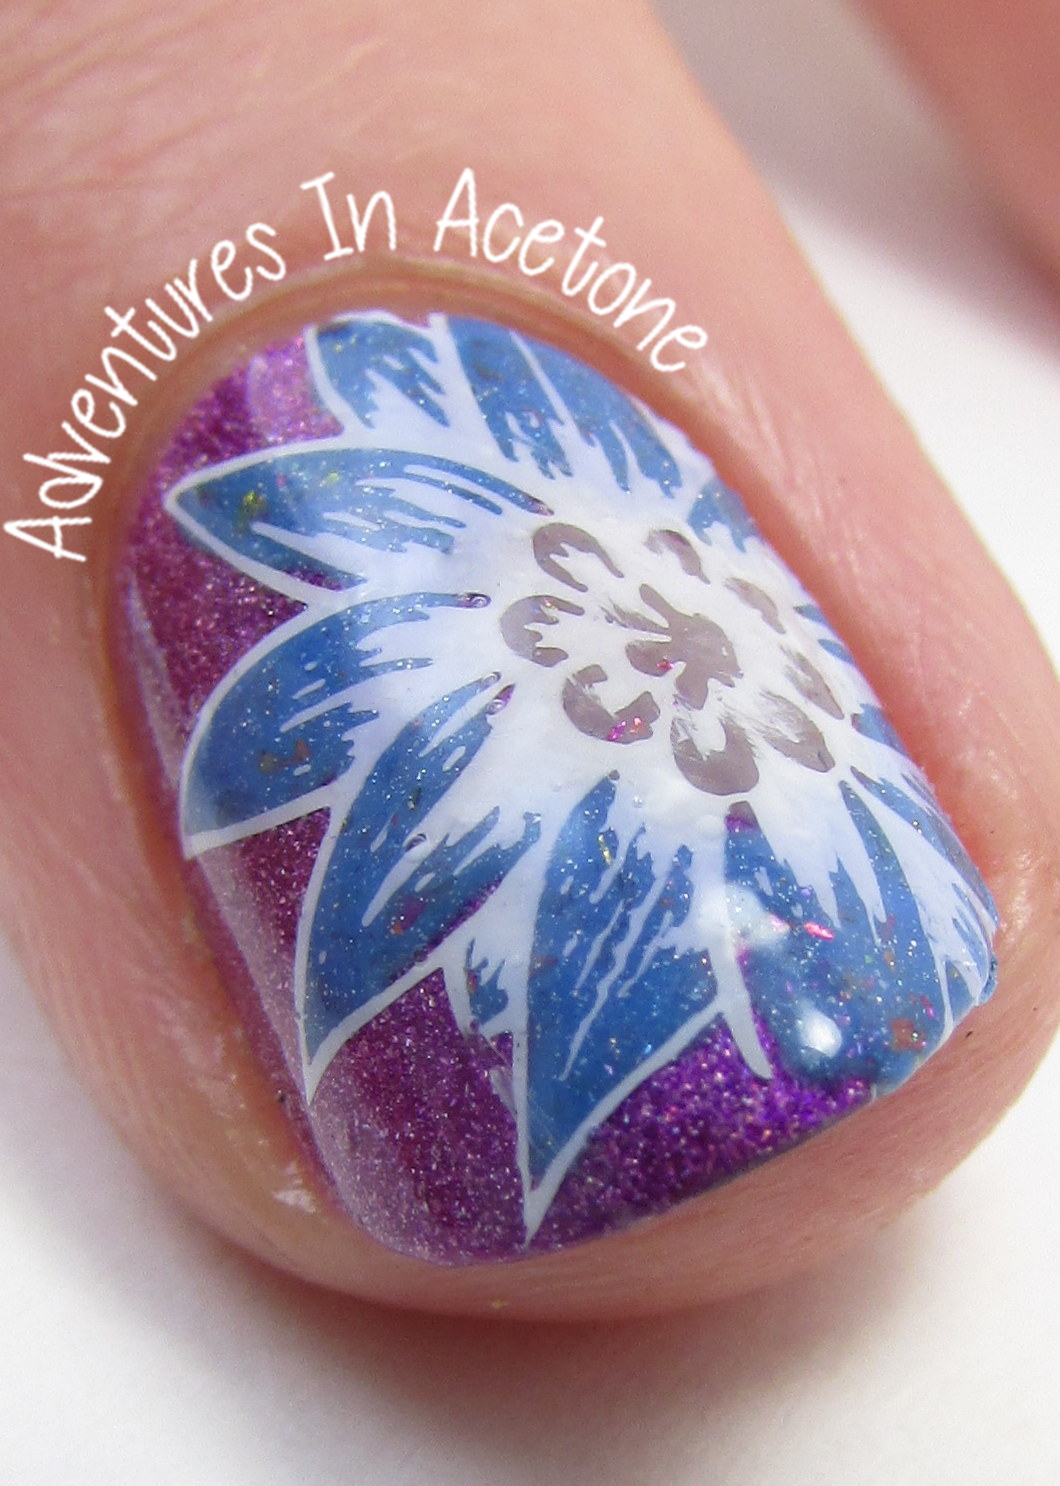
- Next, we come to the first photo in my collage. I grabbed my nail art brush and filled in the petals with Elevation Polish Cloud Peak.
- I used Elevation Polish Le Città invisibili and the nail art brush to fill in the centers of the flowers and then I let the decals dry.
- I used an orange stick to easily peel up one decal at a time and flipped it over to reveal the completed flower image.
- To prep the nail, the best idea I got from Serene’s video was to paint a latex barrier product around the nail for easier clean up. This prevented any cutting of the decal and it reduced the time for application. I used one easy coat of Girly Bits Border Patrol for this.
- I painted a thin coat of Qtica Extending Top Coat on the nail and then applied the decal to the desired location onto the wet nail and pressed down carefully, smoothing out any wrinkles or bubbles.
- I then took my cleanup brush dipped in acetone and wiped the cuticle line between the nail and latex to break the excess decal apart from the nail.
- I used an orange stick and easily peeled the Border Patrol off of the skin and the excess decal with it.
- One coat of KBShimmer Clearly on Top was added as the last step, to seal the edges of the decal onto the nail and to add shine back to the floral.
It really is as easy as that to get crisp images onto the nail. It did take me quite a long time for all of those steps on each nail compared to my normal free-handed painting, but I like having more options for nail art and can’t wait to try some more decals.
The Über Mat is currently sold out but is expected to restock August 28th so keep an eye on the ÜberChic Facebook for updates on that. I am definitely glad I bought it.
If you enjoyed this post, please Sign Up for email updates and you will have the latest news, reviews, nail art, and tutorials delivered right to your inbox! Never miss a post from Adventures In Acetone again. Thank you so much for reading.
– Let’s paint something amazing! –

Comments
So gorgeous! That’s amazing for your first decal attempt! Can’t wait to see what else you come up with!
This mat seems to be a very popular item in the nail art world at the moment. I will probably order one when it becomes available again, even though I’m not that much into stamping. Maybe the mat will encourage me to get all my stamping gear out! The mani you created is very pretty! Thank you for including photos of the method.