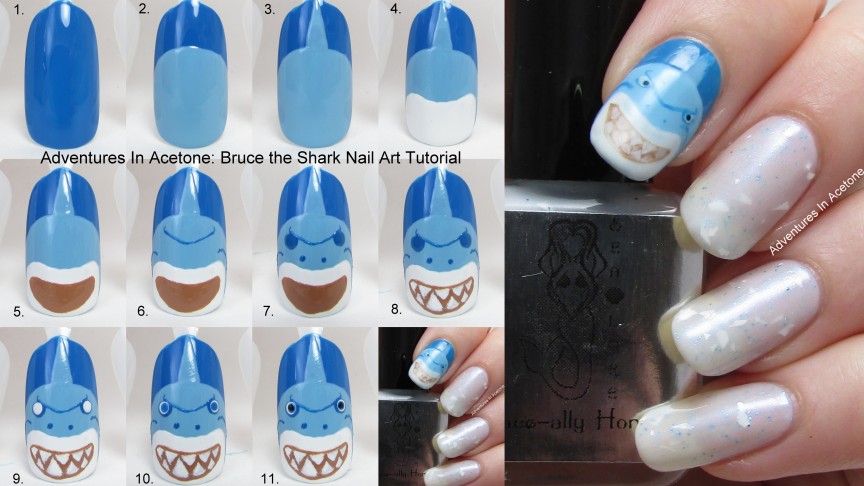
It’s Shark Week! I’m sure you’ve seen tons of shark nail art popping up all over the internet lately, I definitely did! I wanted to join in with this week’s Tutorial Tuesday, we are looking way back to my Bruce the Shark mani from almost 2 years ago and I’ll show you how to recreate it. I did this mani, and a handful of others during my Sea Lore FALLing for Nemo Week, so check out the other Finding Nemo manis if you are a fan! This tutorial is a bit more in depth than some of my previous and will require the use of a thin nail art brush for a few detail lines. Check it out, you may be able to alter it a bit if you aren’t comfortable making the thin lines.

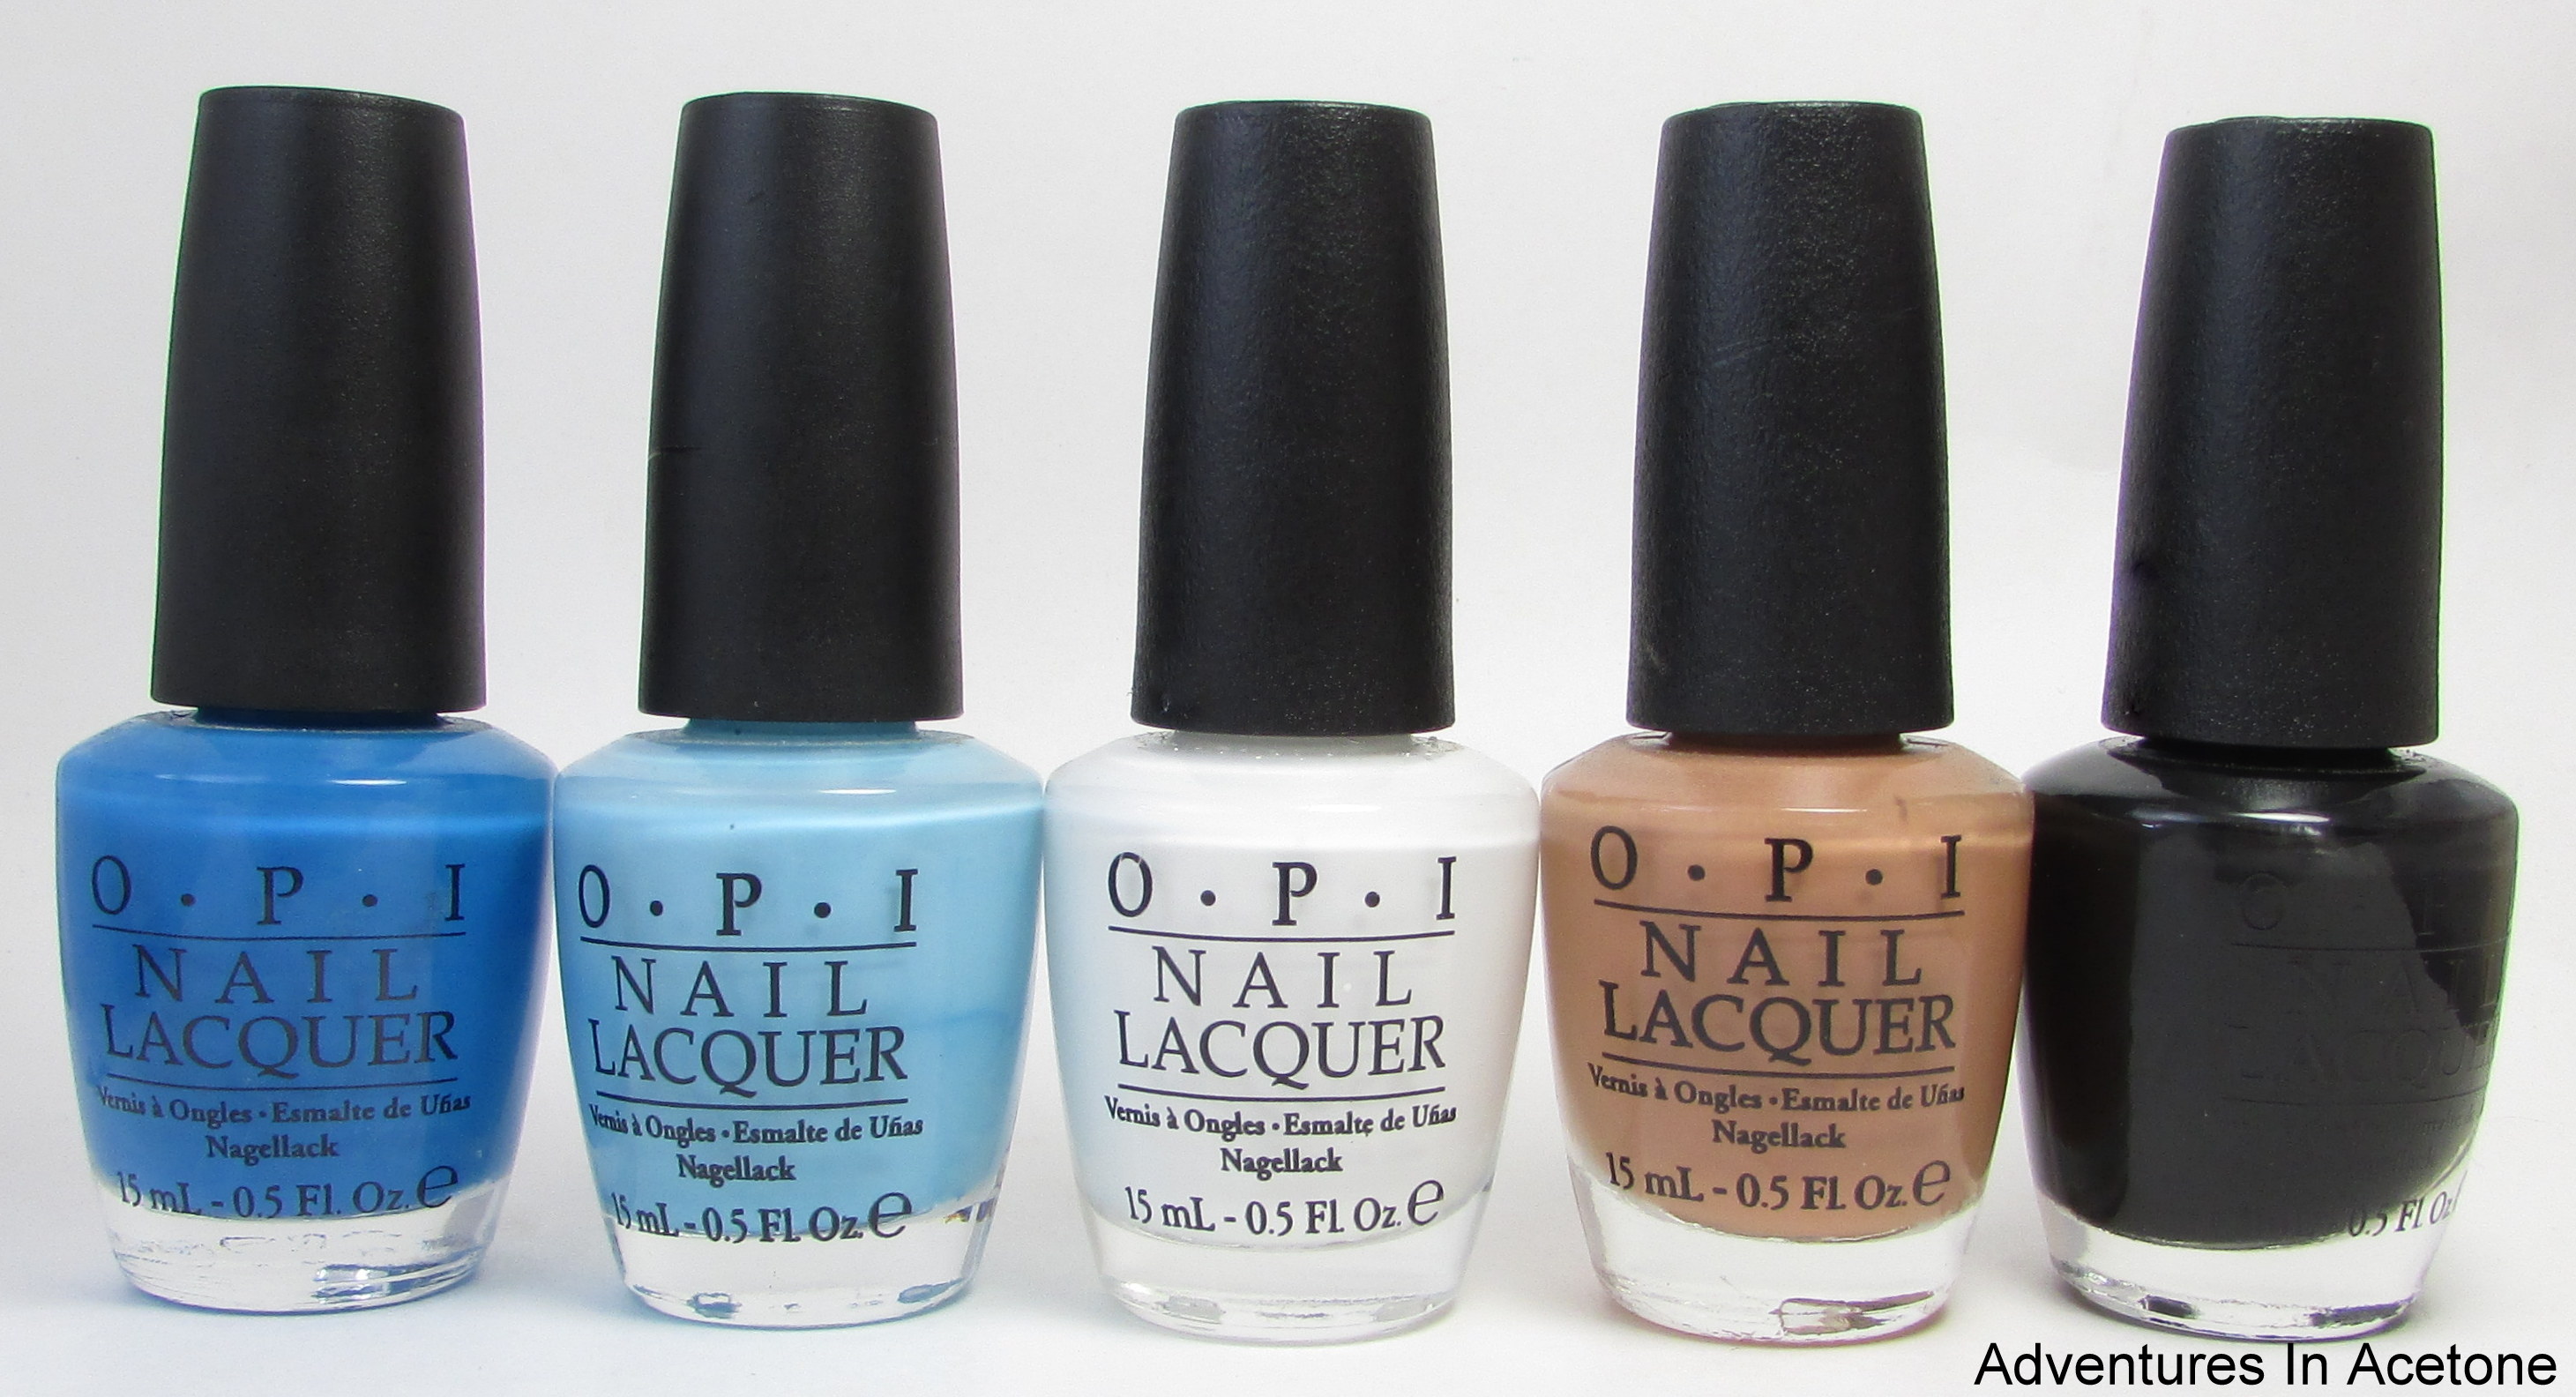
Polishes used: OPIs Ogre-the-Top Blue, What’s With the Cattitude?, Alpine Snow, Going My Way or Norway?, and Black Onyx.

Tools used: striper nail art brush, medium dotting tool, small dotting tool, tiny dotting tool.
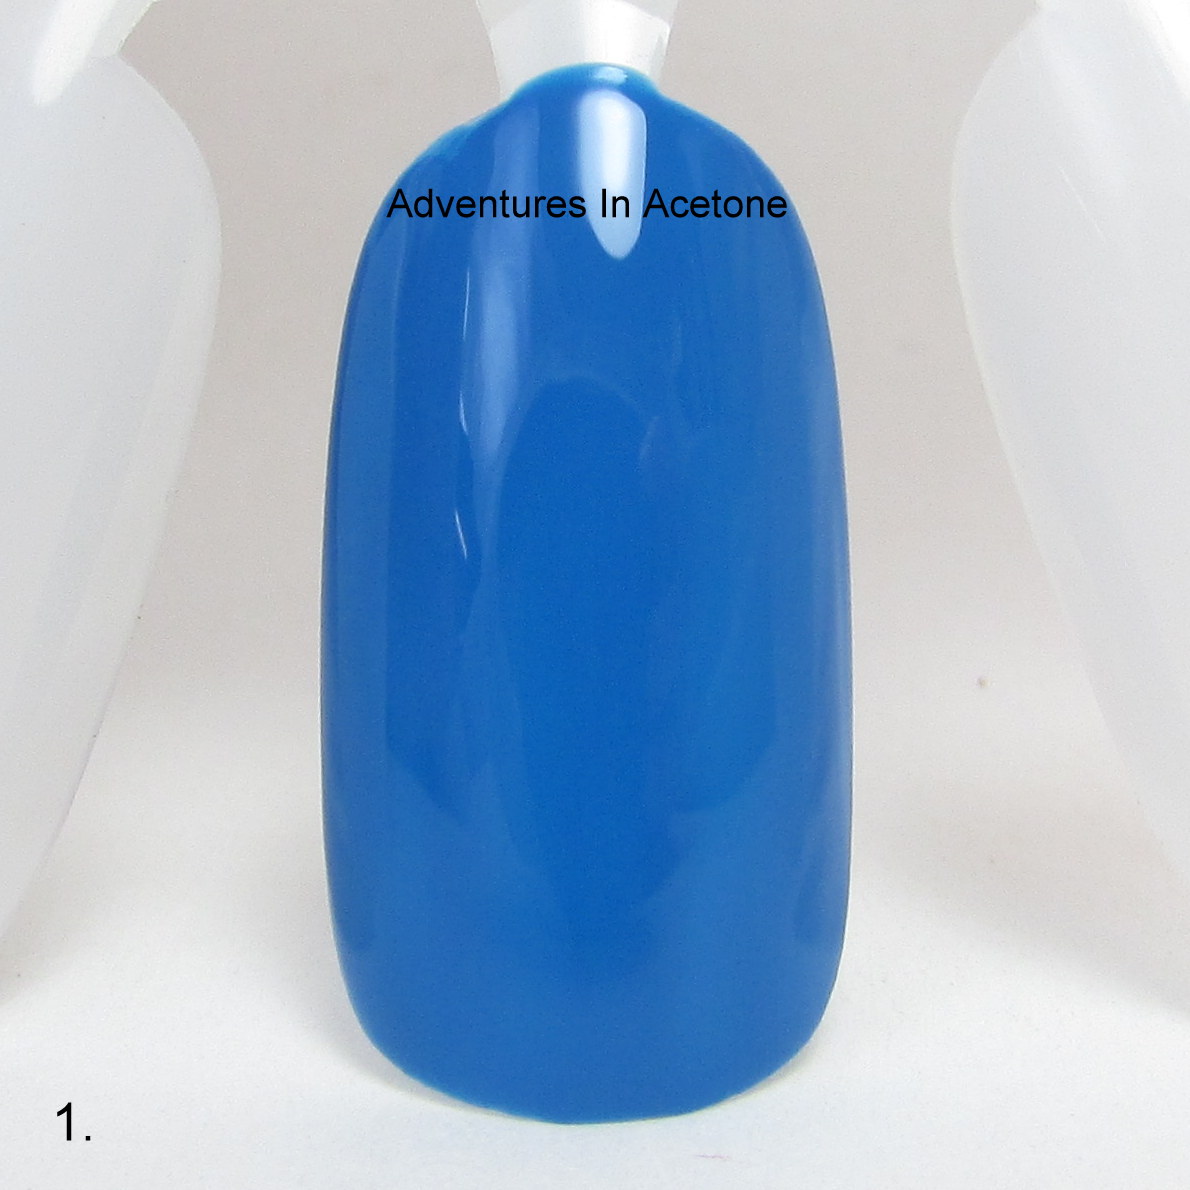
Step 1) Paint two coats of OPI Ogre-the-Top Blue on the entire nail and let dry.
Step 2) Use OPI What’s With the Cattitude? to paint the bottom 2/3 of the nail with a rounded top. I had to do a couple of coats to get it opaque enough.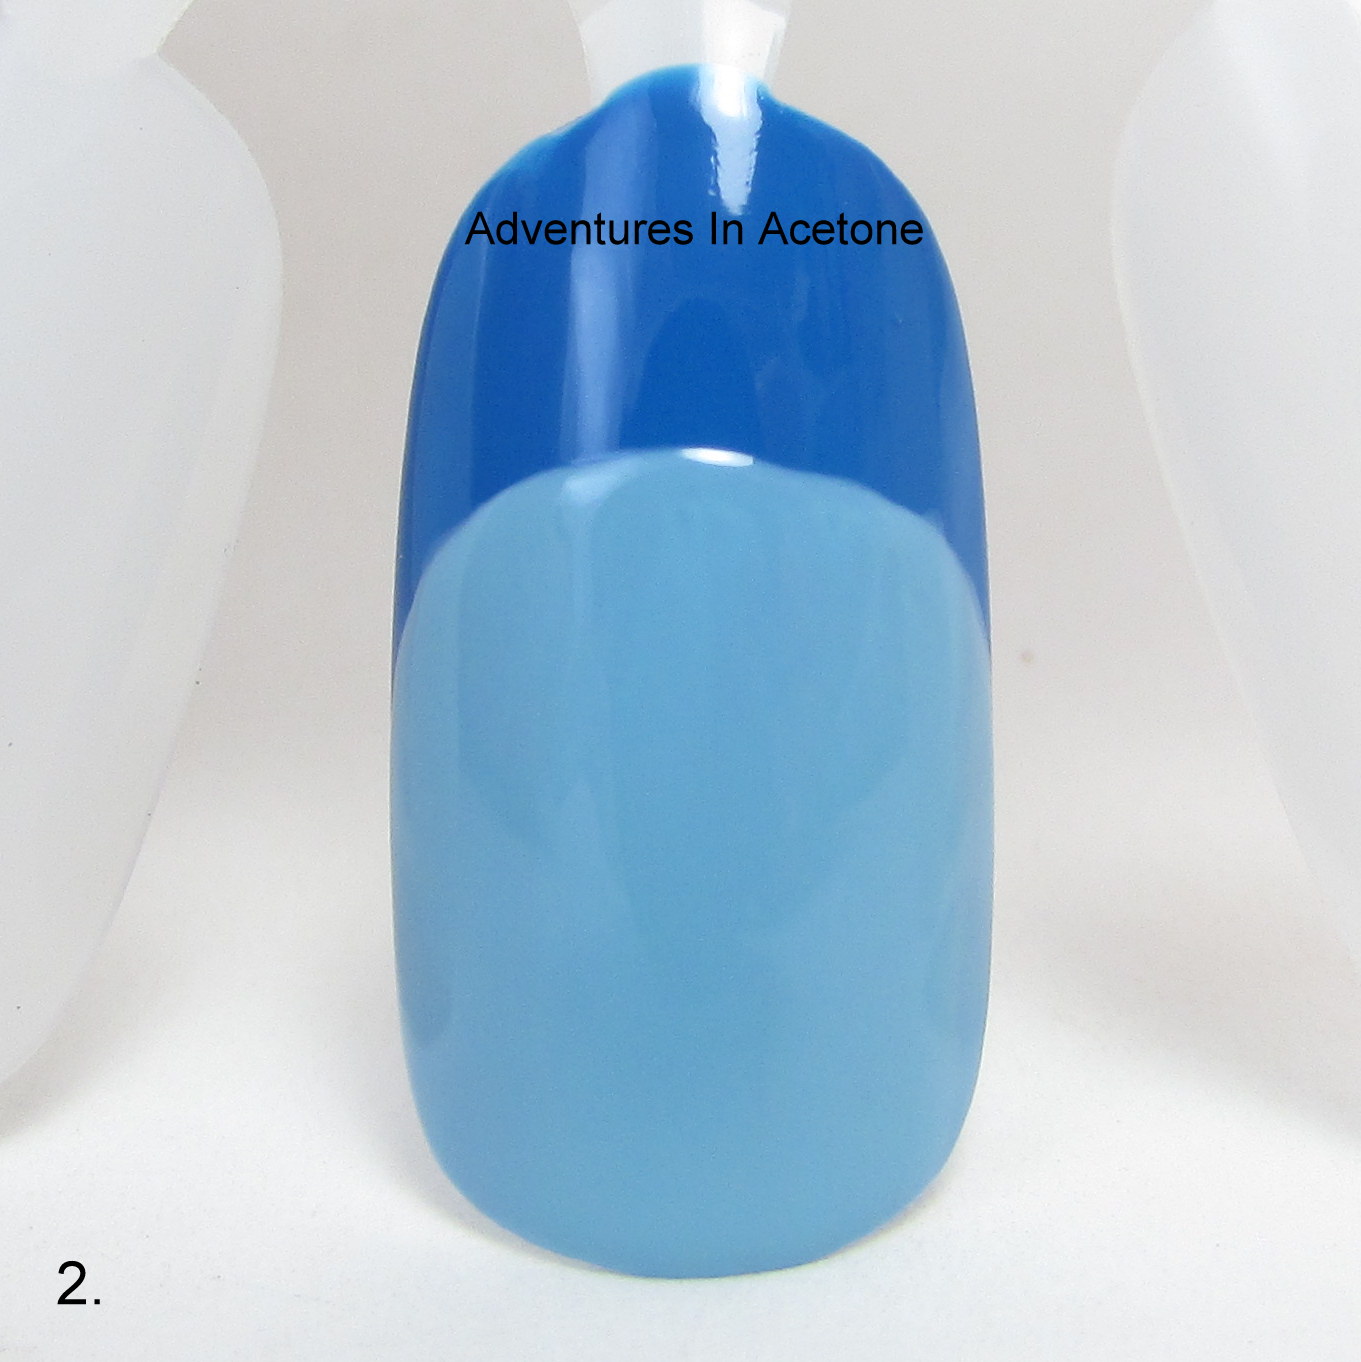
Step 3) Use your striping nail art brush dipped in OPI What’s With the Cattitude to make a tall and narrow triangle from the top of the head to the cuticle line for the shark fin.
Step 4) Use your striper brush and OPI Alpine Snow to do a lower face shape on the bottom half of the nail. I did this with a curved top because we will be doing a curved mouth next. For me, it was easier to do the outline with the nail art brush and then used the polish bottle brush to fill it in evenly.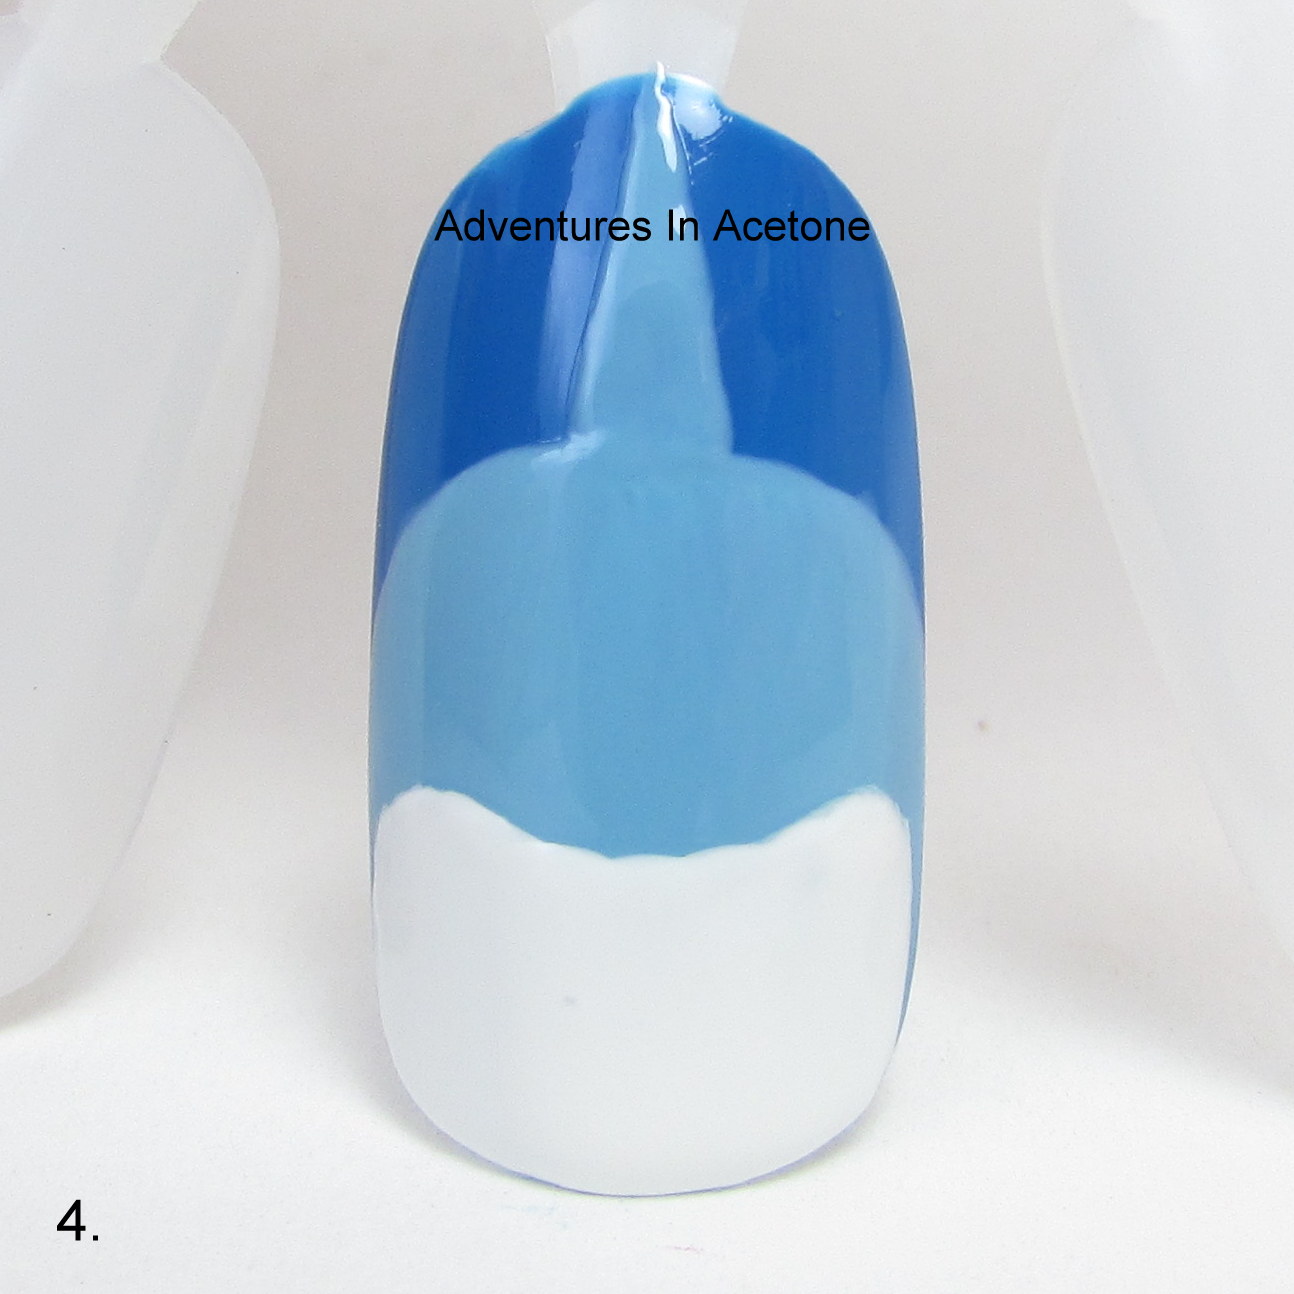
Step 5) Use the striper brush and OPI Going My Way or Norway? to paint a big open mouth grin and fill it in completely.
Step 6) While you are waiting for the mouth to dry, grab OPI Ogre-the-Top Blue and the striper brush to paint some detail lines. I’ve done a wide V shape for the forehead and curved the edges up. I also did a cheek smile wrinkle on both sides. 
Step 7) Get out your medium and tiny dotting tools. Dip them in OPI Ogre-the-Top Blue and do nostril dots and big eye sockets on the outside of the V head detail.
Step 8) Once the mouth has dried, use your nail art brush and OPI Alpine Snow to paint some triangle teeth on the top and bottom. Mine aren’t perfect but top coat helps smooth them out in the end. If you don’t feel comfortable about doing triangles for teeth, you can paint the inside of the mouth white and use the tan to do a zig zag for the effect of teeth like you would a jack-o-lantern.
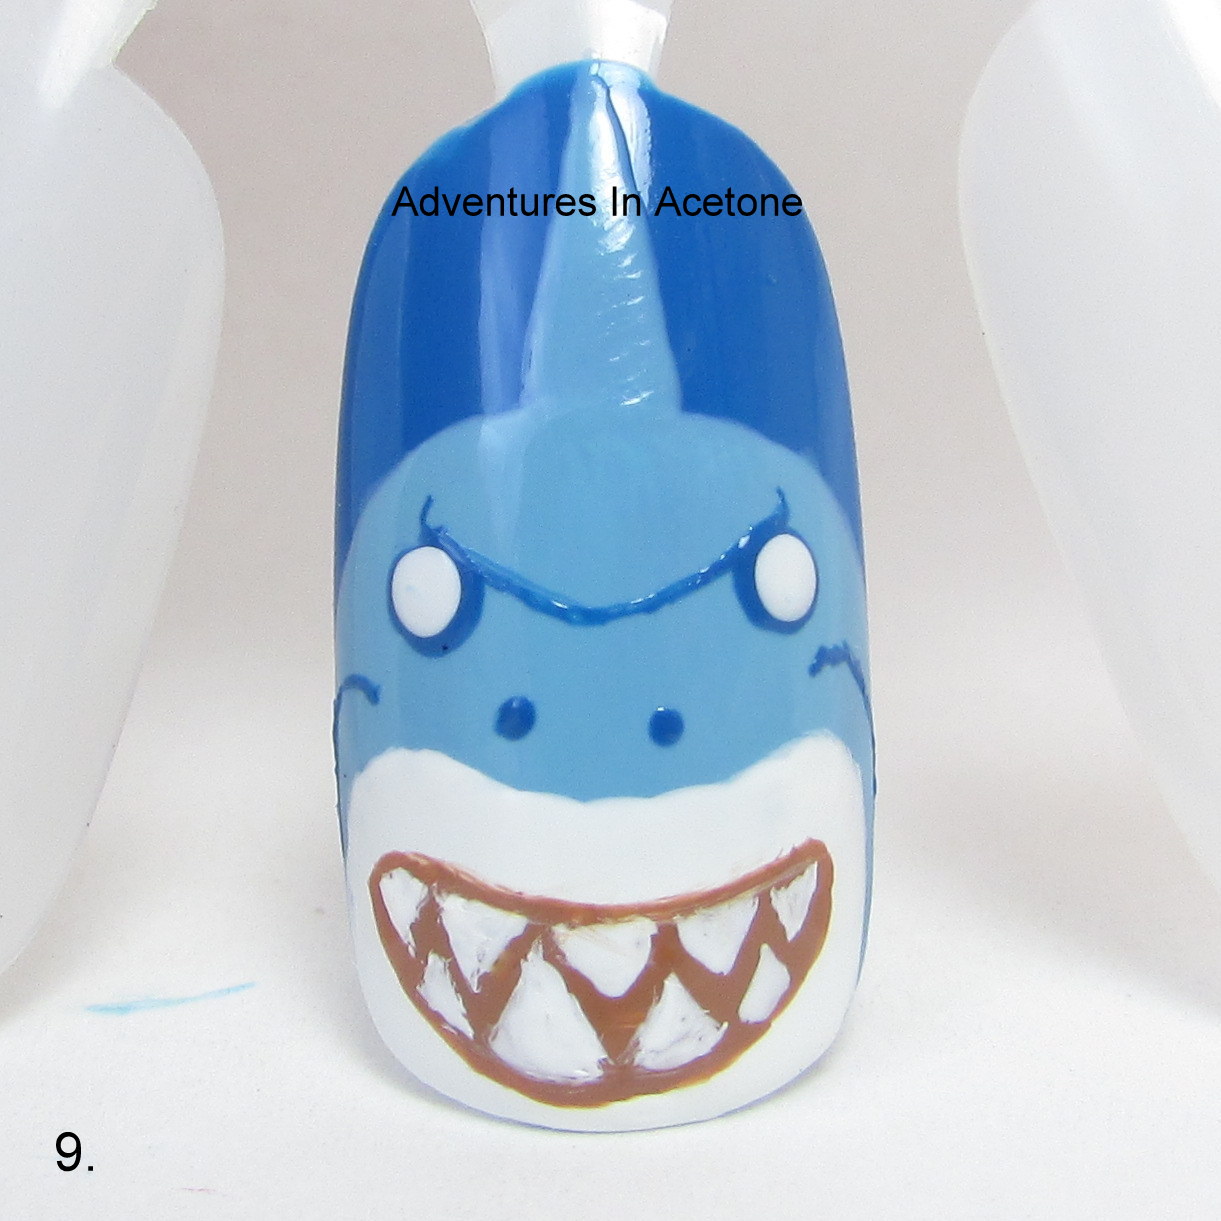
Step 9) Use the small dotting tool dipped in OPI Alpine Snow to do the eye balls over the blue sockets. I did them slightly off centered from the blue.
Step 10) OPI Ogre-the-Top Blue on your small dotting tool can make the colored part of the eye. I did this with the same dotting tool as the white, but I didn’t touch it down as much so it made a smaller circle.
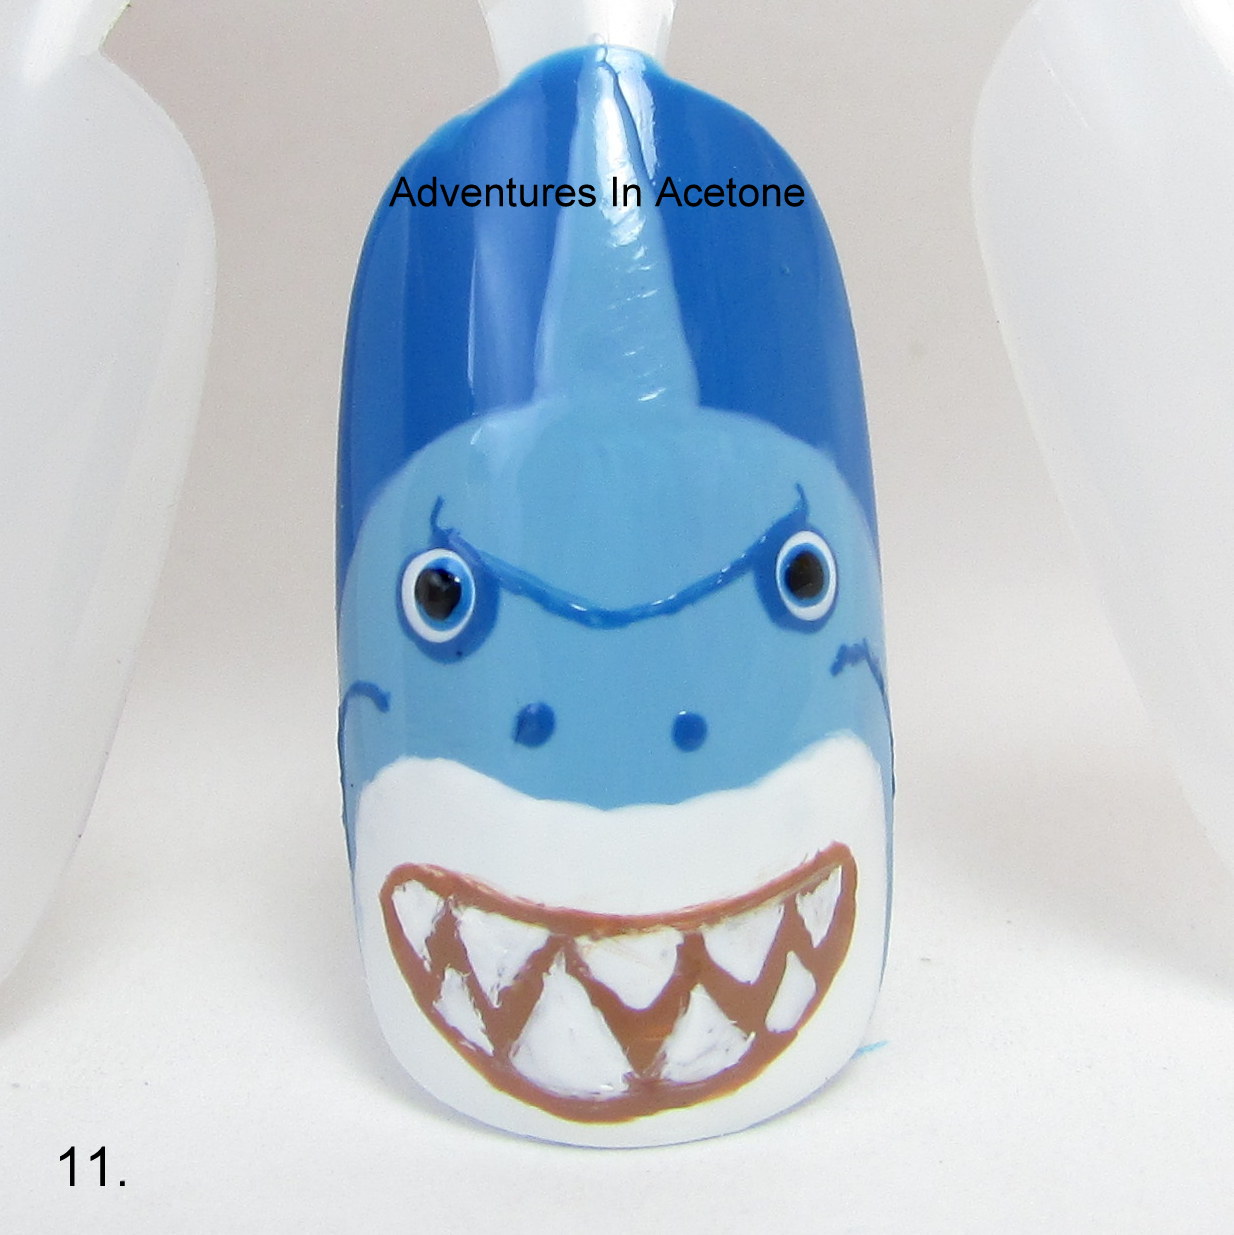
Step 11) OPI Black Onyx on the tip of the tiny dotting tool make the pupils of the shark eyes.
After this step, I also added a coat of top coat to seal in the design and add shine. I recommend thicker quick drying top coats like Seche, Poshe, KBShimmer, or HK Girl for topping nail art. Get a large dollop of top coat on the brush and hover above the nail spreading the top coat without touching the bristles to the design. Thinner top coats can drag the image so use those at your own risk.
What do you think of this design and tutorial? Are you planning to try it out for your Shark Week mani? I would love to see your recreations so if you share on Instagram or Facebook, please tag me or post to my page! Thank you so much for reading.
If you enjoyed this post, please Sign Up for email updates and you will have the latest news, reviews, nail art, and tutorials delivered right to your inbox! Never miss a post from Adventures In Acetone again. Thank you so much for reading.
– Let’s paint something amazing! –
