
Good afternoon, readers! Are you ready for another Tutorial Tuesday? Fourth of July is this weekend and I know a lot of my US Readers will be planning out their patriotic nails for the holiday–so why not dedicate this week’s tutorial to what I wore on my nails last Fourth of July? I love all galaxy manis and this was no exception–it is actually my favorite way of wearing red, white, and blue together in nail art! Also, it is SUPER easy–no nail art skill required. All you need is a sponge torn up into tiny pieces, a dotting tool, and a variety of different polishes (from opaque colors to sheer shimmer toppers). Take a look below!
With galaxy nails, it’s all about layering colors and shimmers. Make sure you have some sheer shimmers or flakes to complete the look. You don’t have to use the same colors I have, some are hard to get now anyway, but the main idea is that you will need some reds, blues, at least one white, and some shimmery toppers. Another great thing about galaxy nails is that no two nails have to look the same. Or even similar, really. I’ll show you the concept below and you can change it up from nail to nail for different looks.
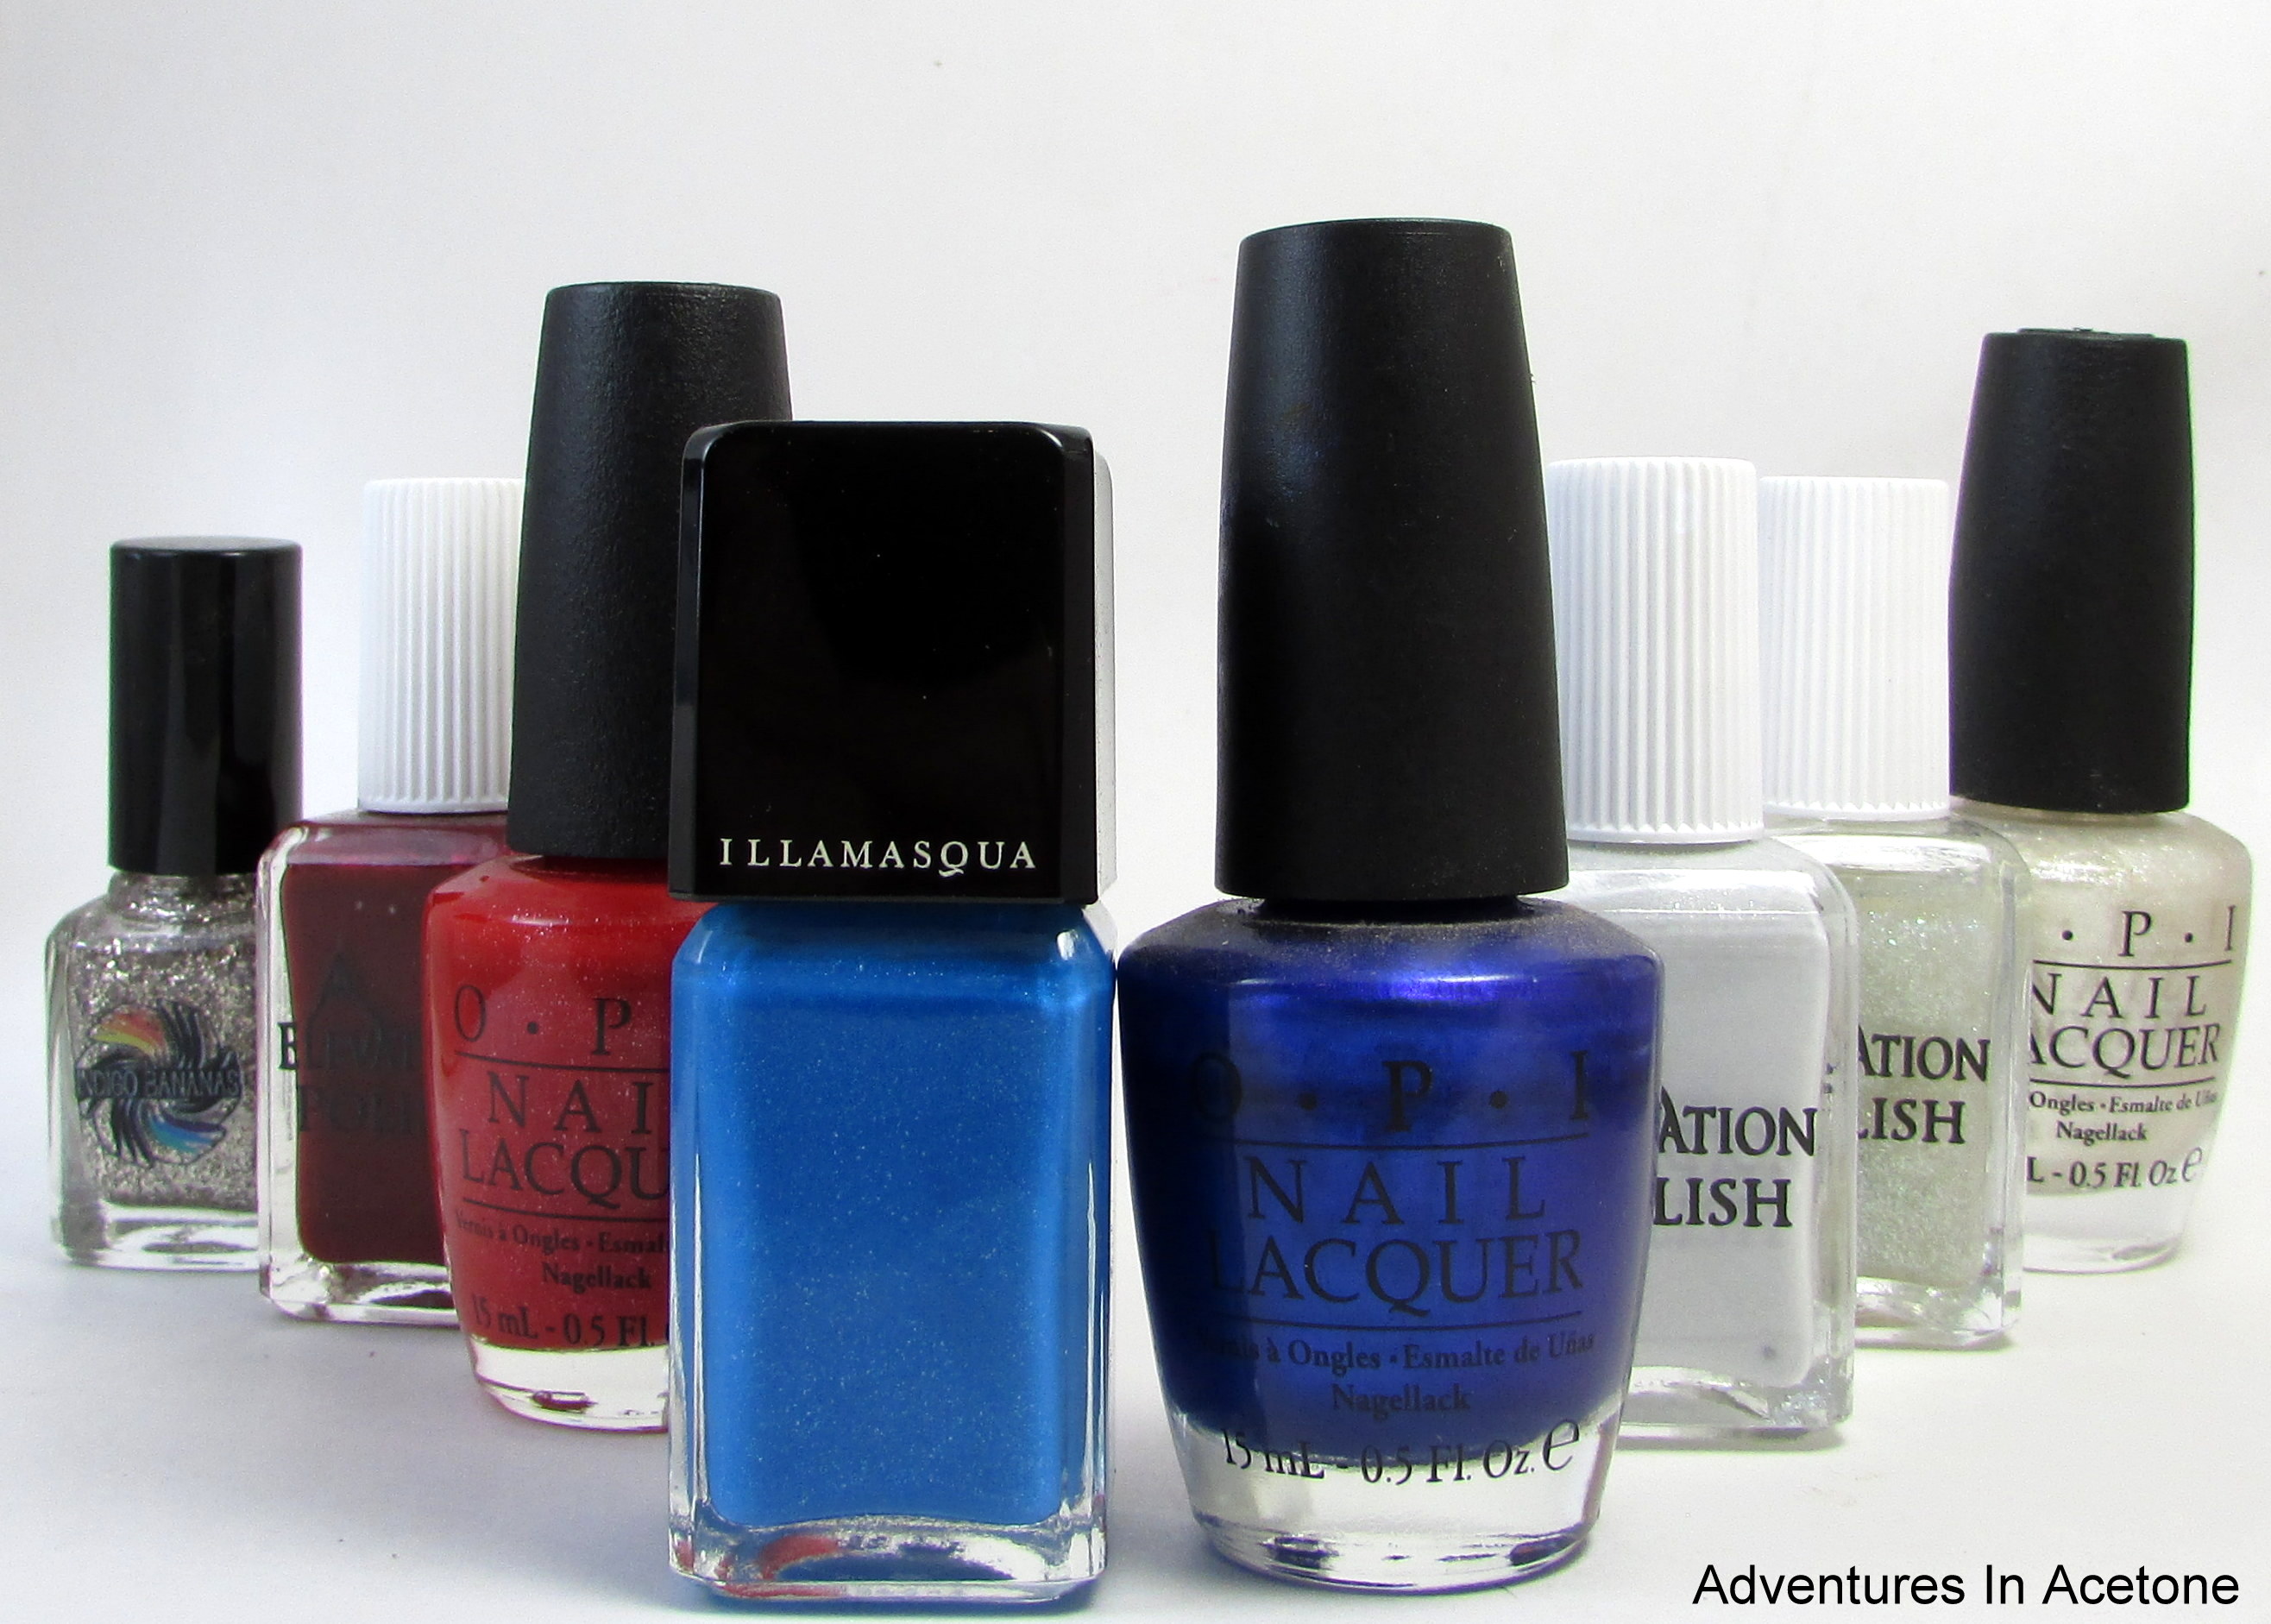
Polishes used: Indigo Bananas Moonlight, Elevation Polish Volcanic Dust, OPI Love Athletes in Cleats, Illamasqua Fern, OPI Blue My Mind, Elevation Polish Weddell Sea, Elevation Polish Pitaraq, and OPI Girls Love Diamonds.
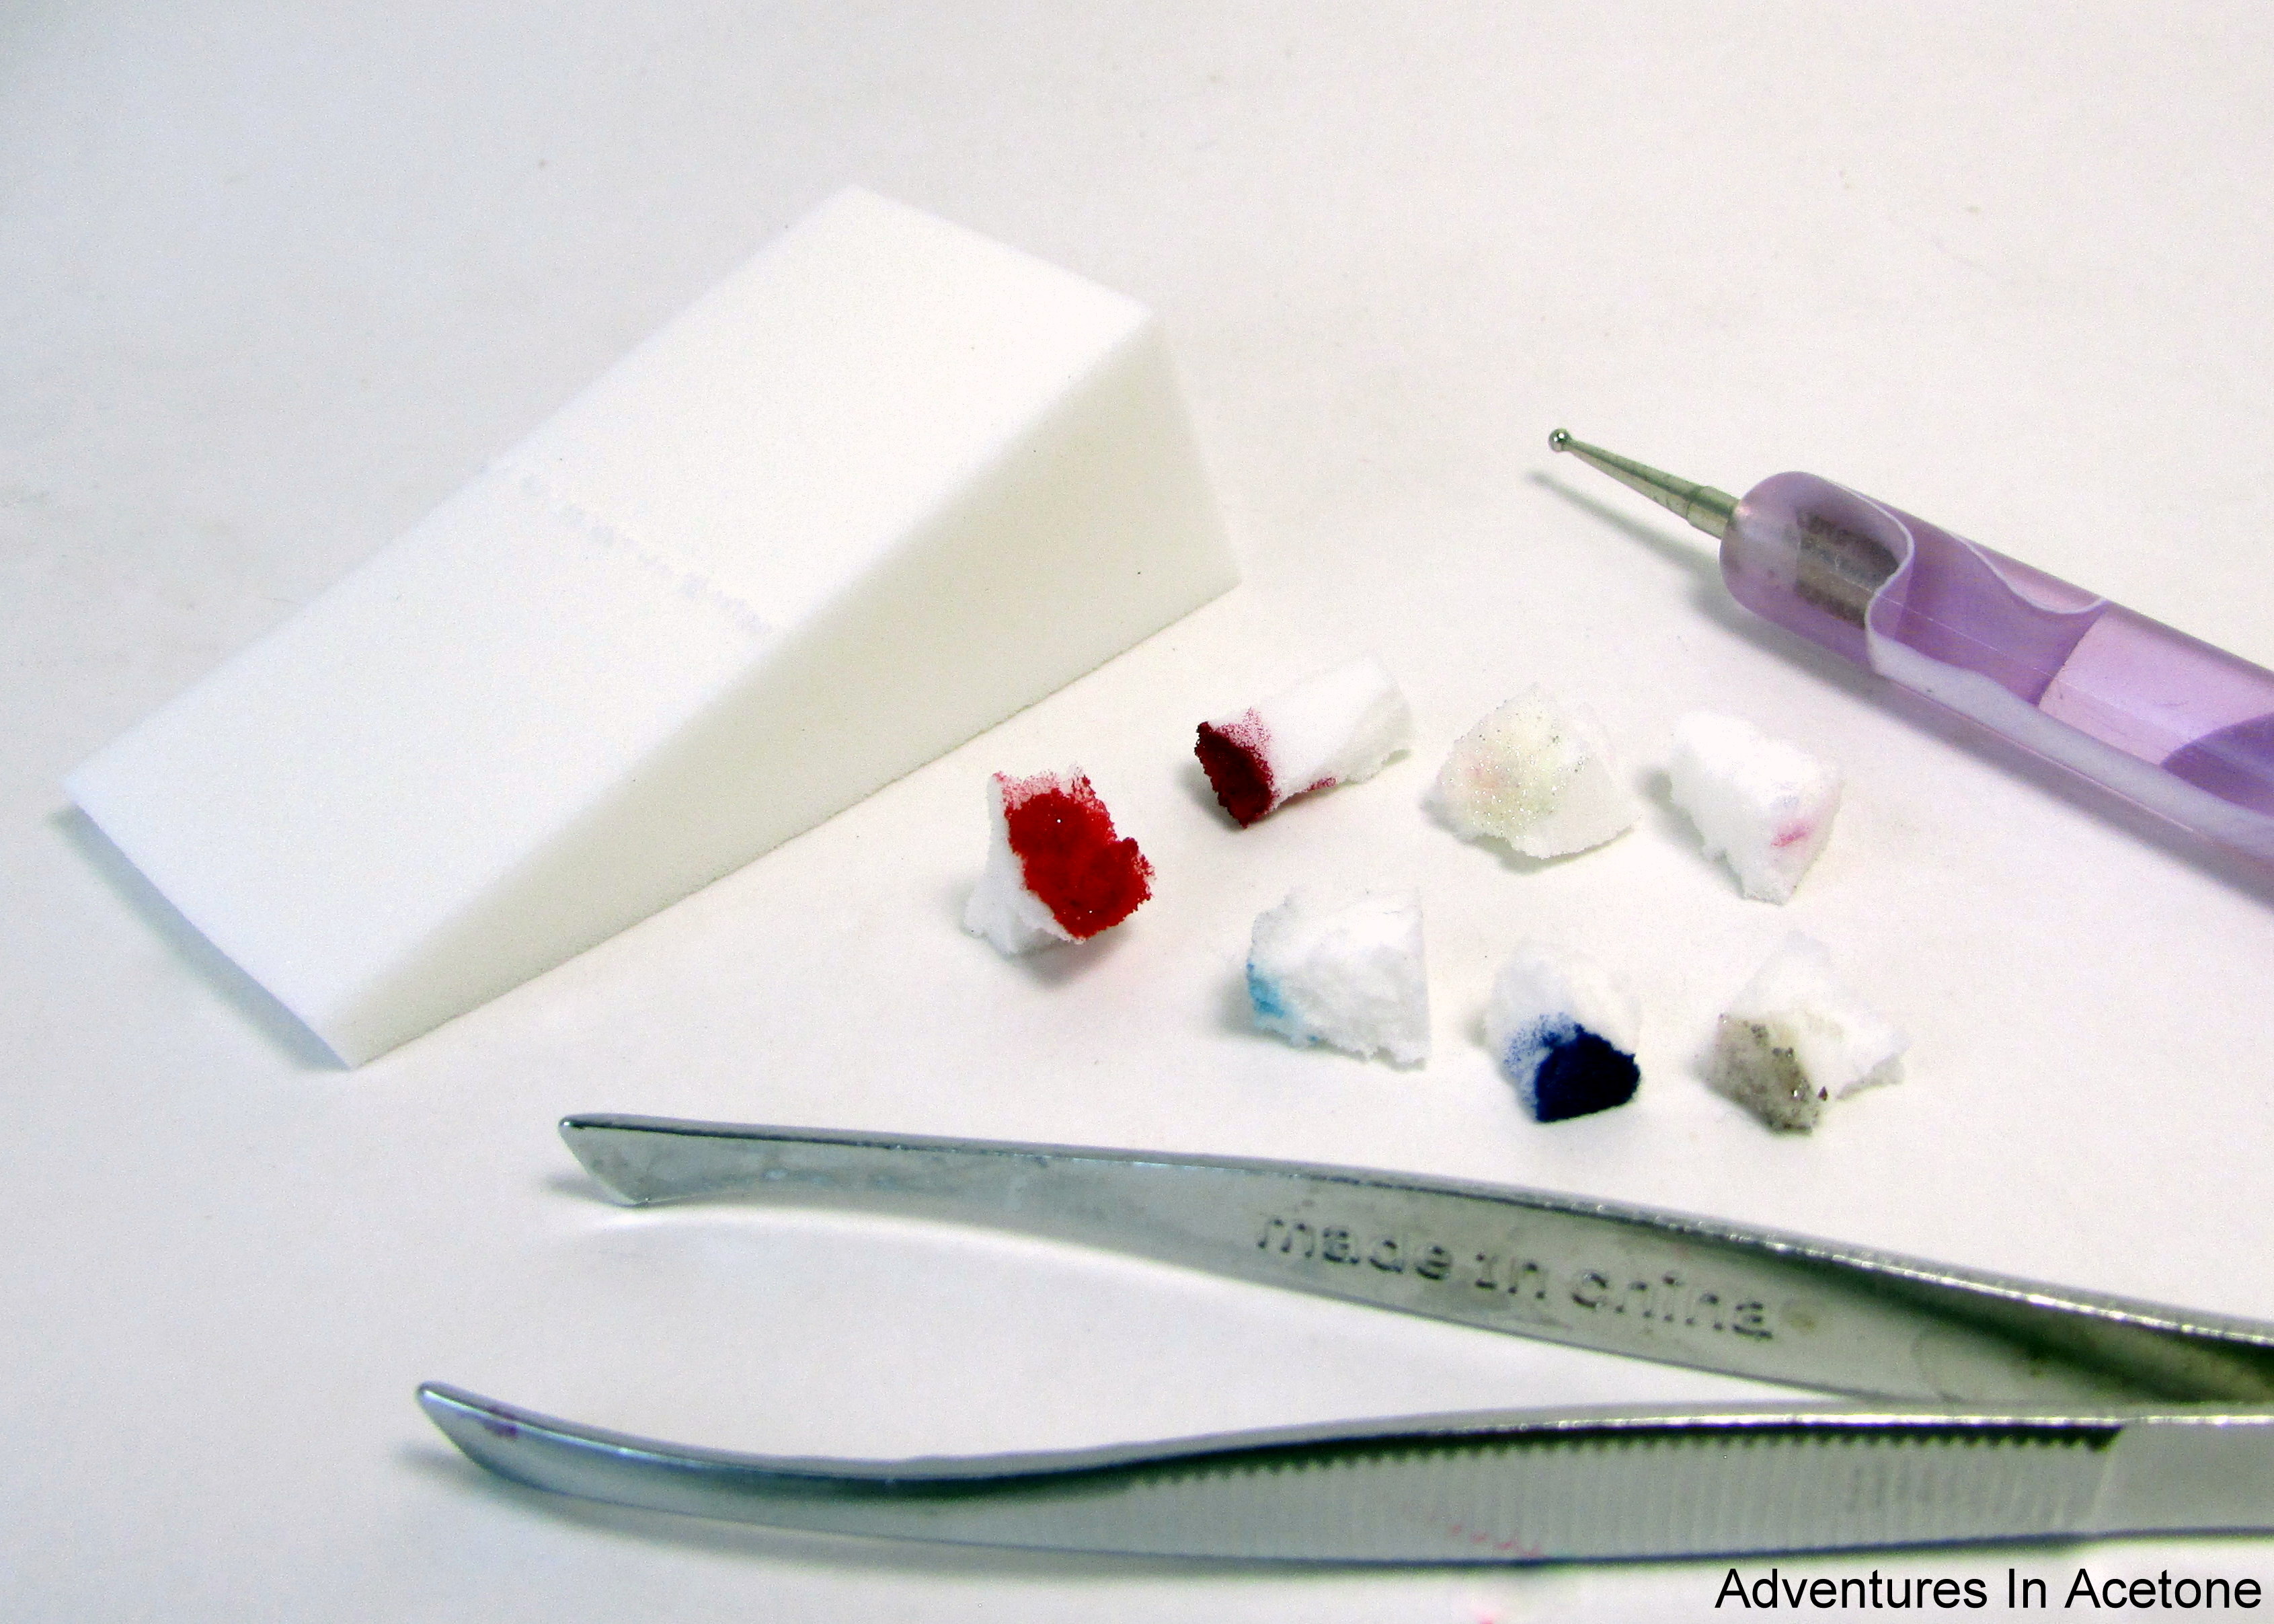
Tools used: A makeup sponge (shown are the tiny pieces I used–one for each color that I was sponging on during the tutorial), tweezers to hold the sponge pieces (optional), and a small dotting tool.
Let’s get started!
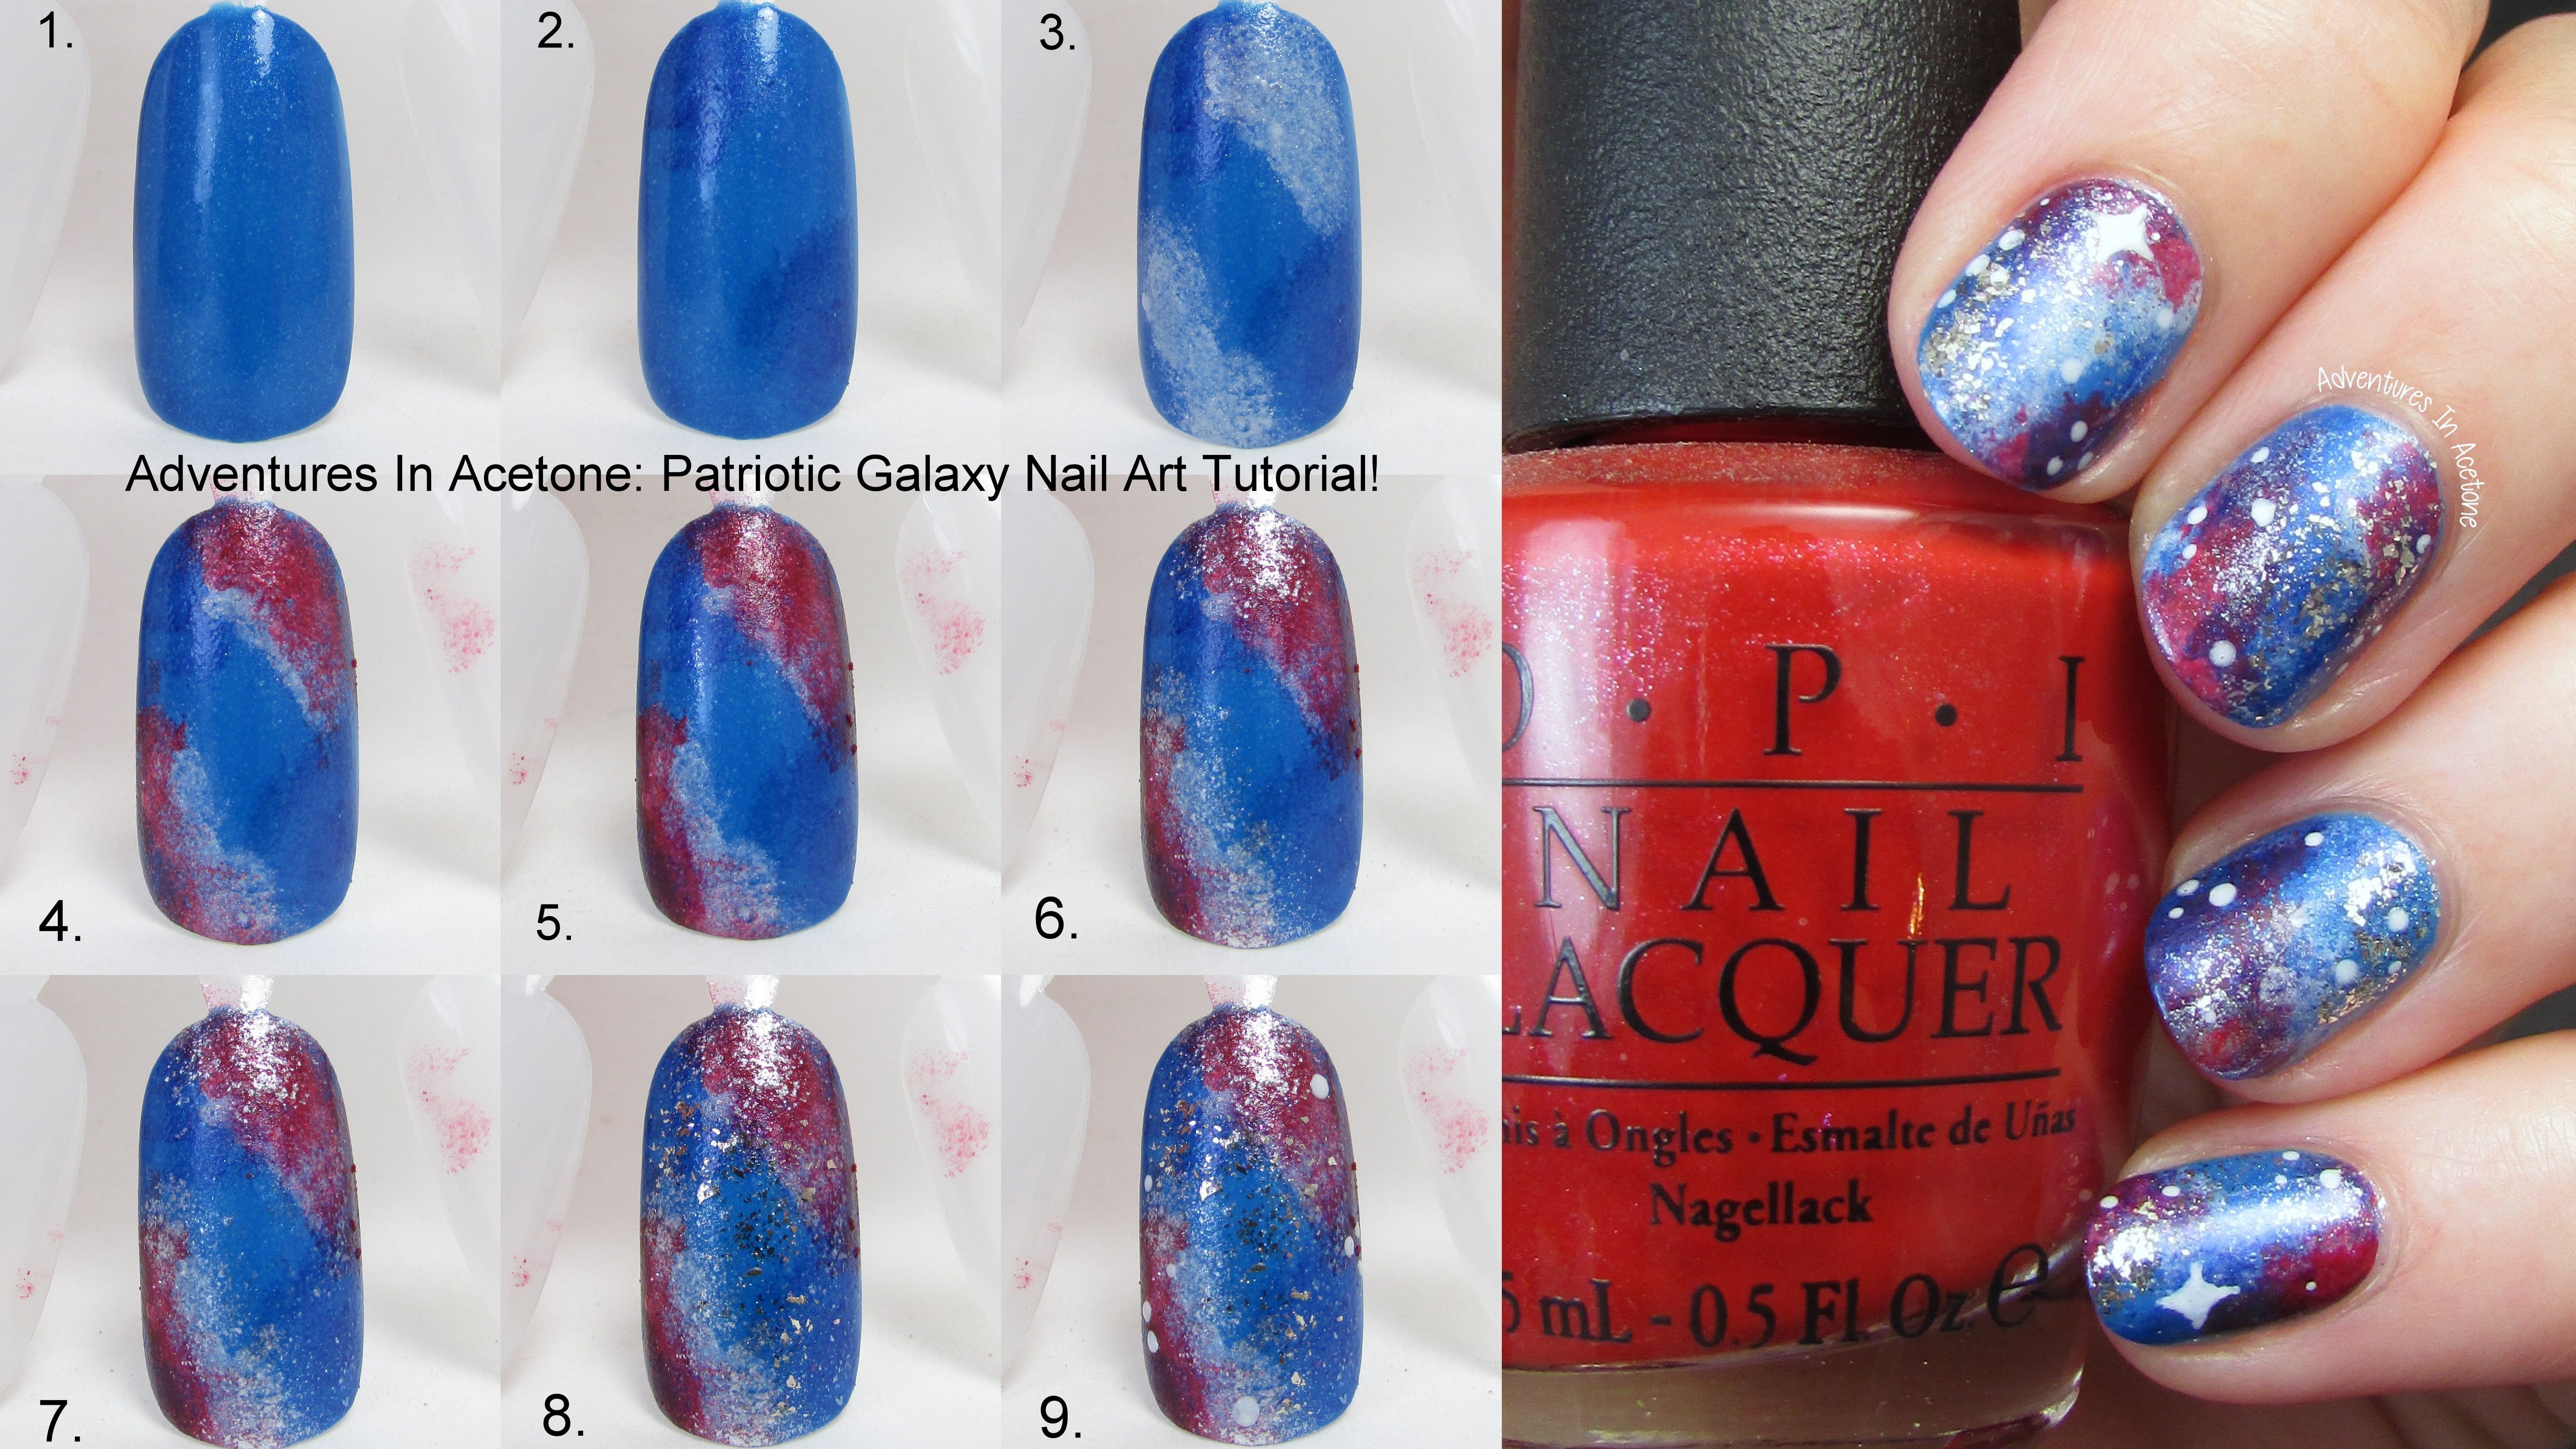
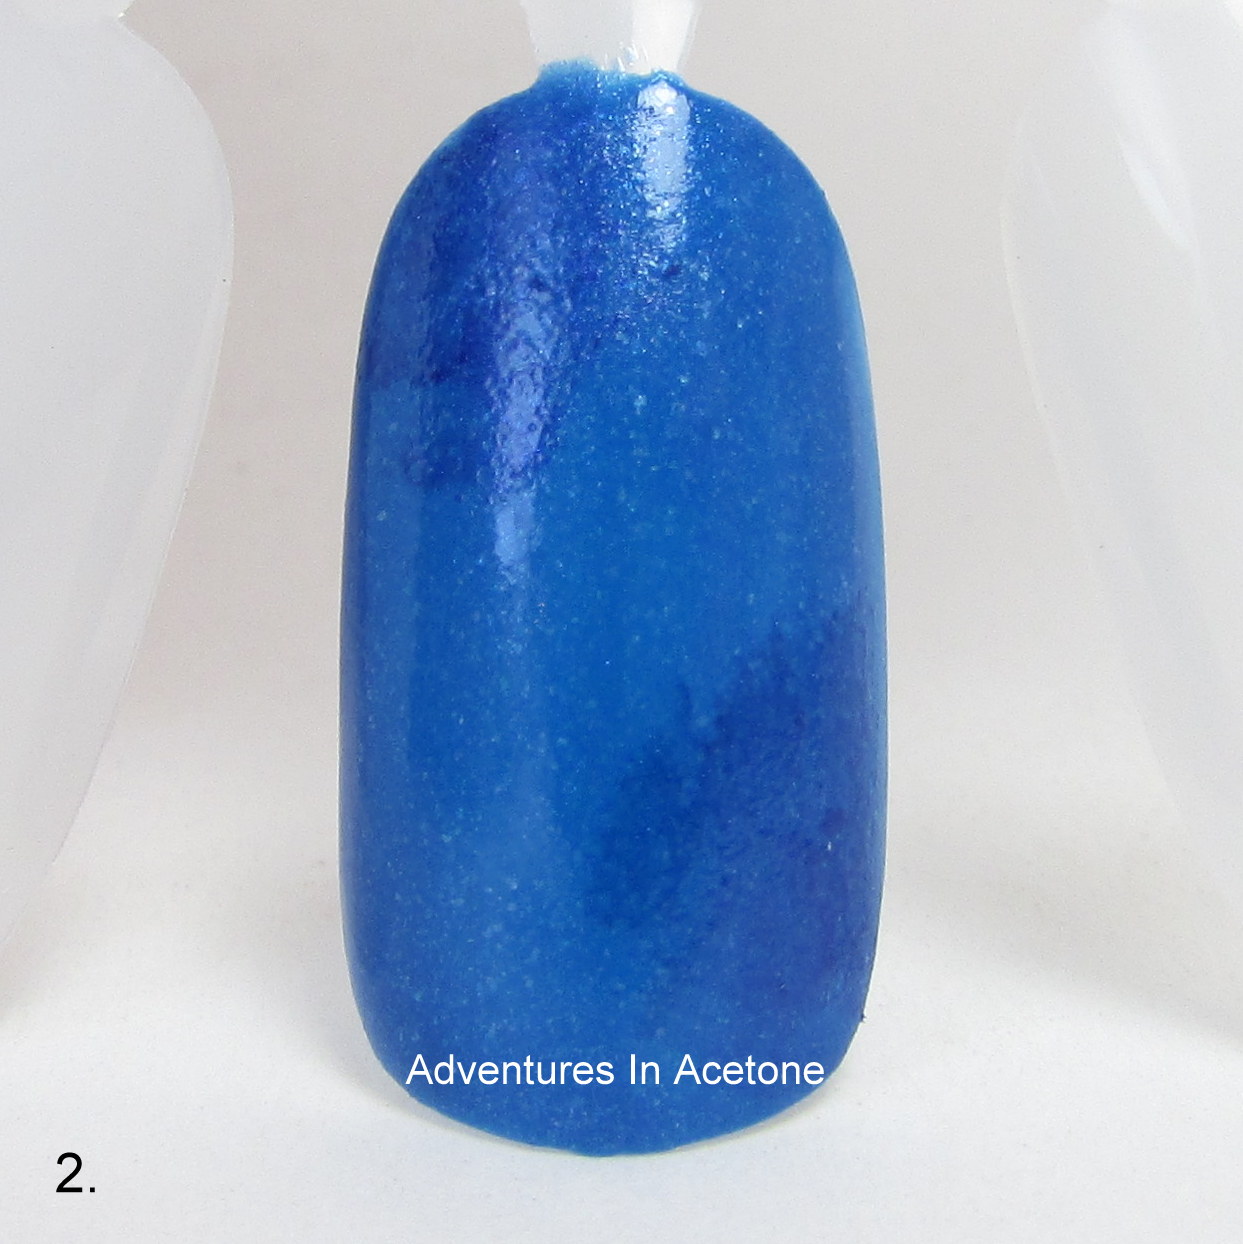
Step 1) Paint 2 coats of Illamasqua Fern and let dry.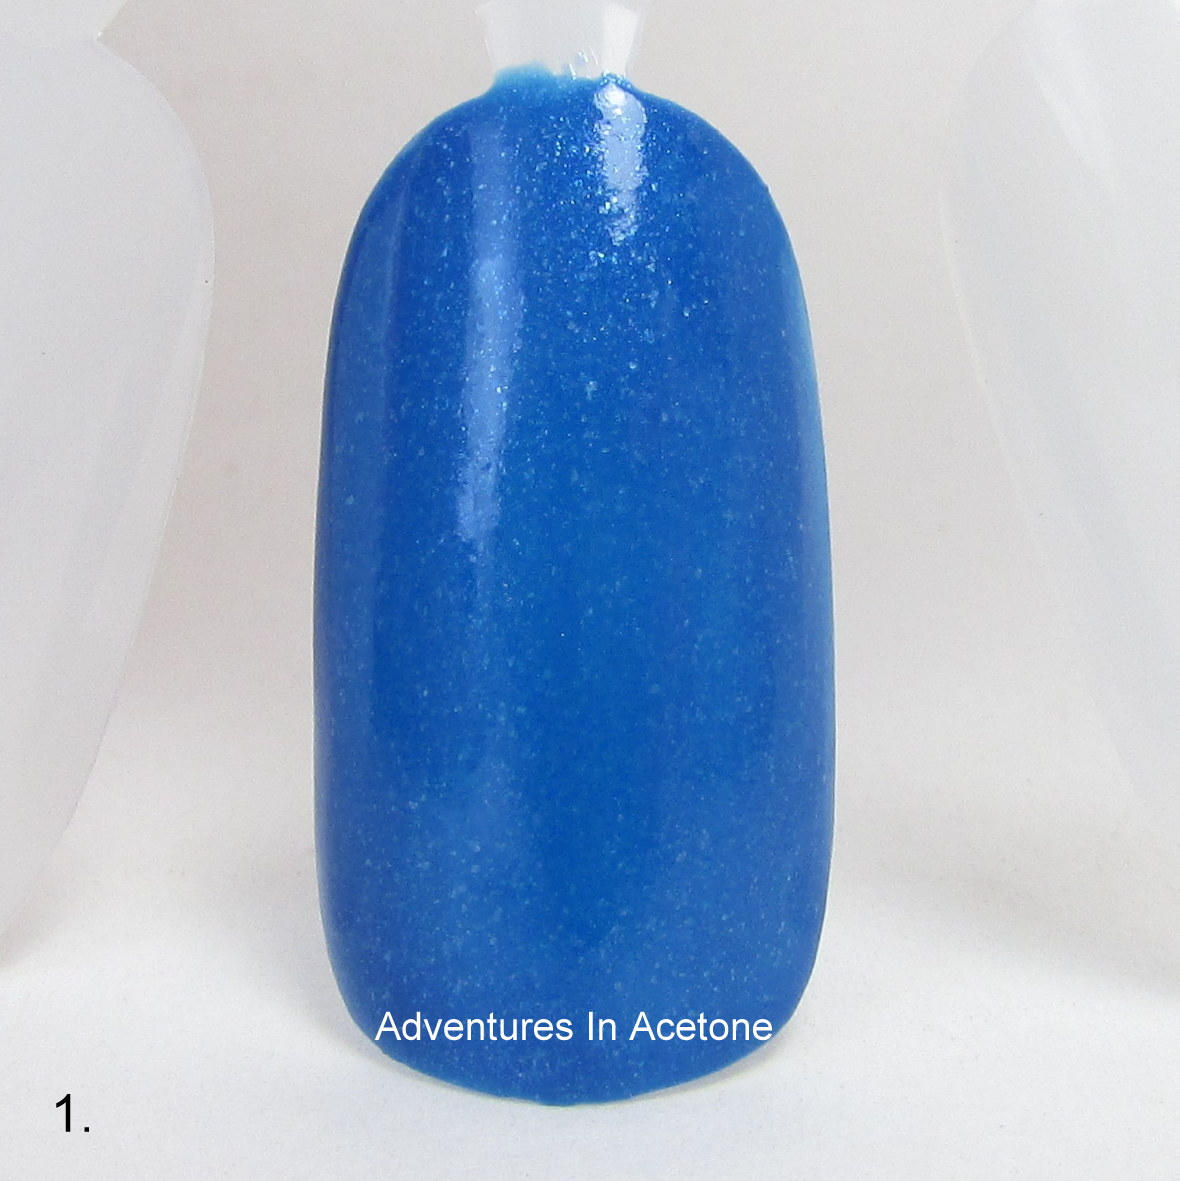
Step 2) Take a small piece of makeup sponge, paint some OPI Blue My Mind onto one side, dab off onto your work surface, and then sponge onto the nail in a couple of spots to add some dimension to the blue base.
Step 3) Repeat step 2, but this time paint Elevation Polish Weddell Sea onto the sponge piece. I overlapped the blue a bit but didn’t completely cover the base color.

Step 4) The next color I painted onto a sponge piece was OPI Love Athletes in Cleats. I dabbed that sponge piece over most of the white, leaving a bit peaking through to keep with our red, white, and blue theme.

Step 5) Elevation Polish Volcanic Dust is the next color to dab onto the nail. With this one, you may barely tell that something new was added. I just wanted some spots of darker red on the brighter red for variety. 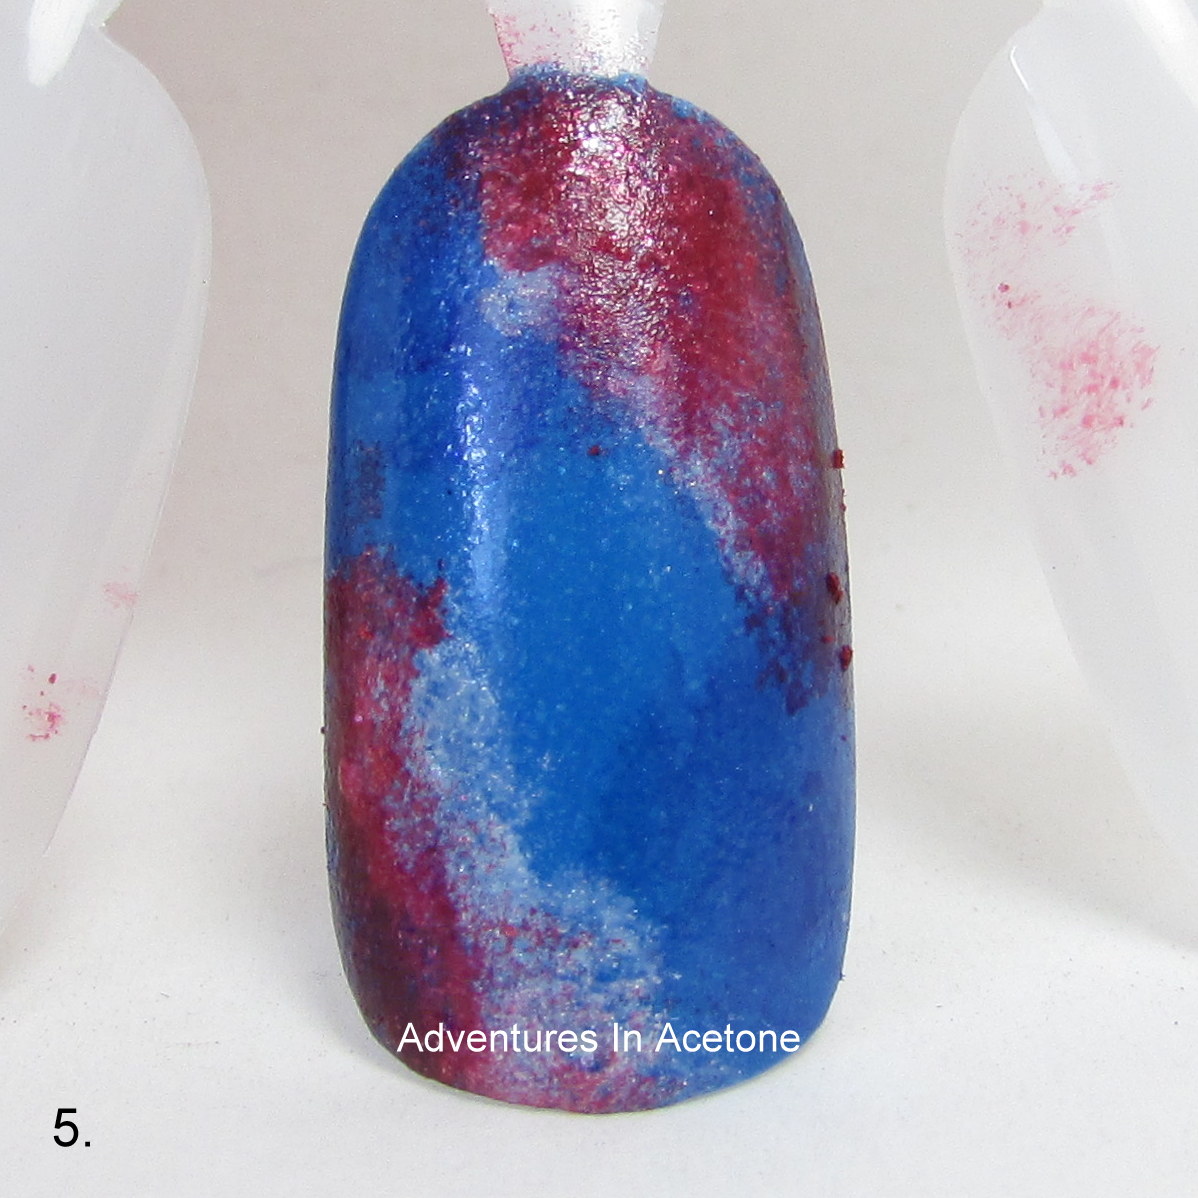
Step 6) Once you are happy with your opaque colors, move onto the shimmery ones. I began with OPI Girls Love Diamonds and sponged that over the cuticle line and the bottom left colors. There’s no rhyme or reason for where you should sponge, just make sure you aren’t covering the entire nail.
Step 7) Elevation Polish Pitaraq is an iridescent flake topper and our next sponged color. I sponged this along the right sidewall and tip of the nail. Subtle colors like this will be little secrets when you are wearing this mani and only show up in certain lighting angles.
Step 8) Indigo Bananas Moonlight is a silver flake polish and I sponged that on last. It adds such lovely sparkle– I did it on the center and a bit all over everywhere.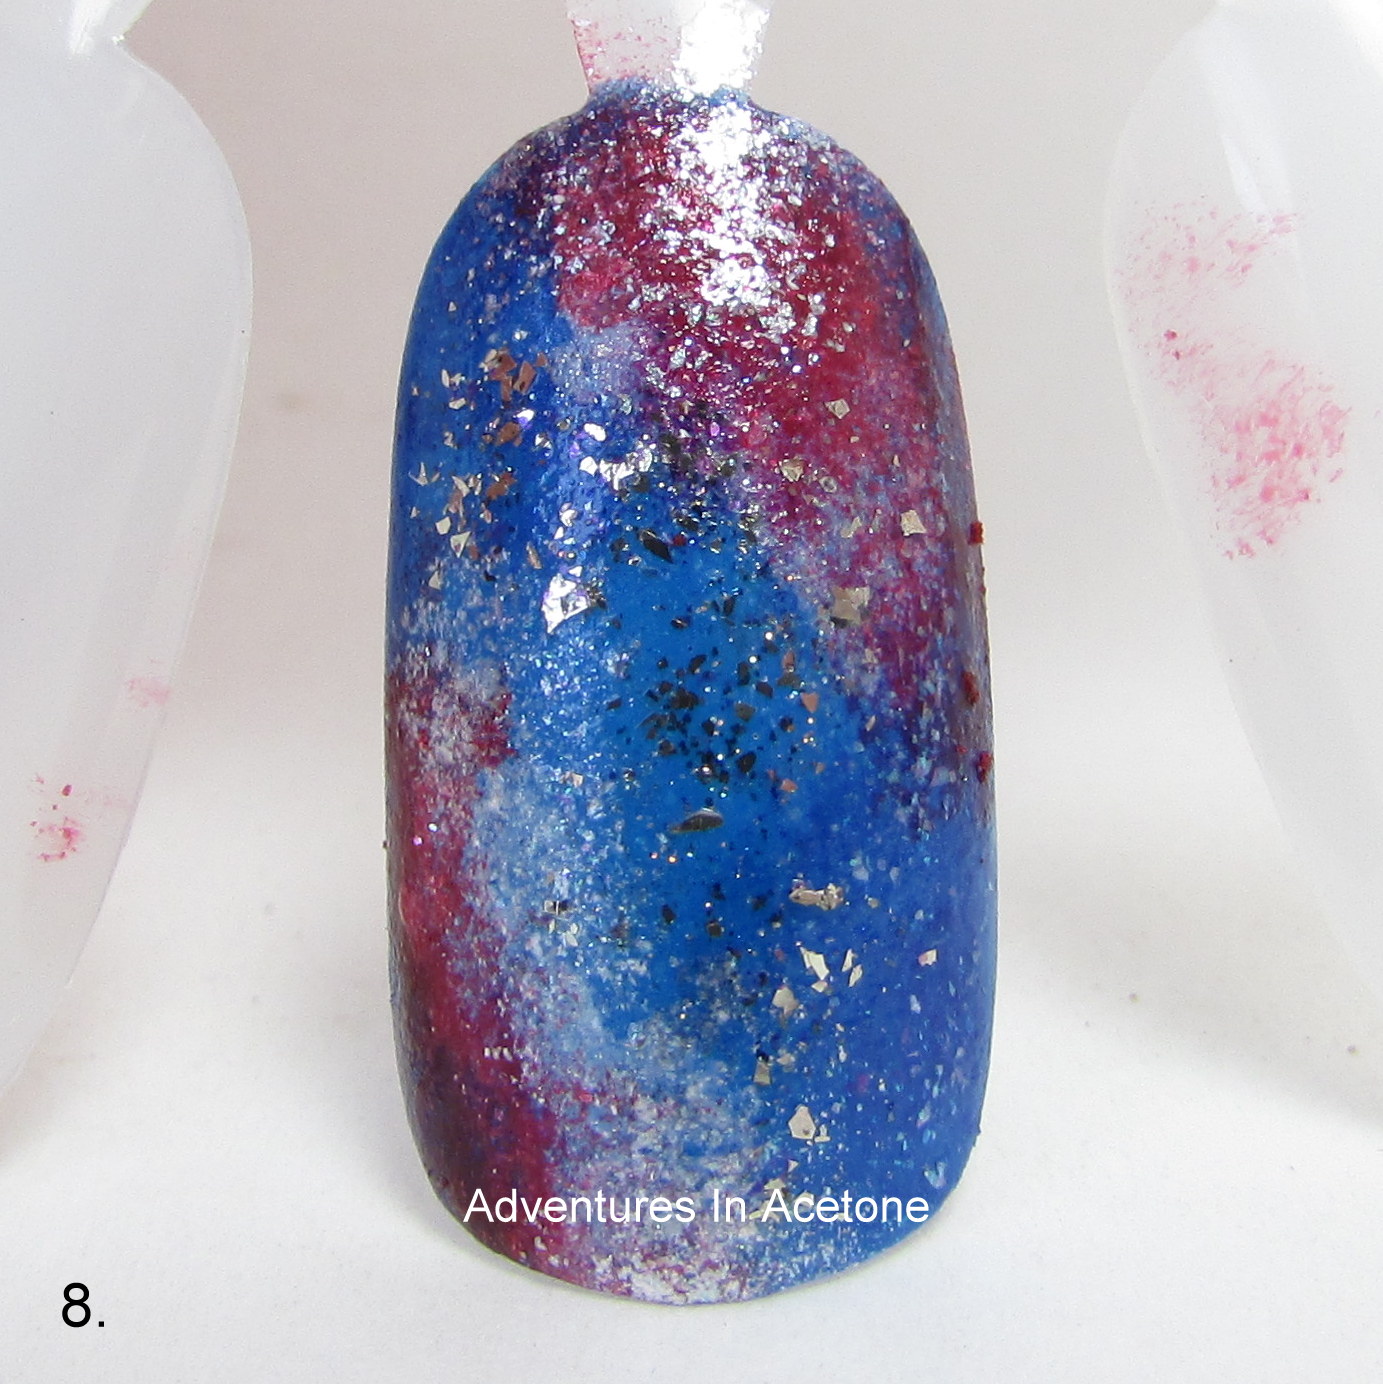
Step 9) Lastly, grab your small dotting tool and dip it into a puddle of Elevation Polish Weddell Sea. Dab a few pairs of dots together and separate for some brighter stars in your galaxy.
After this step, I also added a coat of top coat to seal in the design and add shine. I recommend thicker quick drying top coats like Seche, Poshe, KBShimmer, or HK Girl for topping nail art. Get a large dollop of top coat on the brush and hover above the nail spreading the top coat without touching the bristles to the design. Thinner top coats can drag the image so use those at your own risk.
What do you think of this design and tutorial? Does it seem easy enough for you to try on your nails? Are you planning to try it out? I would love to see your recreations so if you share on Instagram or Facebook, please tag me or post to my page! Thank you so much for reading.
If you enjoyed this post, please Sign Up for email updates and you will have the latest news, reviews, nail art, and tutorials delivered right to your inbox! Never miss a post from Adventures In Acetone again. Thank you so much for reading.
– Let’s paint something amazing! –

Comments
I’m going to do this. Love your ideals, really. You’re very talented:)
This is so gorgeous, what a great idea!
Absolutely love this design, and will definitely be giving it a try once I’ve got my polishes sorted and I can find the ones I need to do something like this. I’ve gone crazy with Aussie Indie Polishes lately, and just cannot get enough of them. Some of them would be awesome used on a design like this. Thanks for sharing your tutorial, and for inspiring us all to greater things. Love your blog.