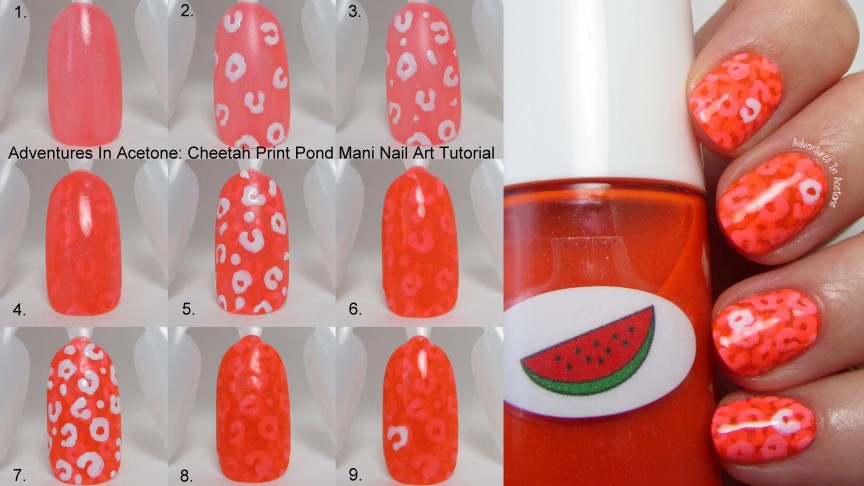
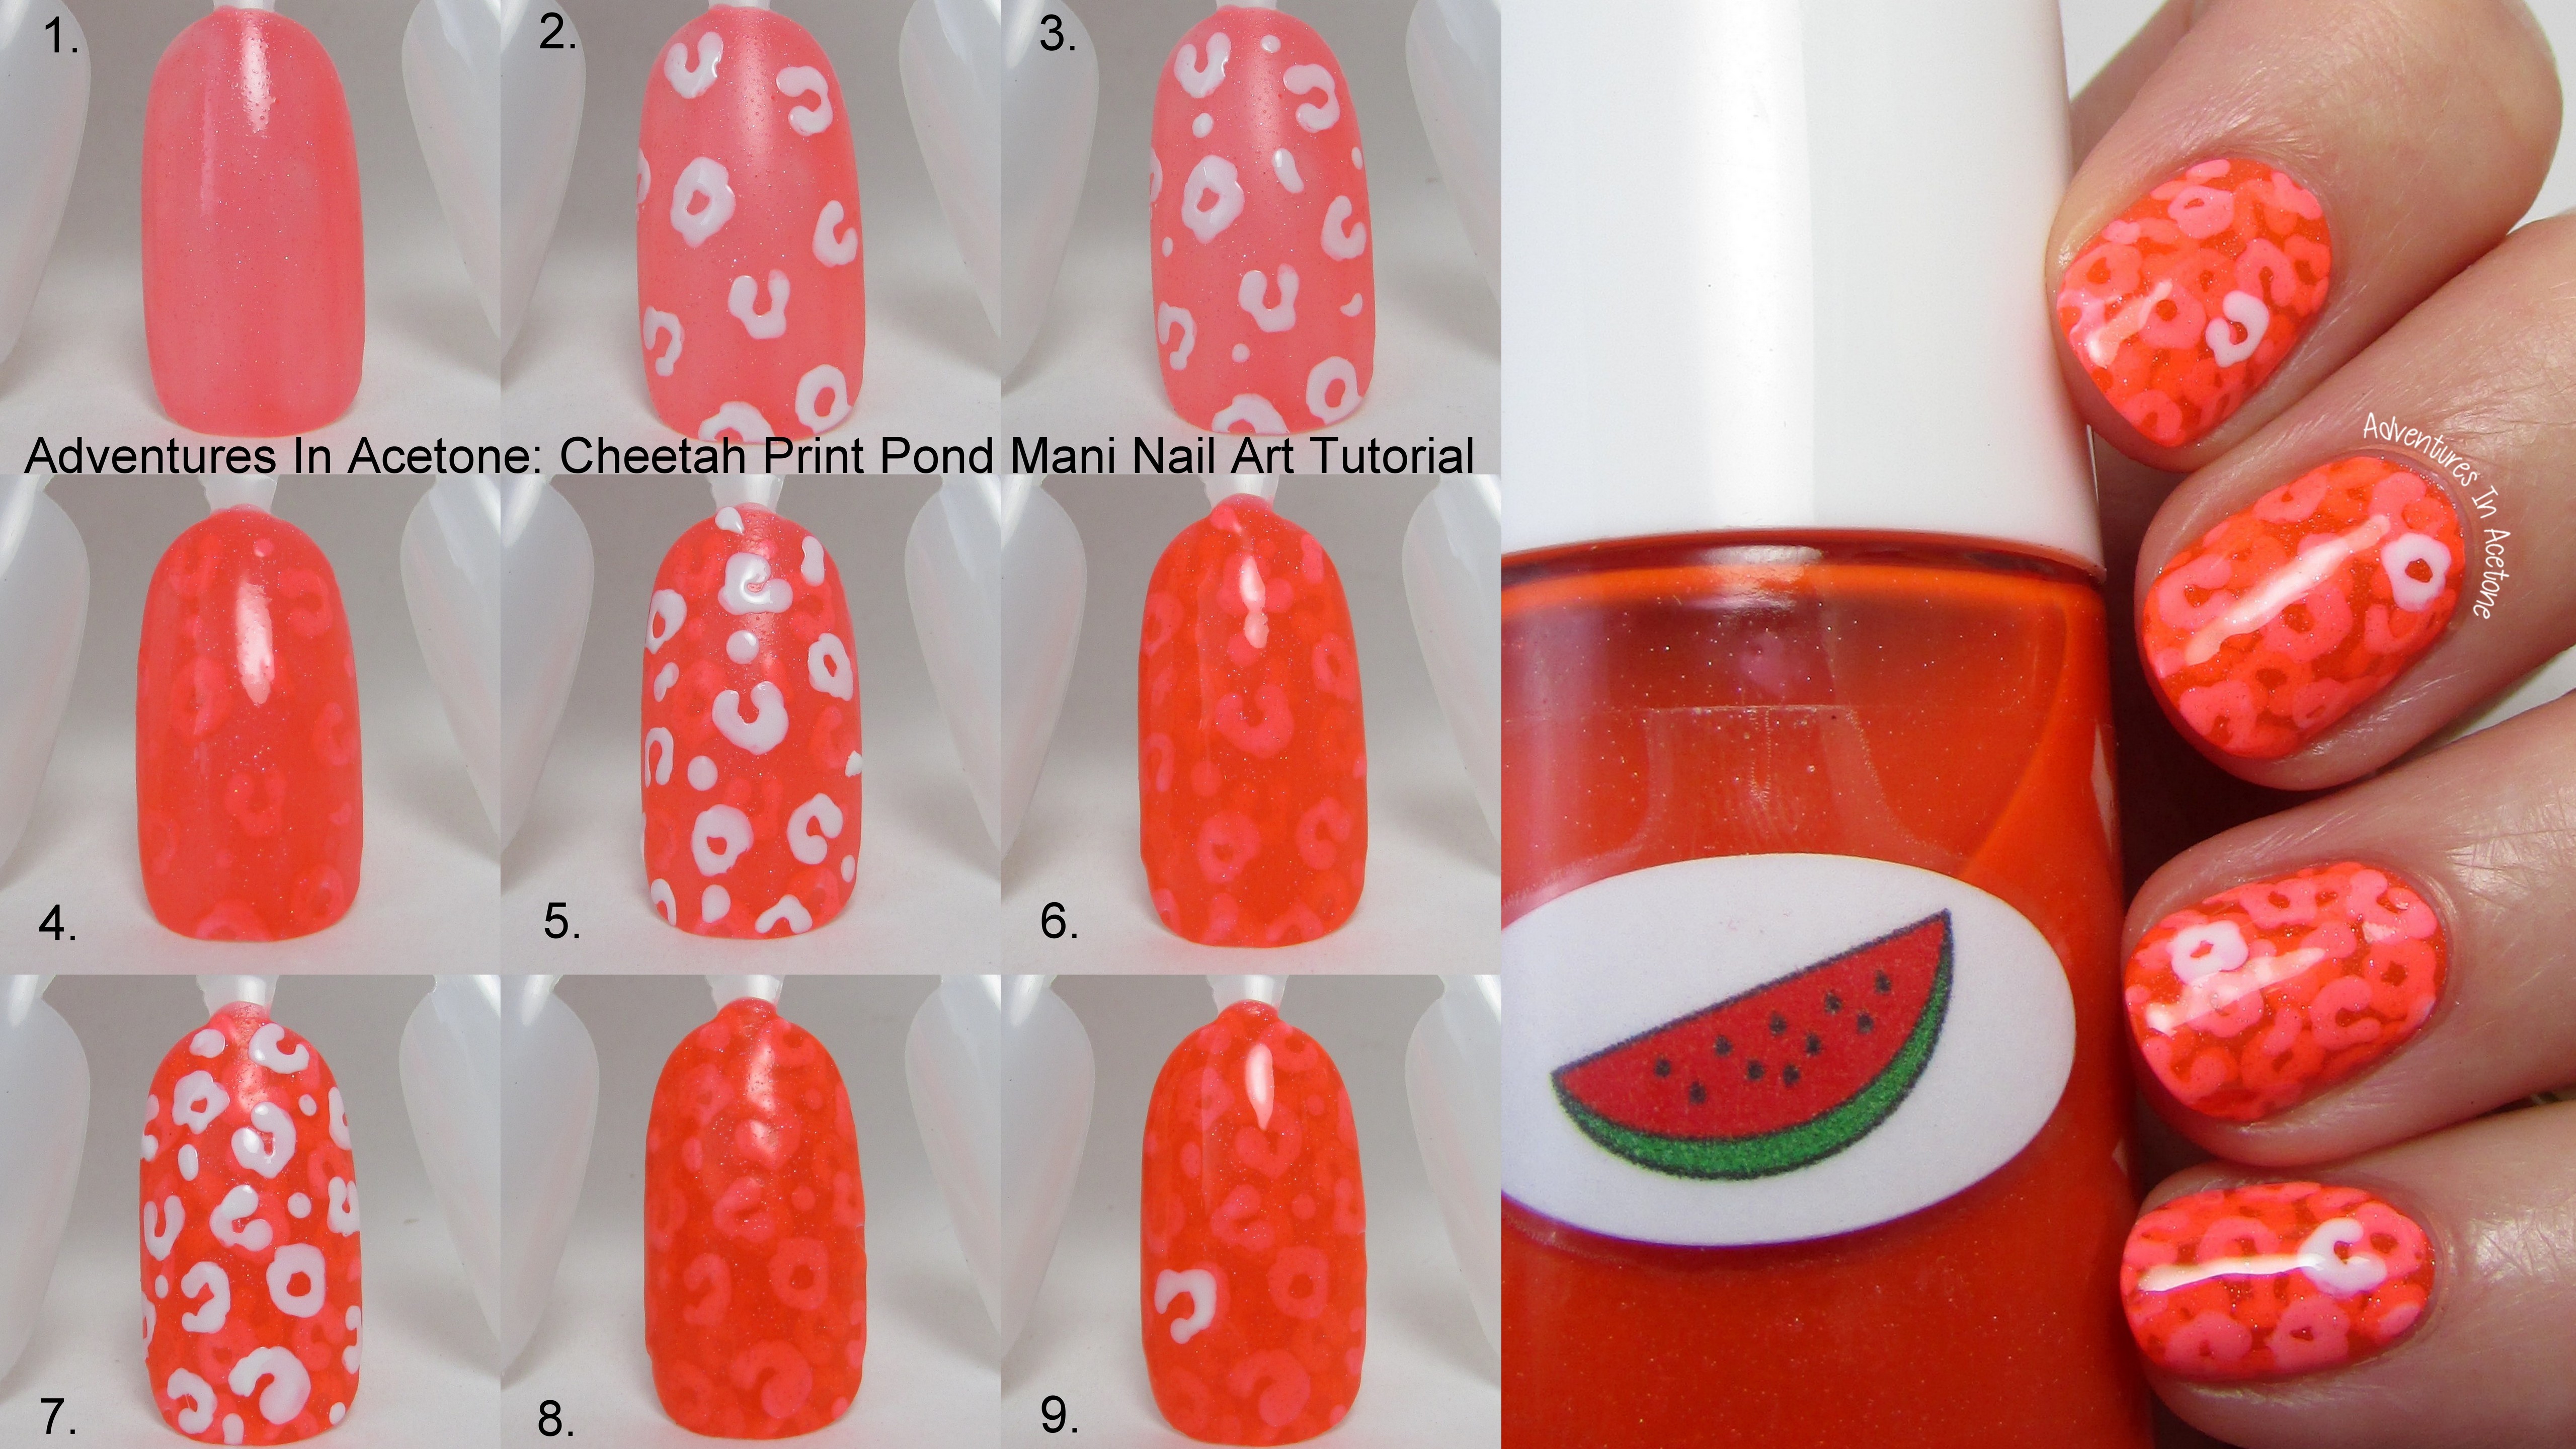
Good afternoon, readers! Yesterday’s Cheetah Print Pond Mani was so simple that I’ve put together a tutorial post for you. If you aren’t familiar with pond manis, I’ll explain the idea a bit. You layer shapes/designs between coats of a jelly polish (see through, colored, think: clear polish with color mixed in). By layering a white or light colored design between the jelly coats, you are adding depth. The multiple coats of jelly darken each layer of white to a different tint. You can check out my first pond mani here. I love thinking of new designs to layer in pond manis and today’s tutorial uses simple cheetah print.
Let’s get started!
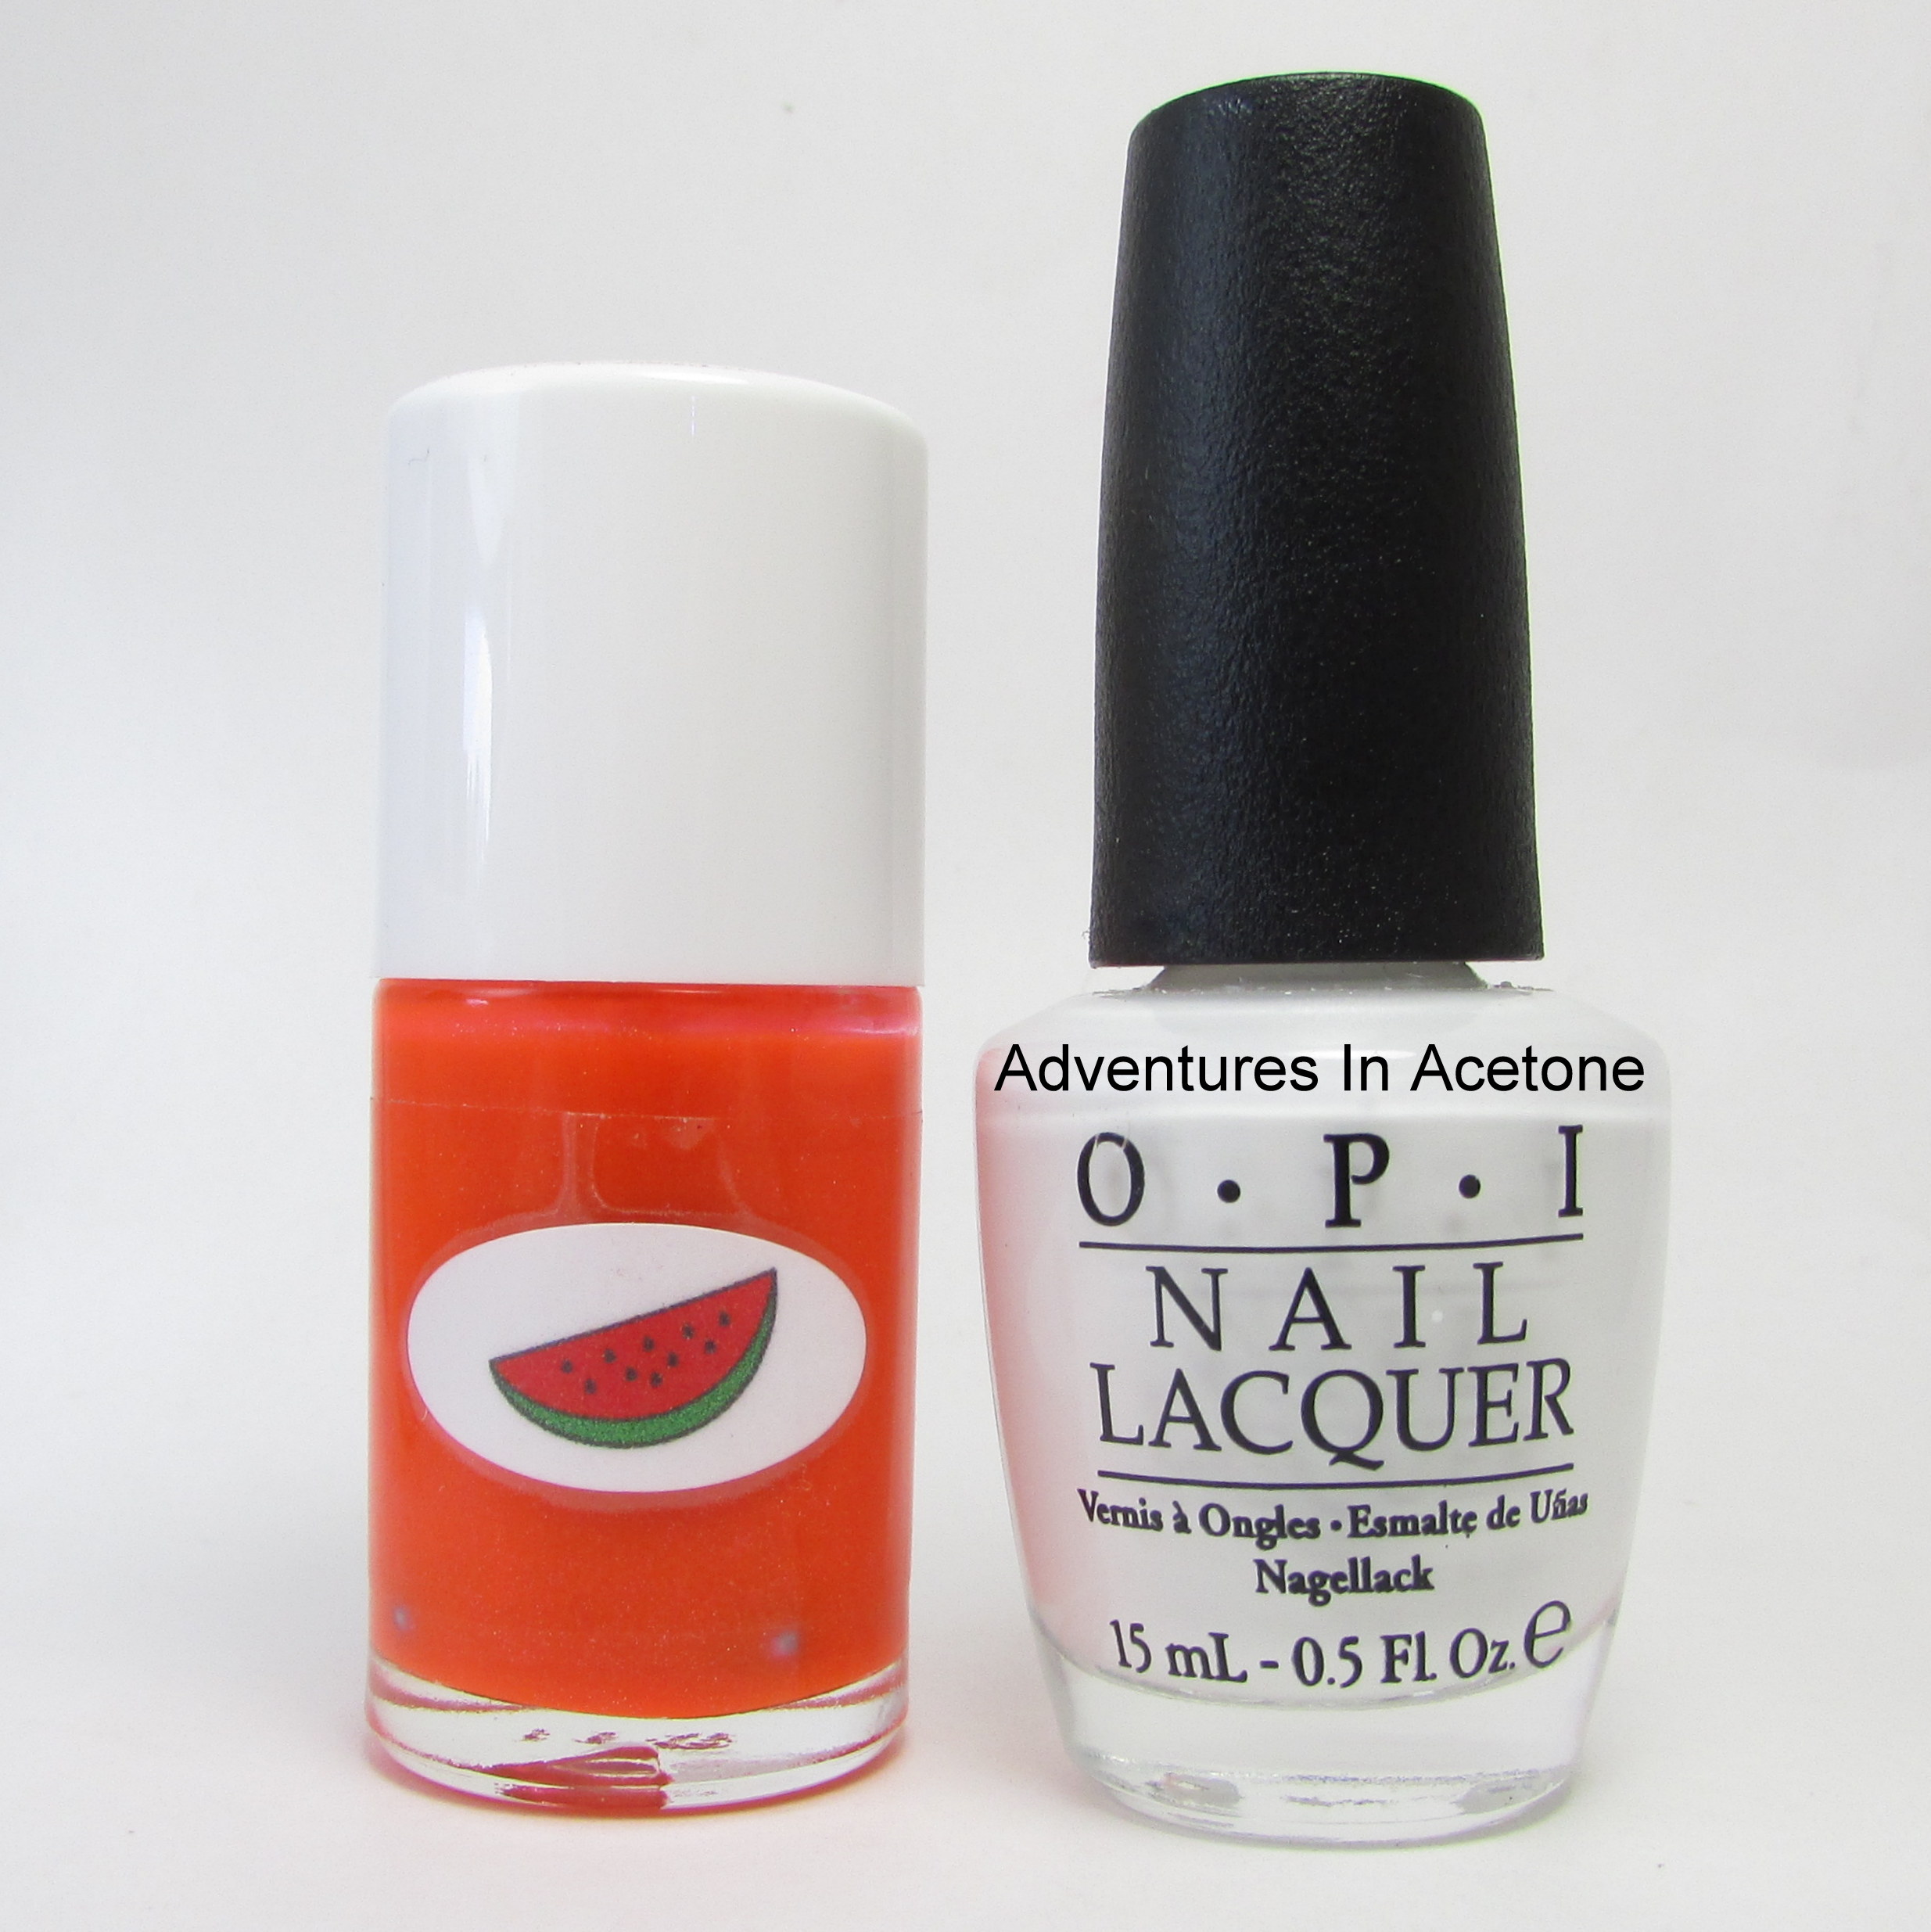 Polishes used: The Nail Junkie Watermelon, OPI Alpine Snow
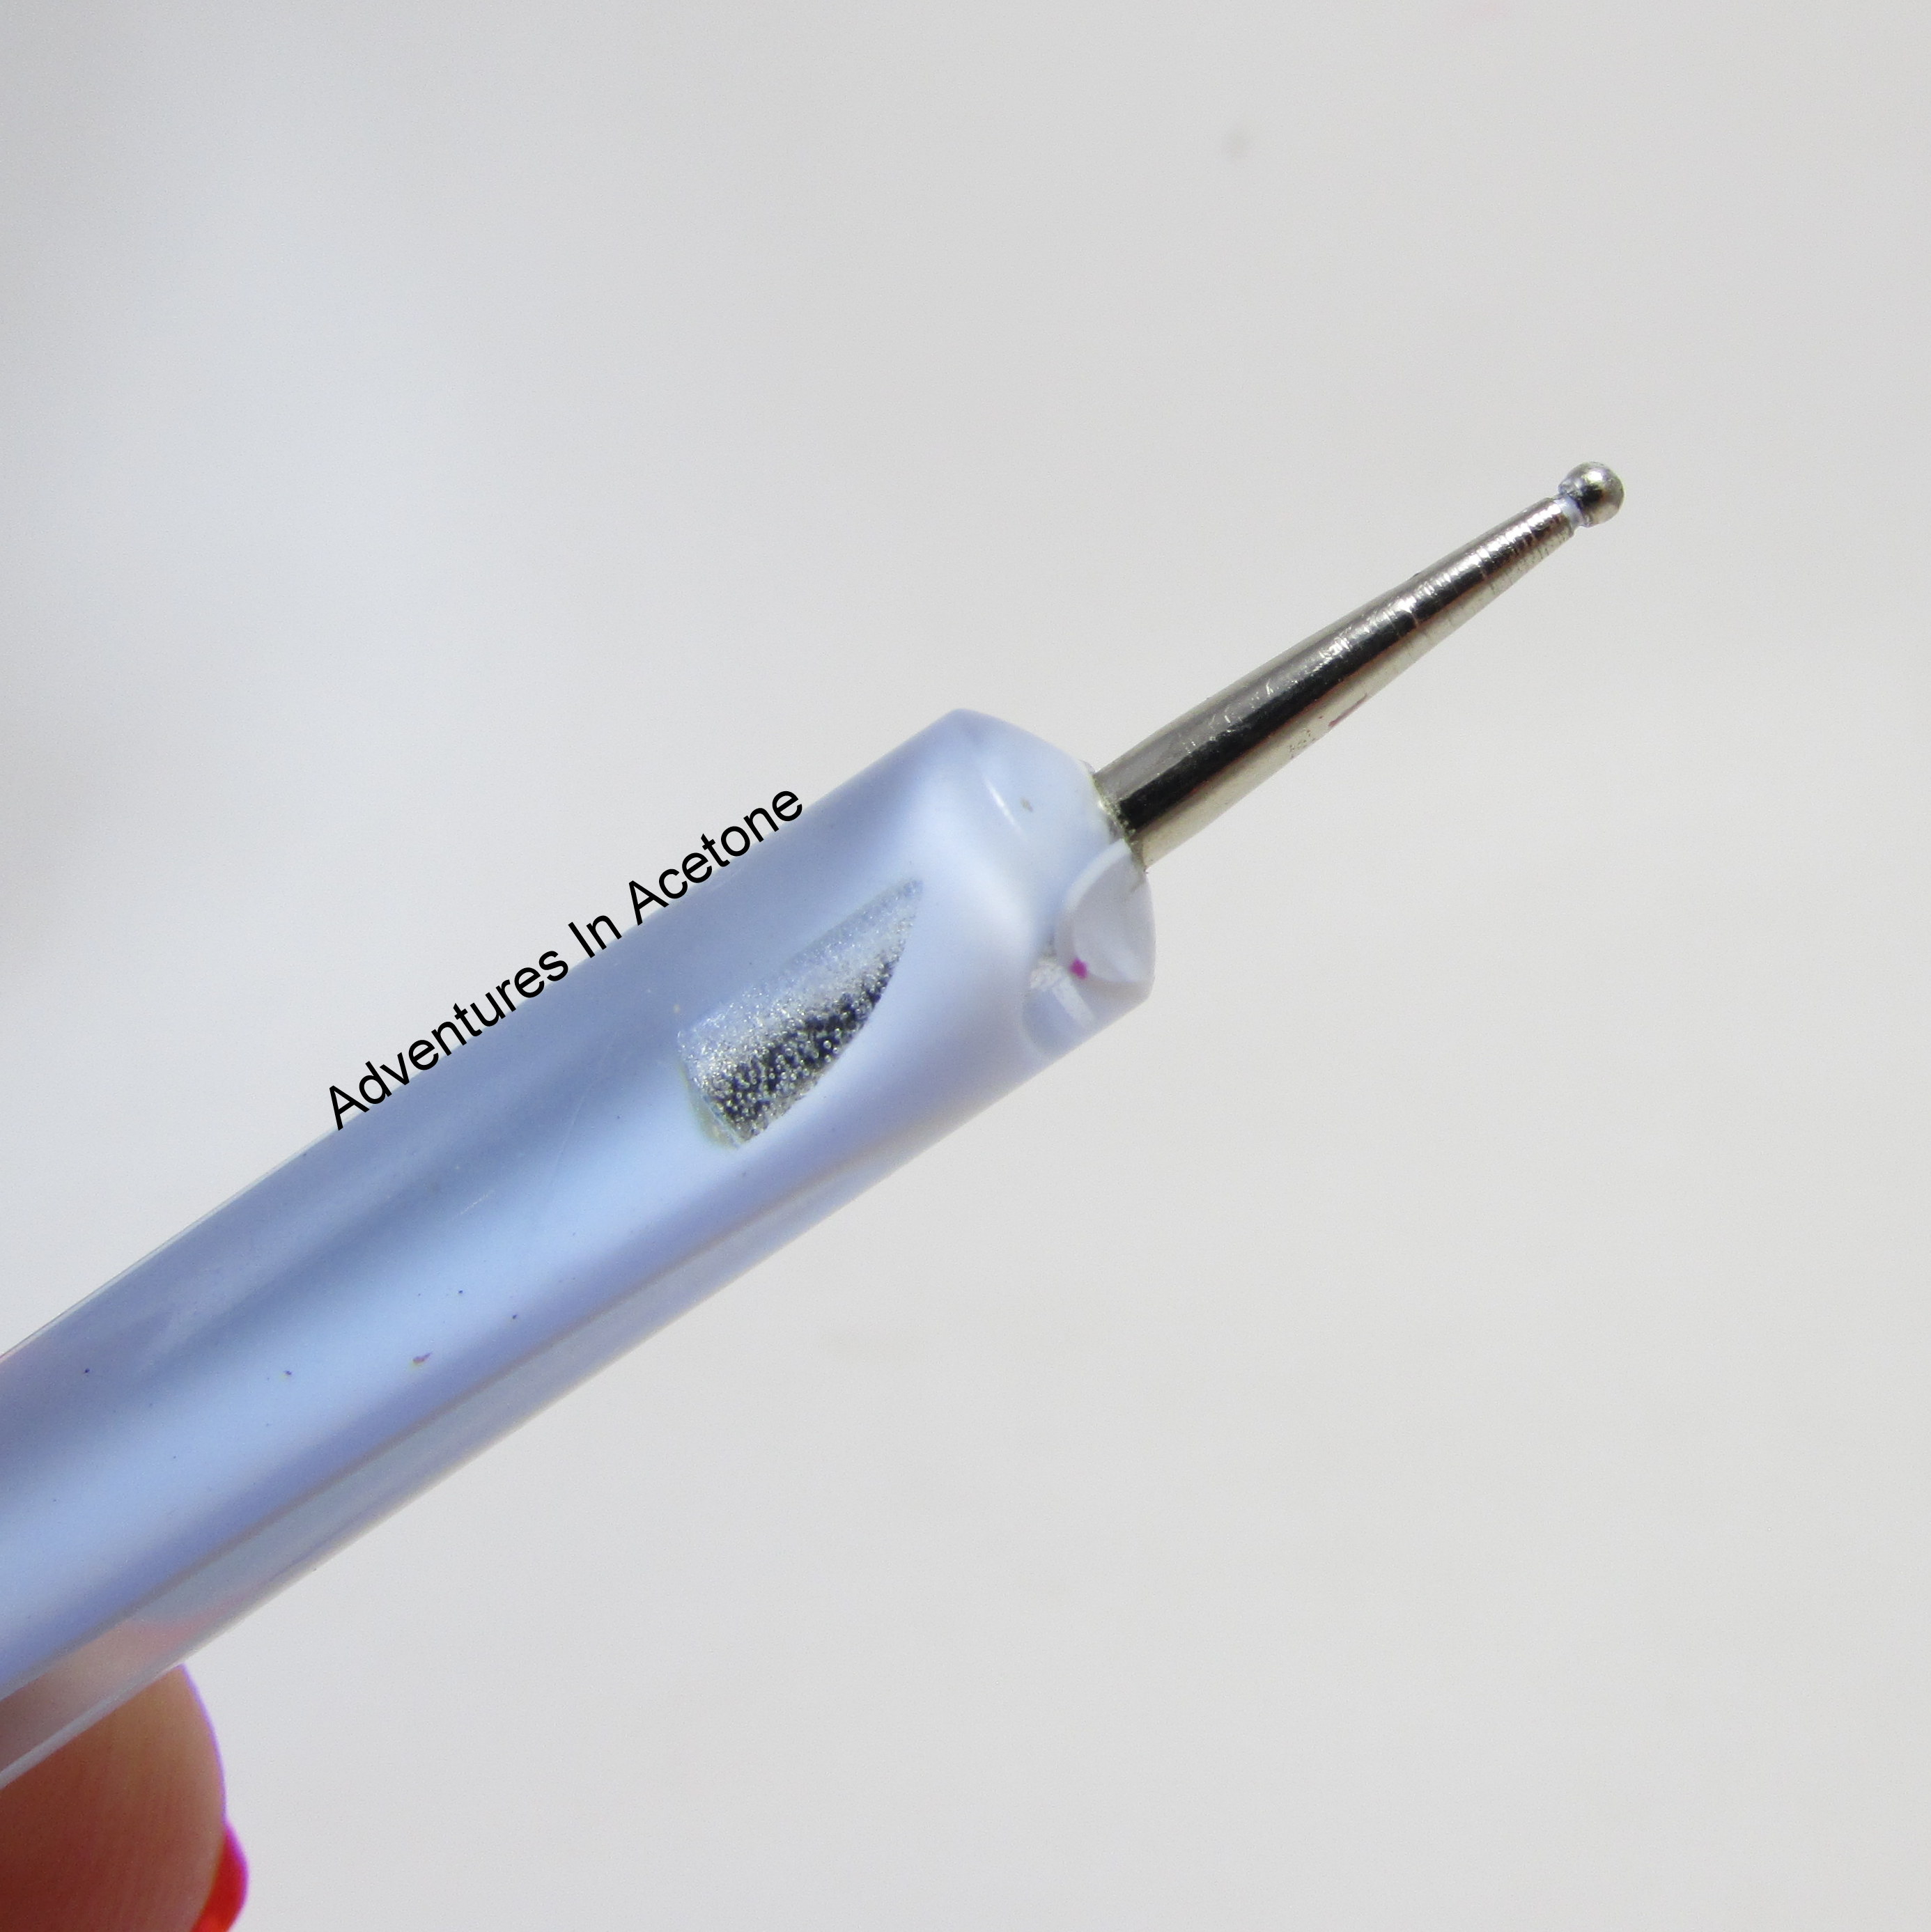 Tool used: Small dotting tool
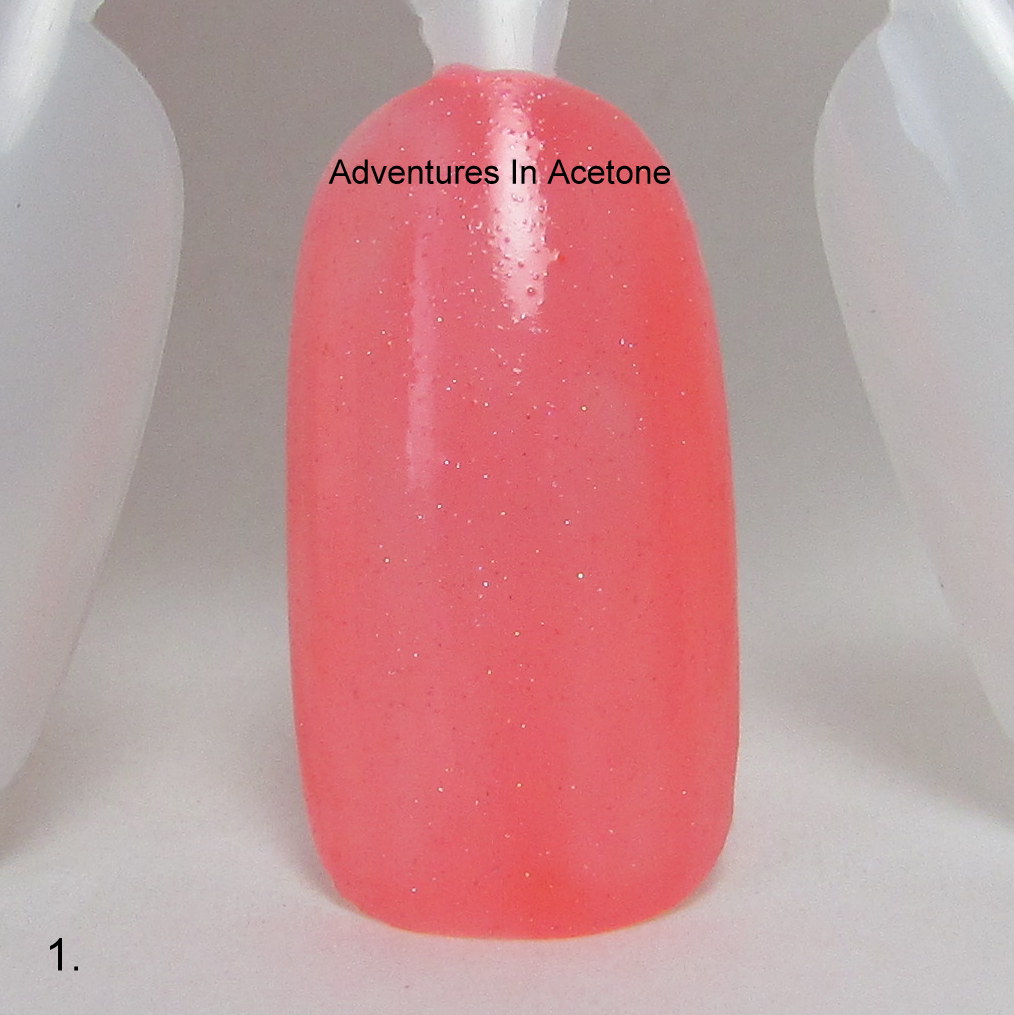
Step 1) Paint your entire nail with one thin coat of The Nail Junkie Watermelon.
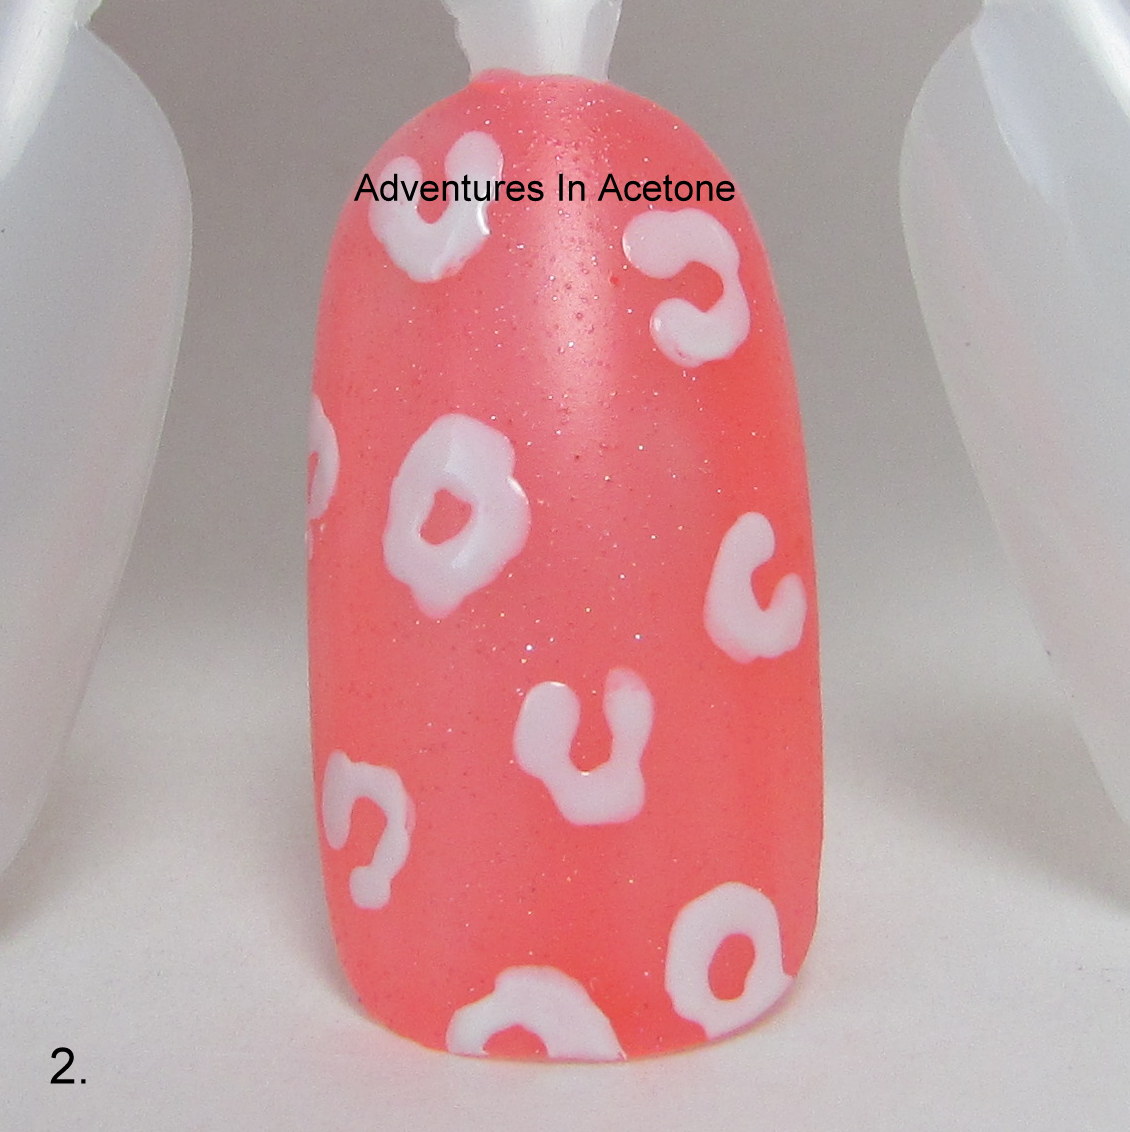
Step 2) Drop a bit of OPI Alpine Snow on your work surface (I use an old margarine tub lid). Dip your small dotting tool into the white polish and “draw” cheetah spots on the nail. I like to make wiggly O, C, U, and horseshoe shapes all over the nail. You don’t want them to all look identical, but maybe go for a similar size throughout. I change the pressure with which I am drawing to get thinner and thicker parts of the same line for more irregularity.
Step 3) Dip your dotting tool into OPI Alpine Snow again. This time, add some dots and little curved lines in some of the space between the cheetah spots.
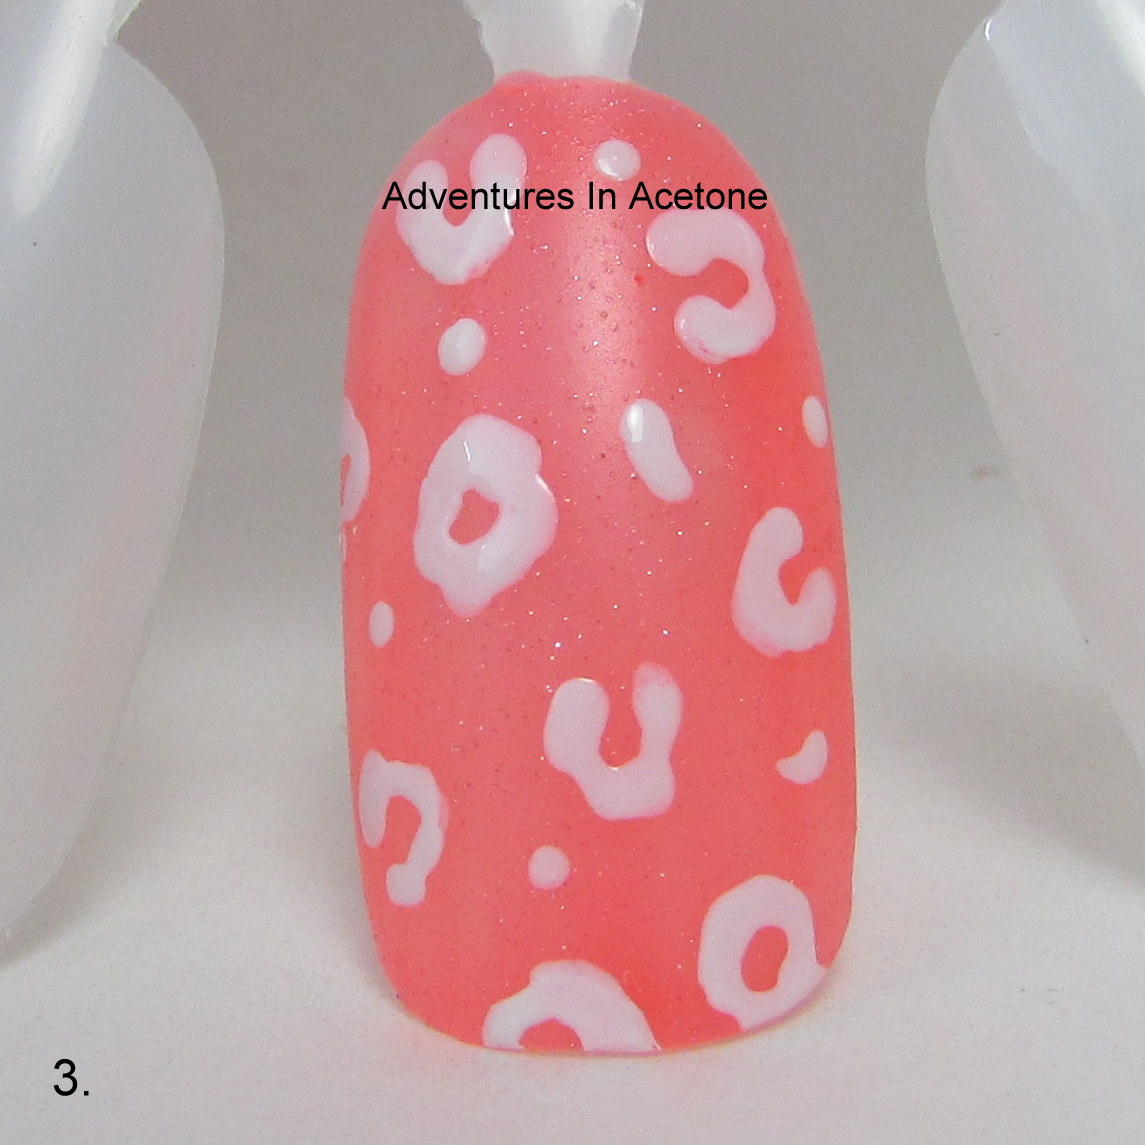
Step 4) Once the spots have dried, apply another thin coat of The Nail Junkie Watermelon.

Step 5) Use your small dotting tool and OPI Alpine Snow to draw another layer of cheetah spots and dots. I recommend overlapping some of the original layer of spots.
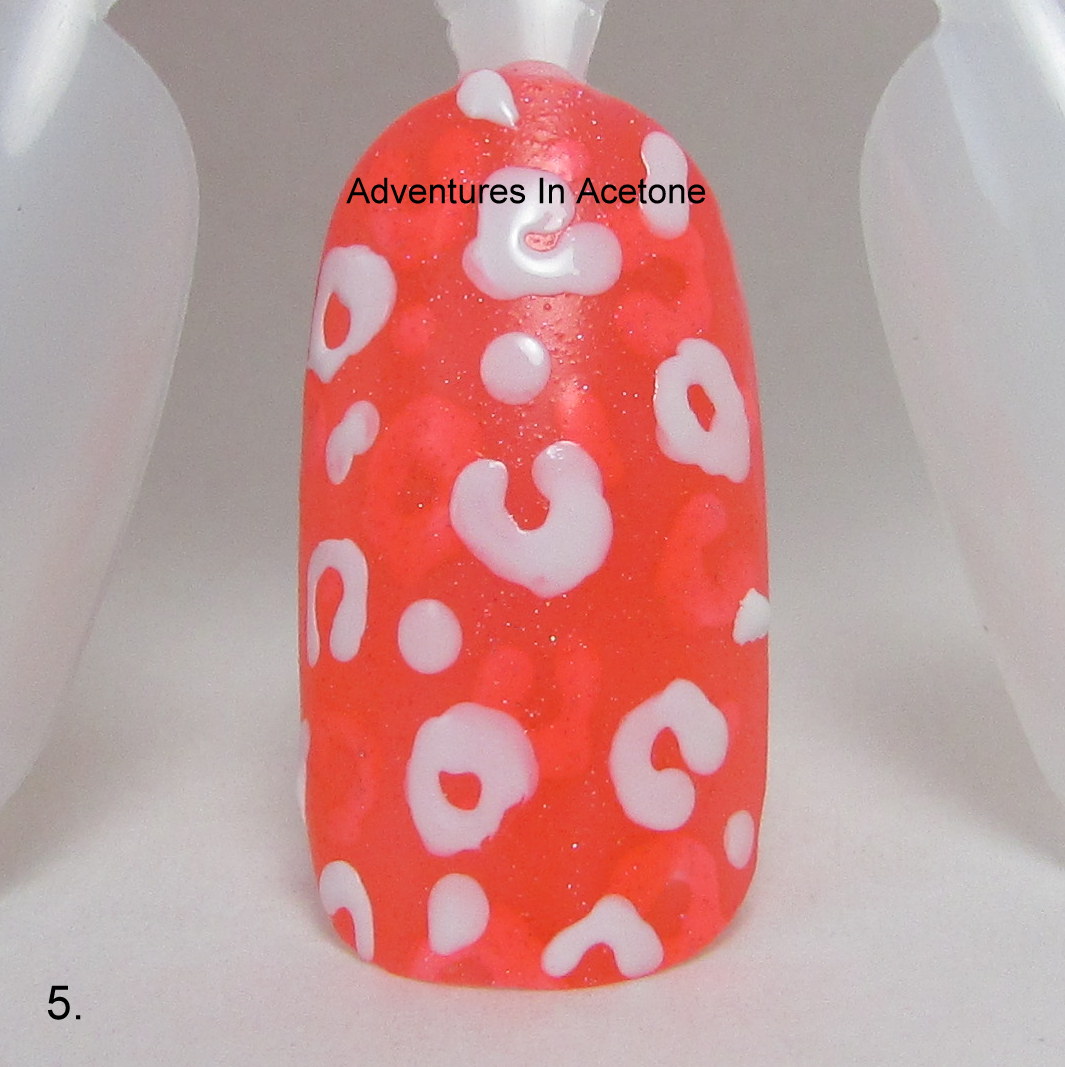
Step 6) Let the spots dry and then add another thin coat of The Nail Junkie Watermelon.

Step 7) Add another layer of cheetah spots and dots, overlapping the previous layers, using your dotting tool and OPI Alpine Snow.
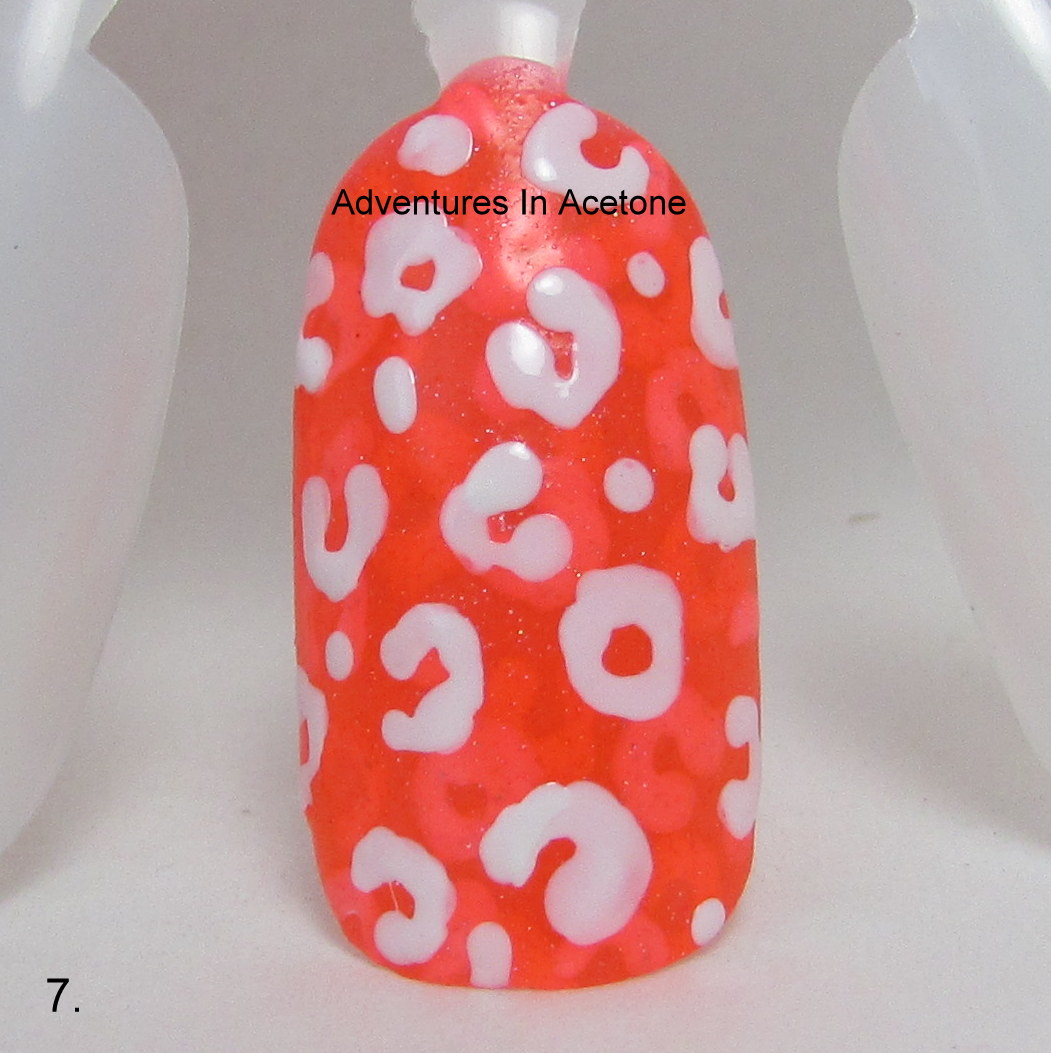
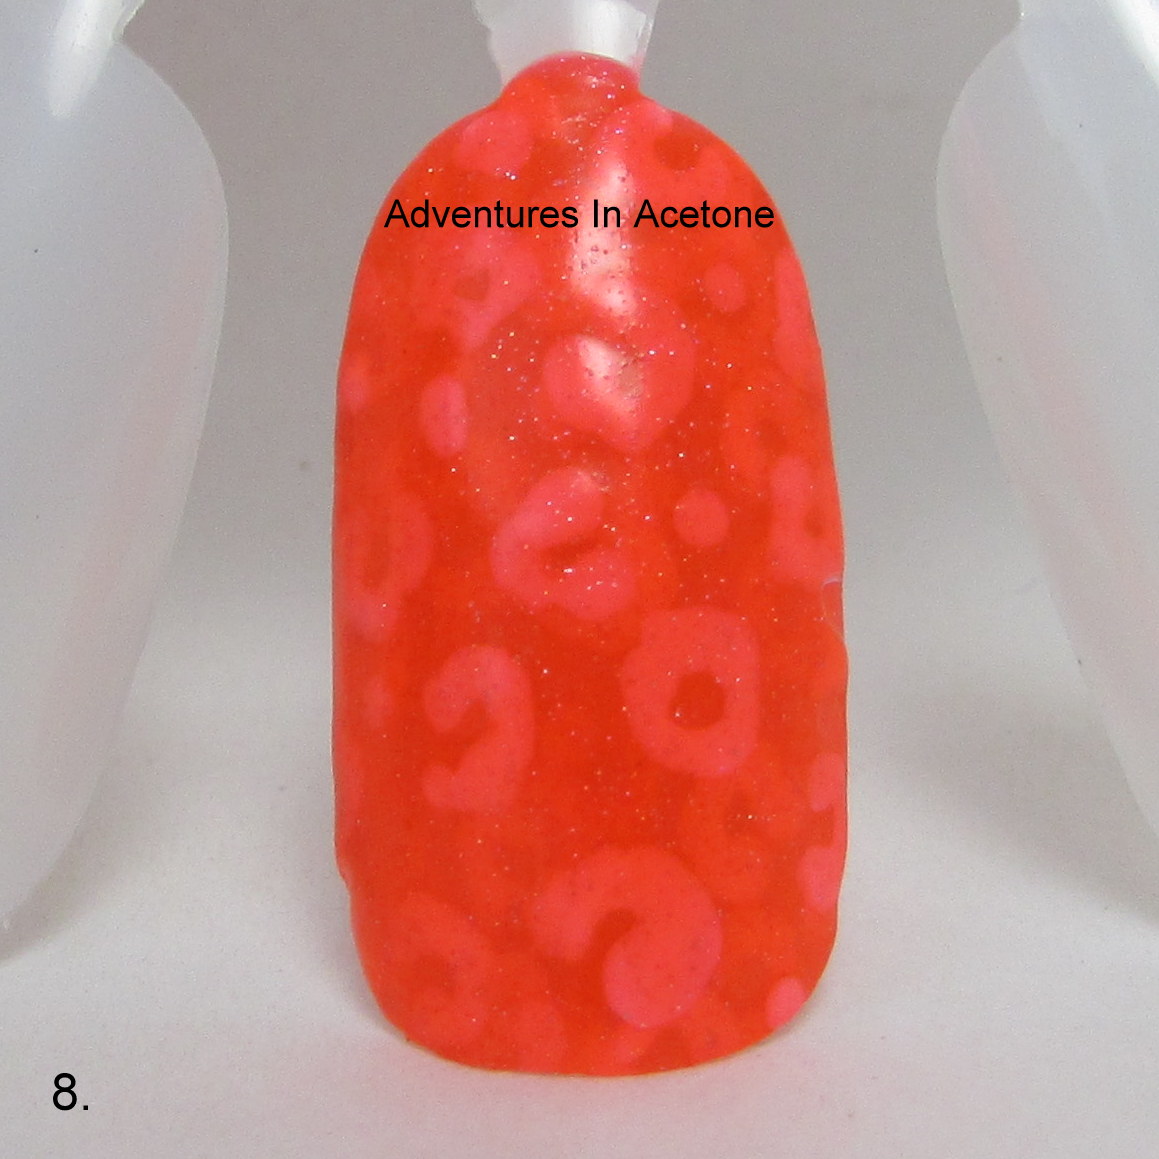
Step 8) Add your final thin coat of The Nail Junkie Watermelon. If you are using a more sheer jelly polish, you can repeat the steps as many times as you’d like until you are happy with the coverage. Another coat of this jelly would have probably hidden the first layer of spots so I stopped here.
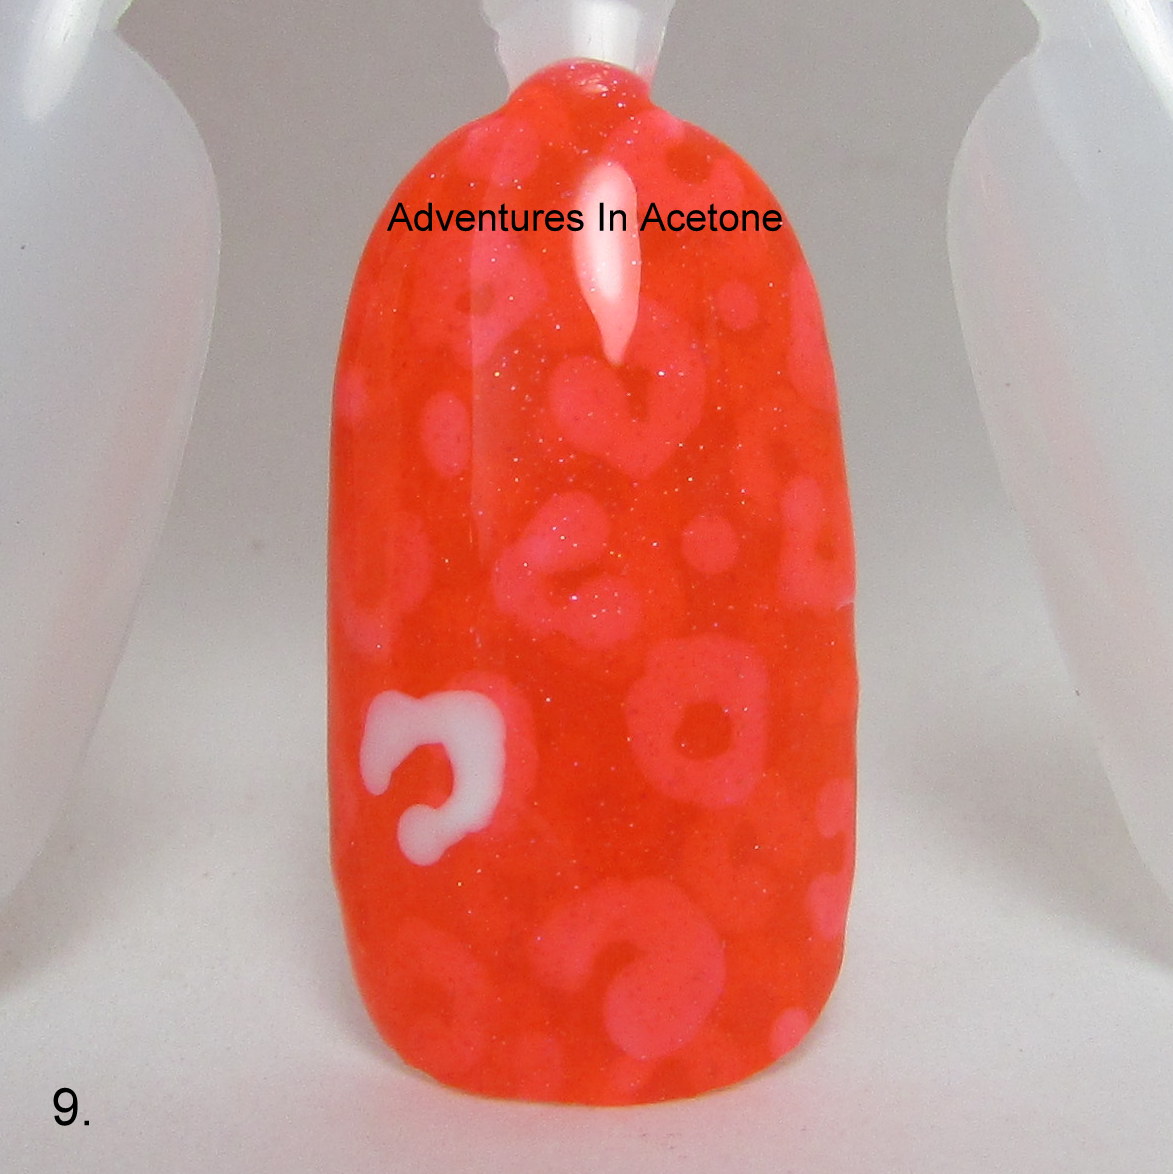
Step 9) I chose to do a single cheetah spot accent over the final jelly layer with the dotting tool and OPI Alpine Snow. I also added a coat of top coat to seal in the design and add shine. This was one coat of KBShimmer Clearly on Top. I recommend thicker quick drying top coats like Seche, Poshe, KBShimmer, or HK Girl for topping nail art. Get a large dollop of top coat on the brush and hover above the nail spreading the top coat without touching the bristles to the design. Thinner top coats can drag the image so use those at your own risk.
And just for fun: I originally tried this design with the 6 Neon Shimmer Jellies I own from The Nail Junkie while I was trying to decide which I wanted for my full mani. You can see how great this design will look with other colored jellies as well. I almost did a skittle mani using 6 of them!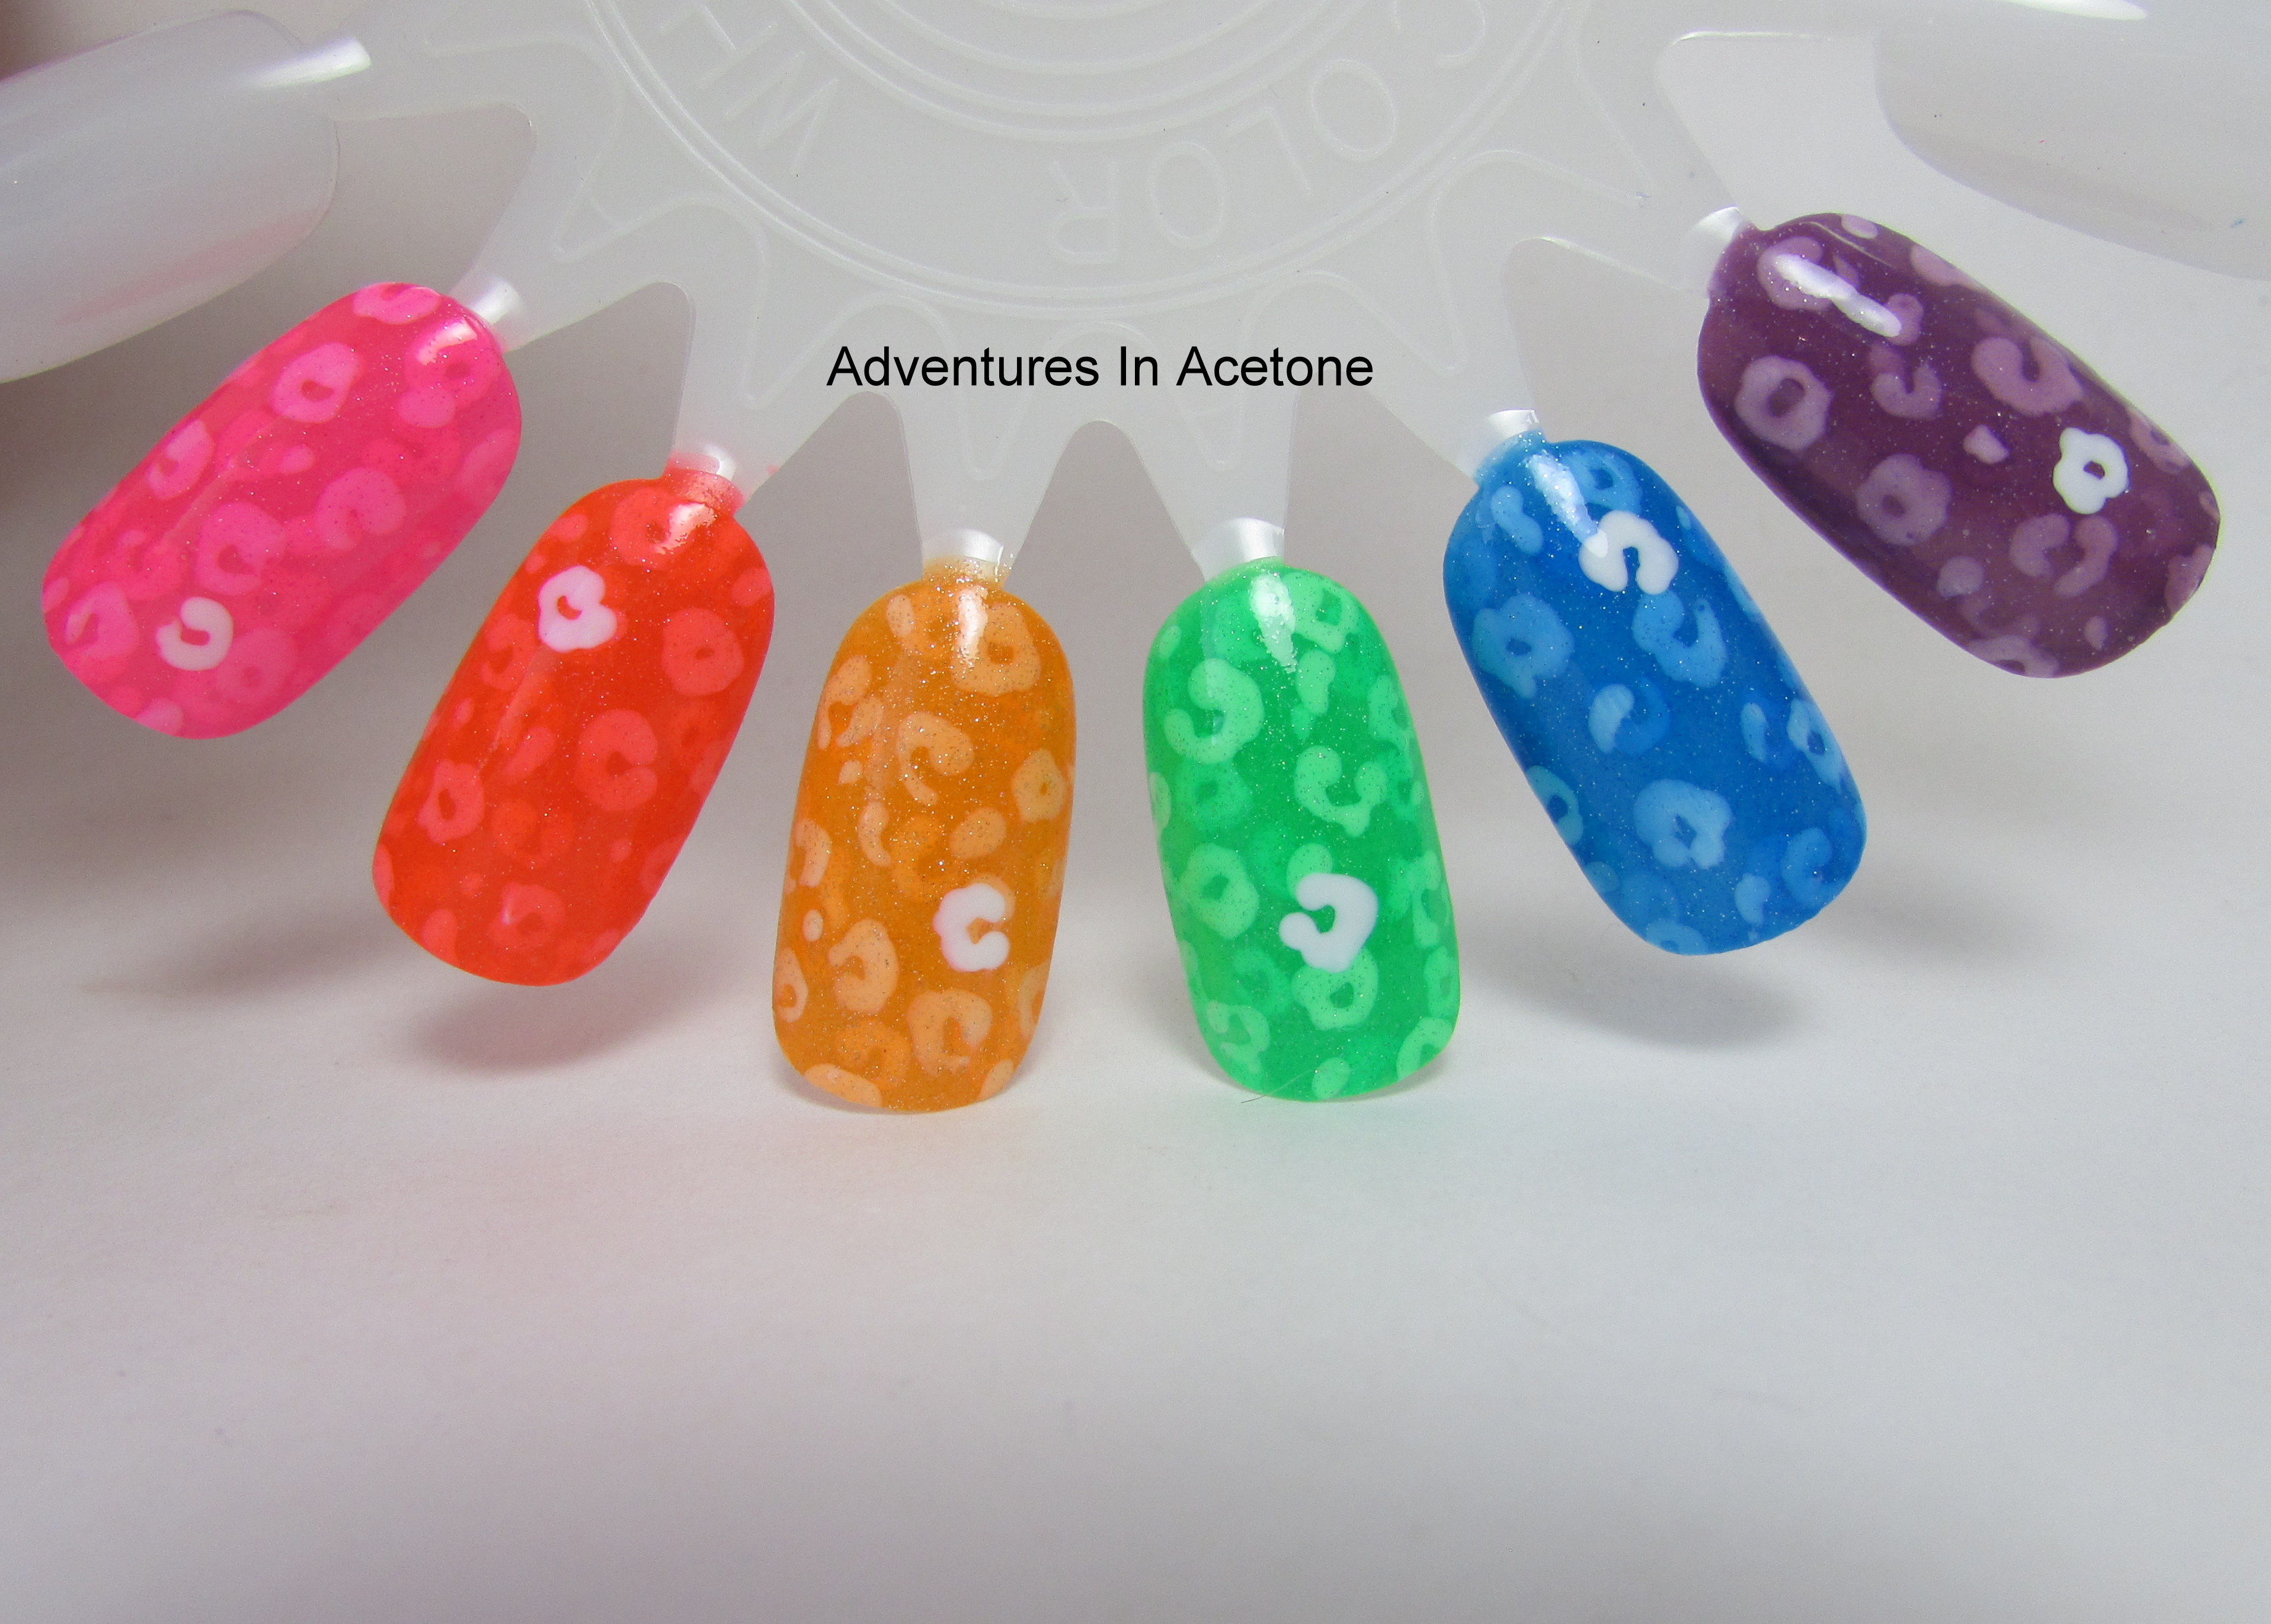
What do you think of this design and tutorial? Does it seem easy enough for you to try on your nails? Are you planning to try it out? I would love to see your recreations so if you share on Instagram or Facebook, please tag me or post to my page! Thank you so much for reading.
If you enjoyed this post, please Sign Up for email updates and you will have the latest news, reviews, nail art, and tutorials delivered right to your inbox! Never miss a post from Adventures In Acetone again. Thank you so much for reading.
– Let’s paint something amazing! –

Comments
It’s beautiful. But nine steps, not including prep, base coat, and top coat just seems like too much work for me unless it was only on one nail, maybe, or for a really special occasion. I never liked the jelly polishes but now you’ve showed me how to create interesting layers I will have to give it a try. And thanks for the advice about the top coats. That is really helpful for me.
Susan, thank you for your comment and thoughts! I agree that it can seem like a lot of steps. The best part of pond manis is that once you get the tenth nail done with the step, you can start right into the second step on all of the nails because the first step has dried. Pond manis also work really well on accent nails, as you said! This and layering a glitter polish in between 2 coats of jelly polish are my favorite uses for jellies! You are very welcome on the top coat advice. 😀