Press Sample
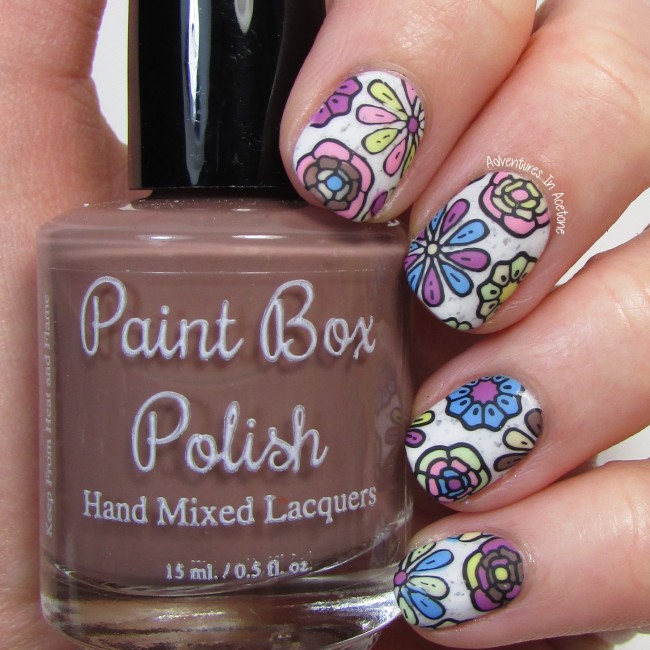
Good evening, readers! Happy Saint Patricks Day! I don’t have any holiday themed nail art today, but it is Day 4 of Spring Week with The Digit-al Dozen and I do have a fun mani to share! This Saturday, March 19th, the Paint Box Polish Ciao, Gelato Collection will release. I’ve created floral stamping decals on my ÜberMat using the entire 8-piece collection and I love the outcome so much that I wish I had been able to wear it forever. I’ve added in some step by step photos of the decal process as well. Let’s take a look!
Step 1) I painted a coat of thin, not quick drying top coat to the nail shaped section on the ÜberMat and let dry. Once dry, I used Mundo de Uñas Black stamping polish to stamp the flower image from ÜberChic plate 3-01 onto the top coated section of the mat. Do this step for as many decals as you want to make, so you can fill them all in at the same time, color by color.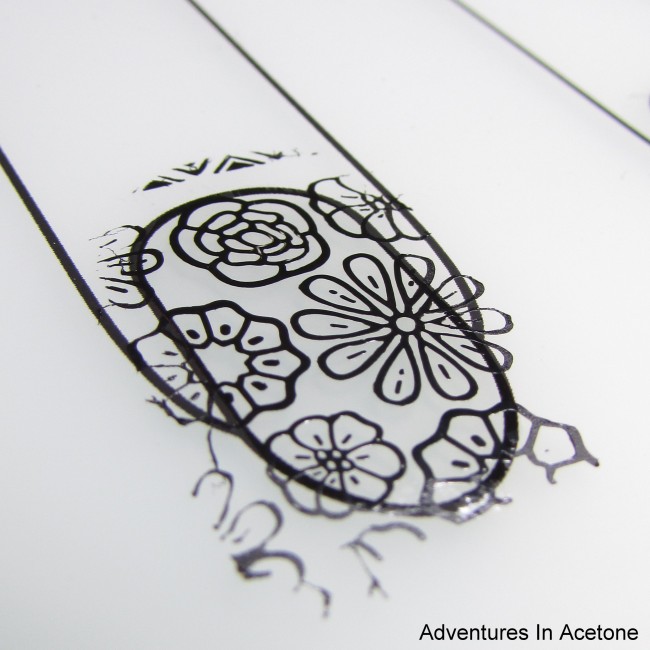
Step 2) I used the ÜberChic Liner Nail Art Brush to fill in some sections of the flowers with Paint Box Polish Fragola. I did the same on all of the other decals before moving on.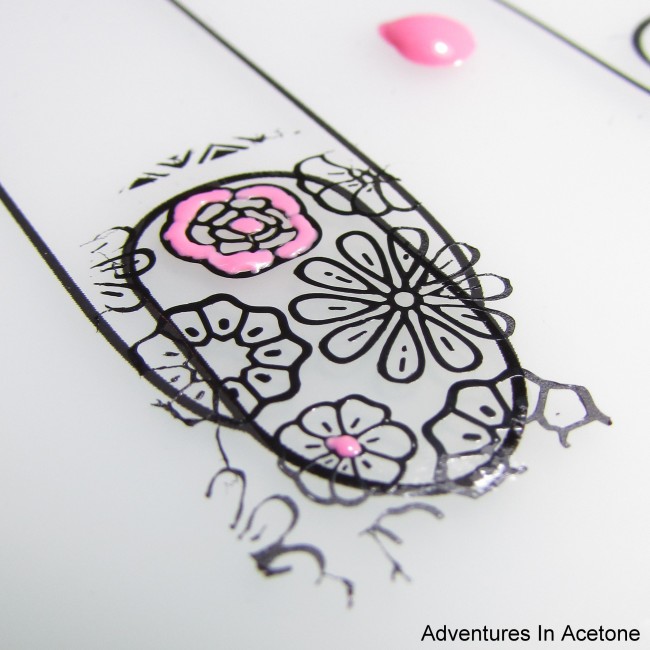
Step 3) Next, I did the same but with Paint Box Polish Melone.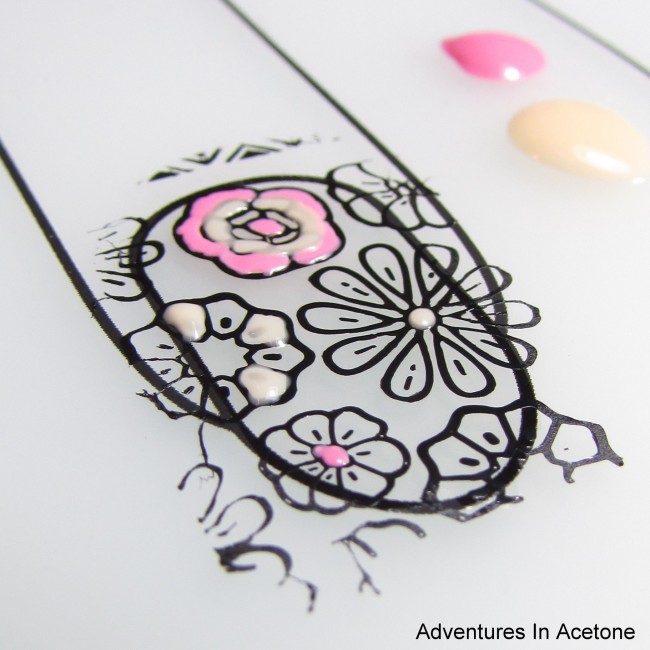
Step 4) Then, I did the same but with Paint Box Polish Ananas.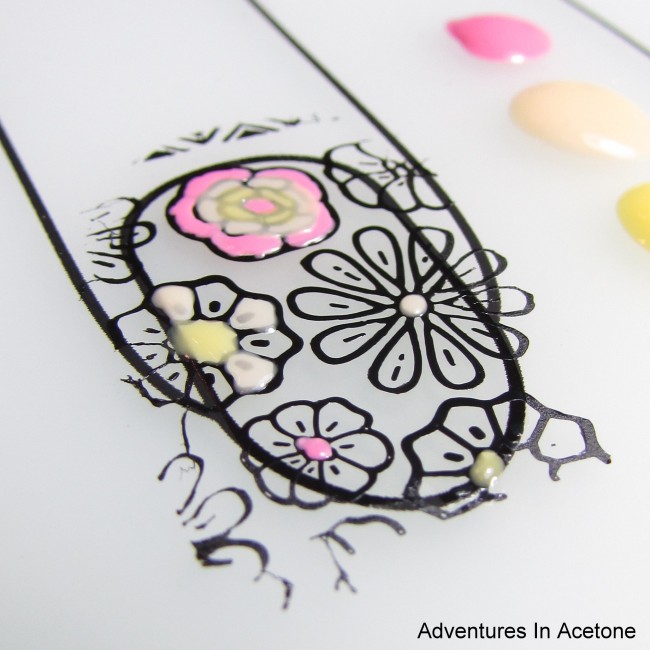
Step 5) Then with Pistacchio. It’s basically like coloring in a coloring book. You can go out of the lines slightly because the colors won’t show through on the black edges.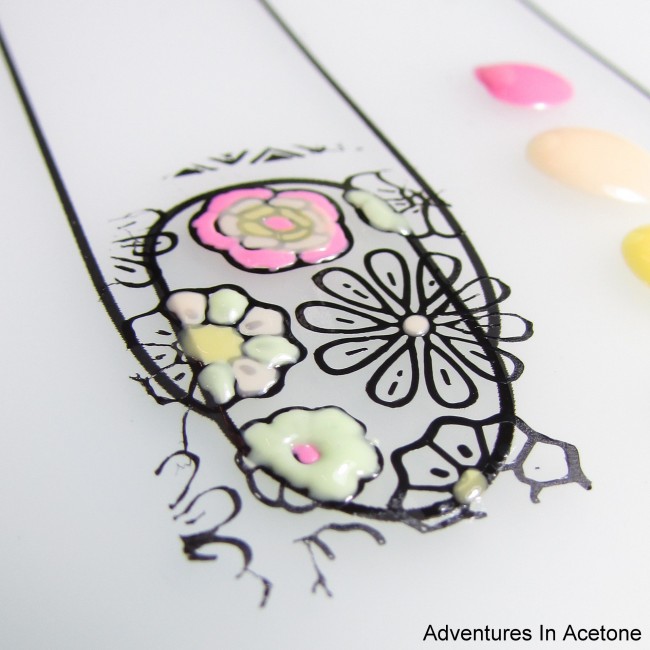
Step 6) I did the same but with Paint Box Polish Puffo.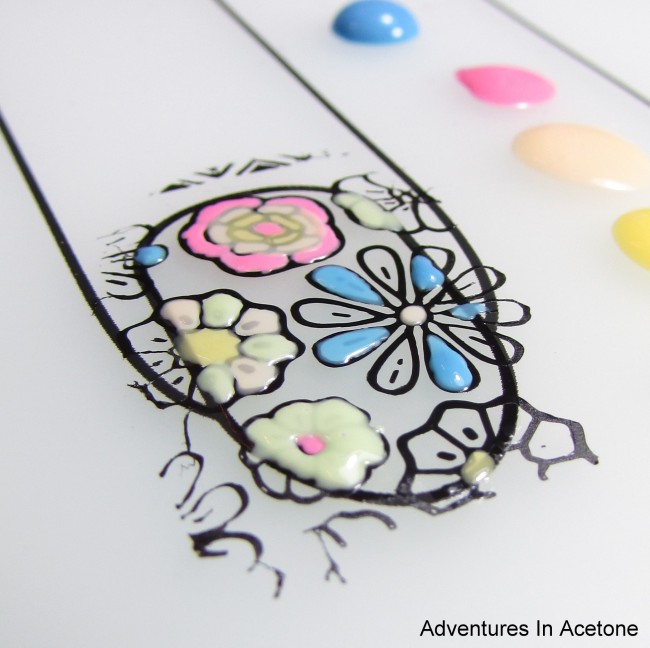
Step 7) Next came Paint Box Polish Frutti di Bosco.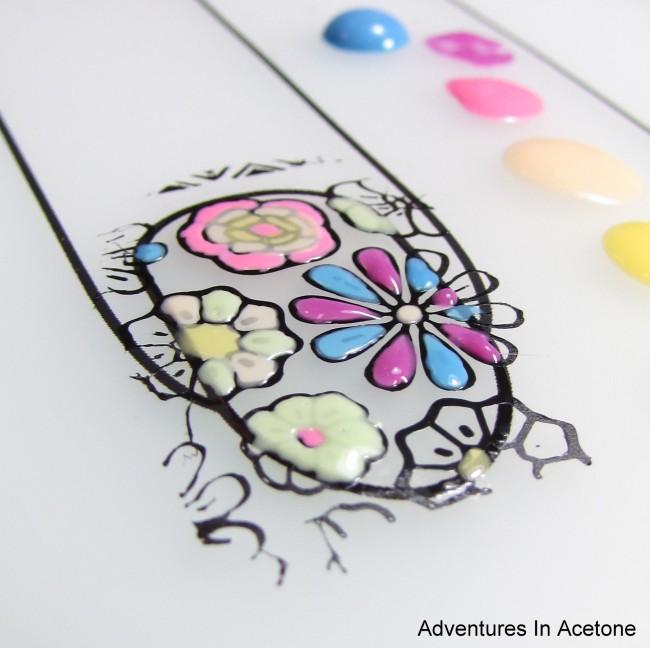
Step 8) Paint Box Polish Bacio was the final color so I filled in any last spaces with it.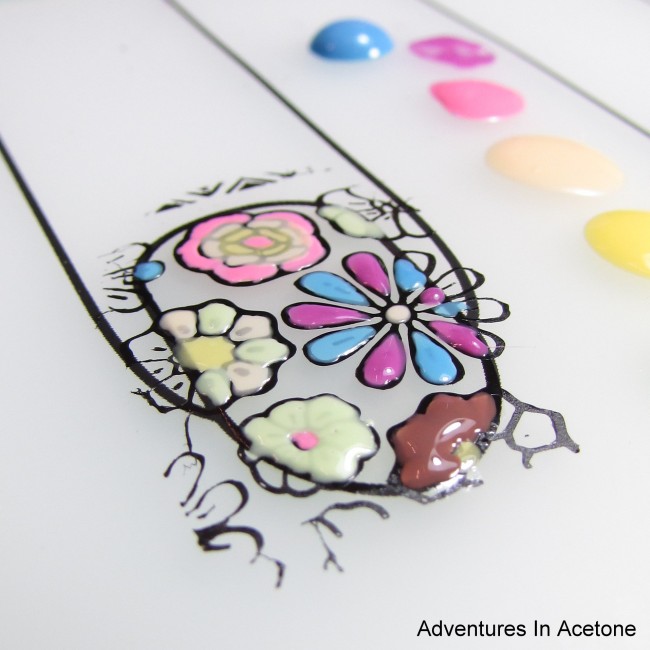
Step 9) Let the decals sit for a while to dry. I think I probably waited around 10-15 minutes and then gently touched the colored in polish spaces to see if any were still wet. Once dry, you can use an orange stick to gently pry the decal off of the mat. The mat is squishy so you can almost dig the orange stick downward and then slide under the decal to avoid damaging the decal.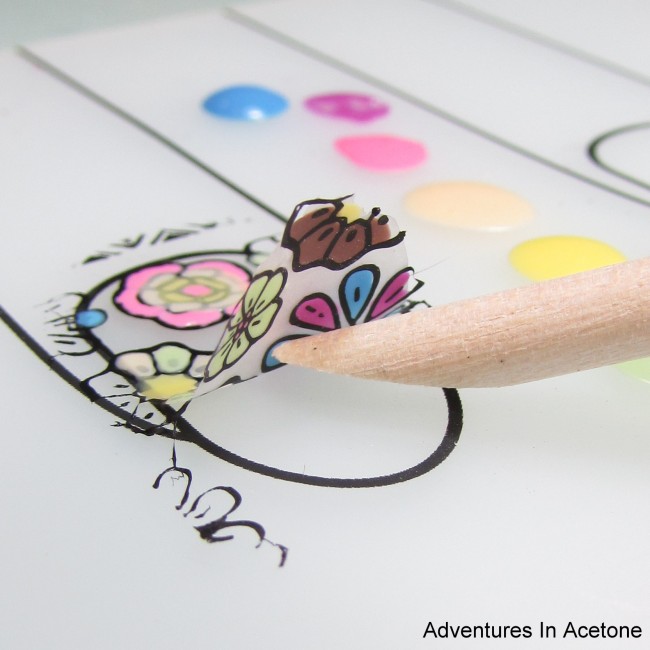
Step 10) Flip over the decal to see your finished work!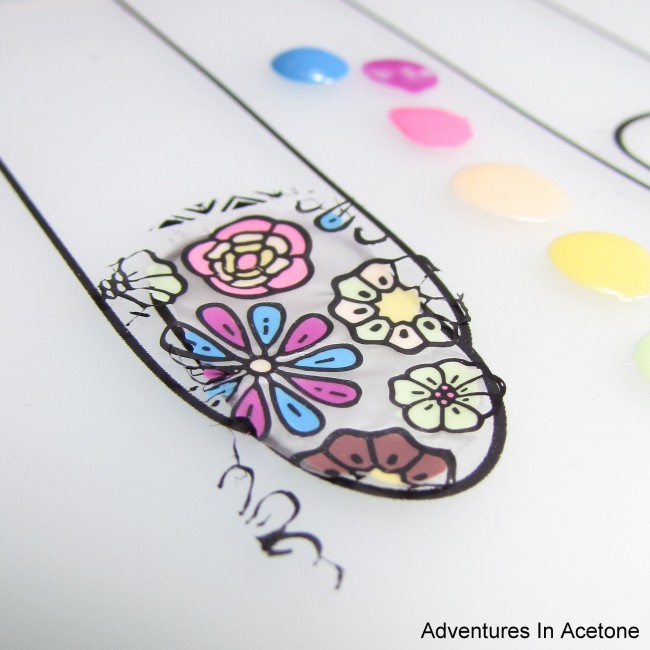 Step 11) While the decals were drying, I painted two coats of Paint Box Polish Stracciatella onto all of my nails. Then, I painted Liquid Palisade around the nails to “grab” the excess decal during the application. Once the nail polish was dry, I added a coat of non-quick try top coat to the nail and carefully applied the decal over the base, pressing it all over onto the tacky top coat and onto the Liquid Palisade.
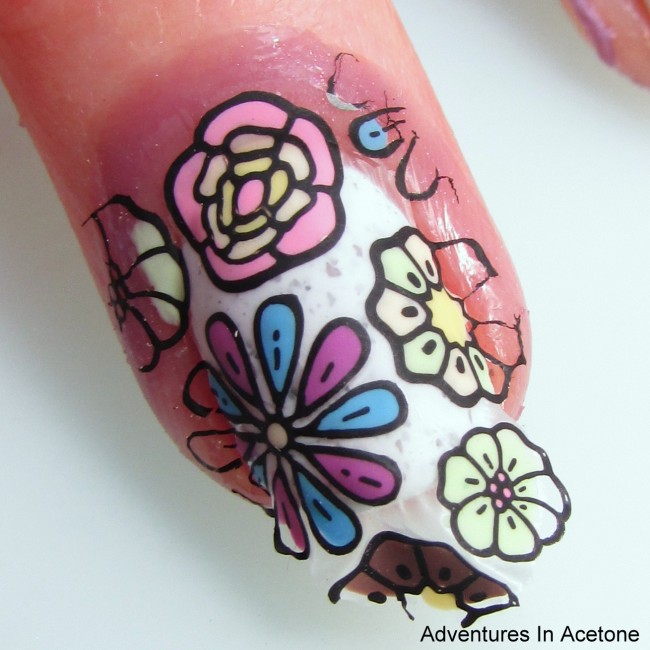
Step 12) I then used a cleanup brush and acetone to wipe the sides of the nail, essentially separating the decal ON the nail from the excess decal stuck to the Liquid Palisade.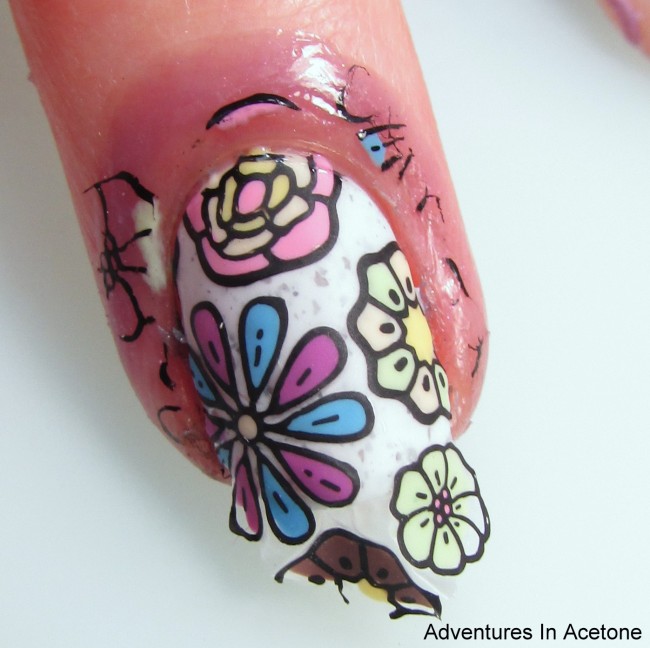
Step 13) Once the excess was separated from the nail in the previous step, I was able to use tweezers and peel away the Liquid Palisade, taking the excess decal with it. After this photo was taken, I used acetone and a cleanup brush to remove the excess from the tip and clean up the edges of the nail. 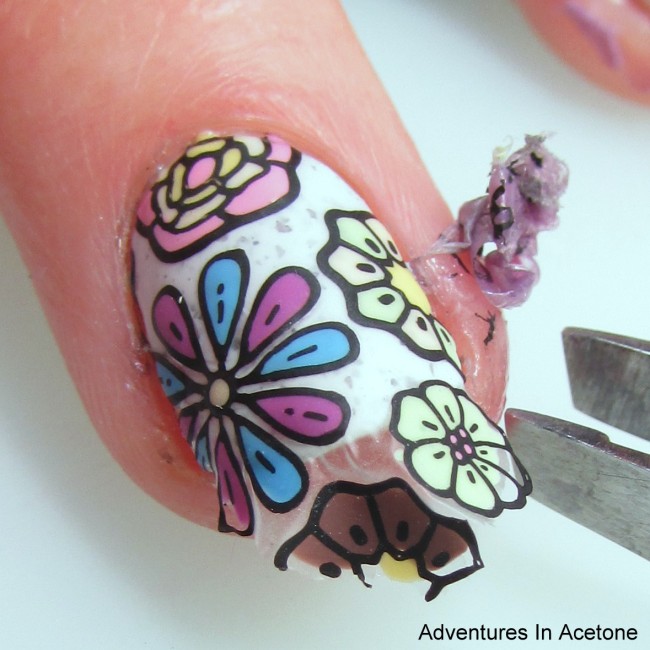
Step 14) Lastly, I topped all nails with a coat of KBShimmer Oh Matte! to seal in the decals but keep the matte finish.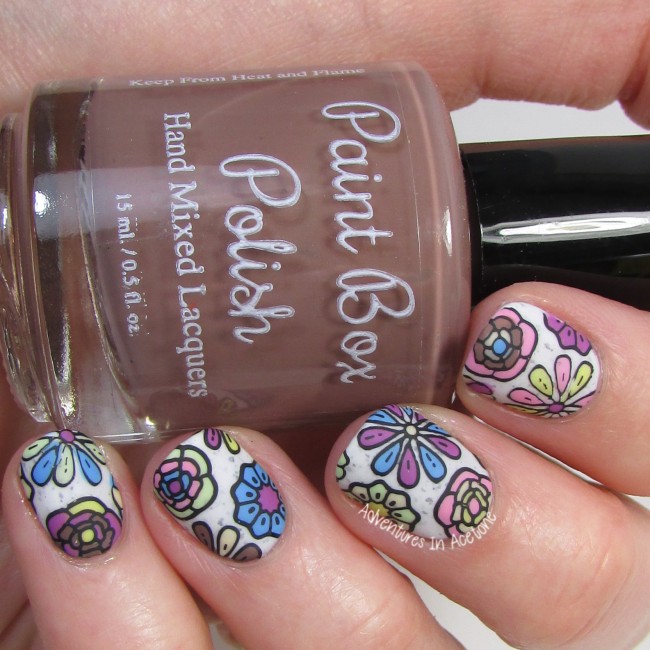
What do you think of the finished look? I am really happy with it!! The Paint Box Polish Ciao, Gelato Collection will launch on Saturday March 19 at noon, so check back for my full swatch post then!
What did the other Digit-al Dozen ladies do for Spring Day 4? Check out below!
 Loading InLinkz ...
*The polishes in this post were sent for me to review with my honest opinion.
If you enjoyed this post, please Sign Up for email updates and you will have the latest news, reviews, nail art, and tutorials delivered right to your inbox! Never miss a post from Adventures In Acetone again. Thank you so much for reading.
– Let’s paint something amazing! –
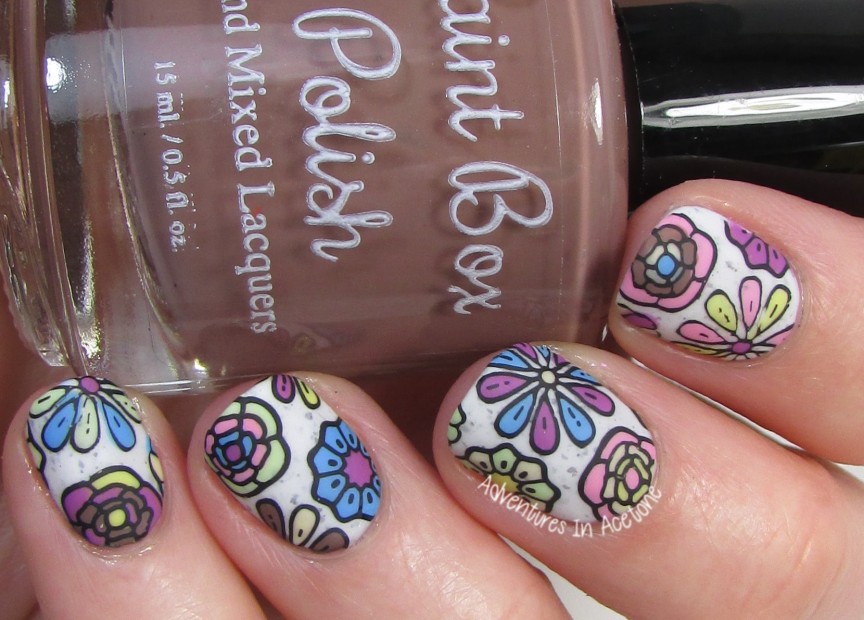

Comments
i love how they turned out!
Wow, I love love love these SO MUCH! The flowers, the colors, the base polish! Everything is wonderful 😀