Happy Halloween readers!! Unfortunately, it’s a gloomy day here and I can’t continue with the Ozotic Mishmash-athon until we get sun. Crossing fingers that will be tomorrow!
So, instead, I have a tutorial for you. Ashley at Ashley Is PolishAddicted requested this design, so here you go!
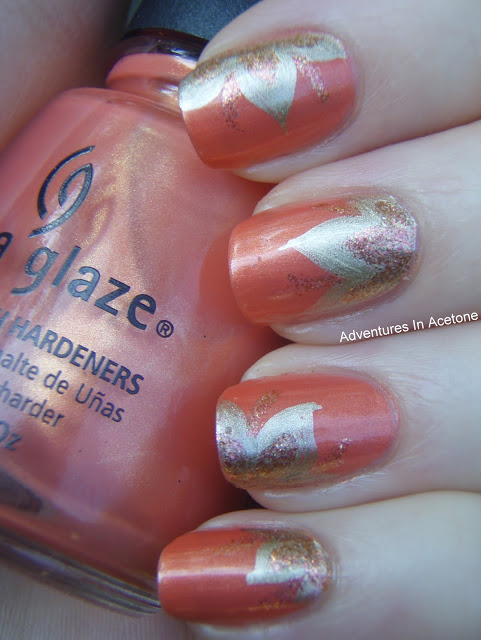
Here is the full mani picture:

Now, onto the tutorial! I decided to show the design for my index finger, but you will get the idea of how to do the other nails as well.
The polishes I used:
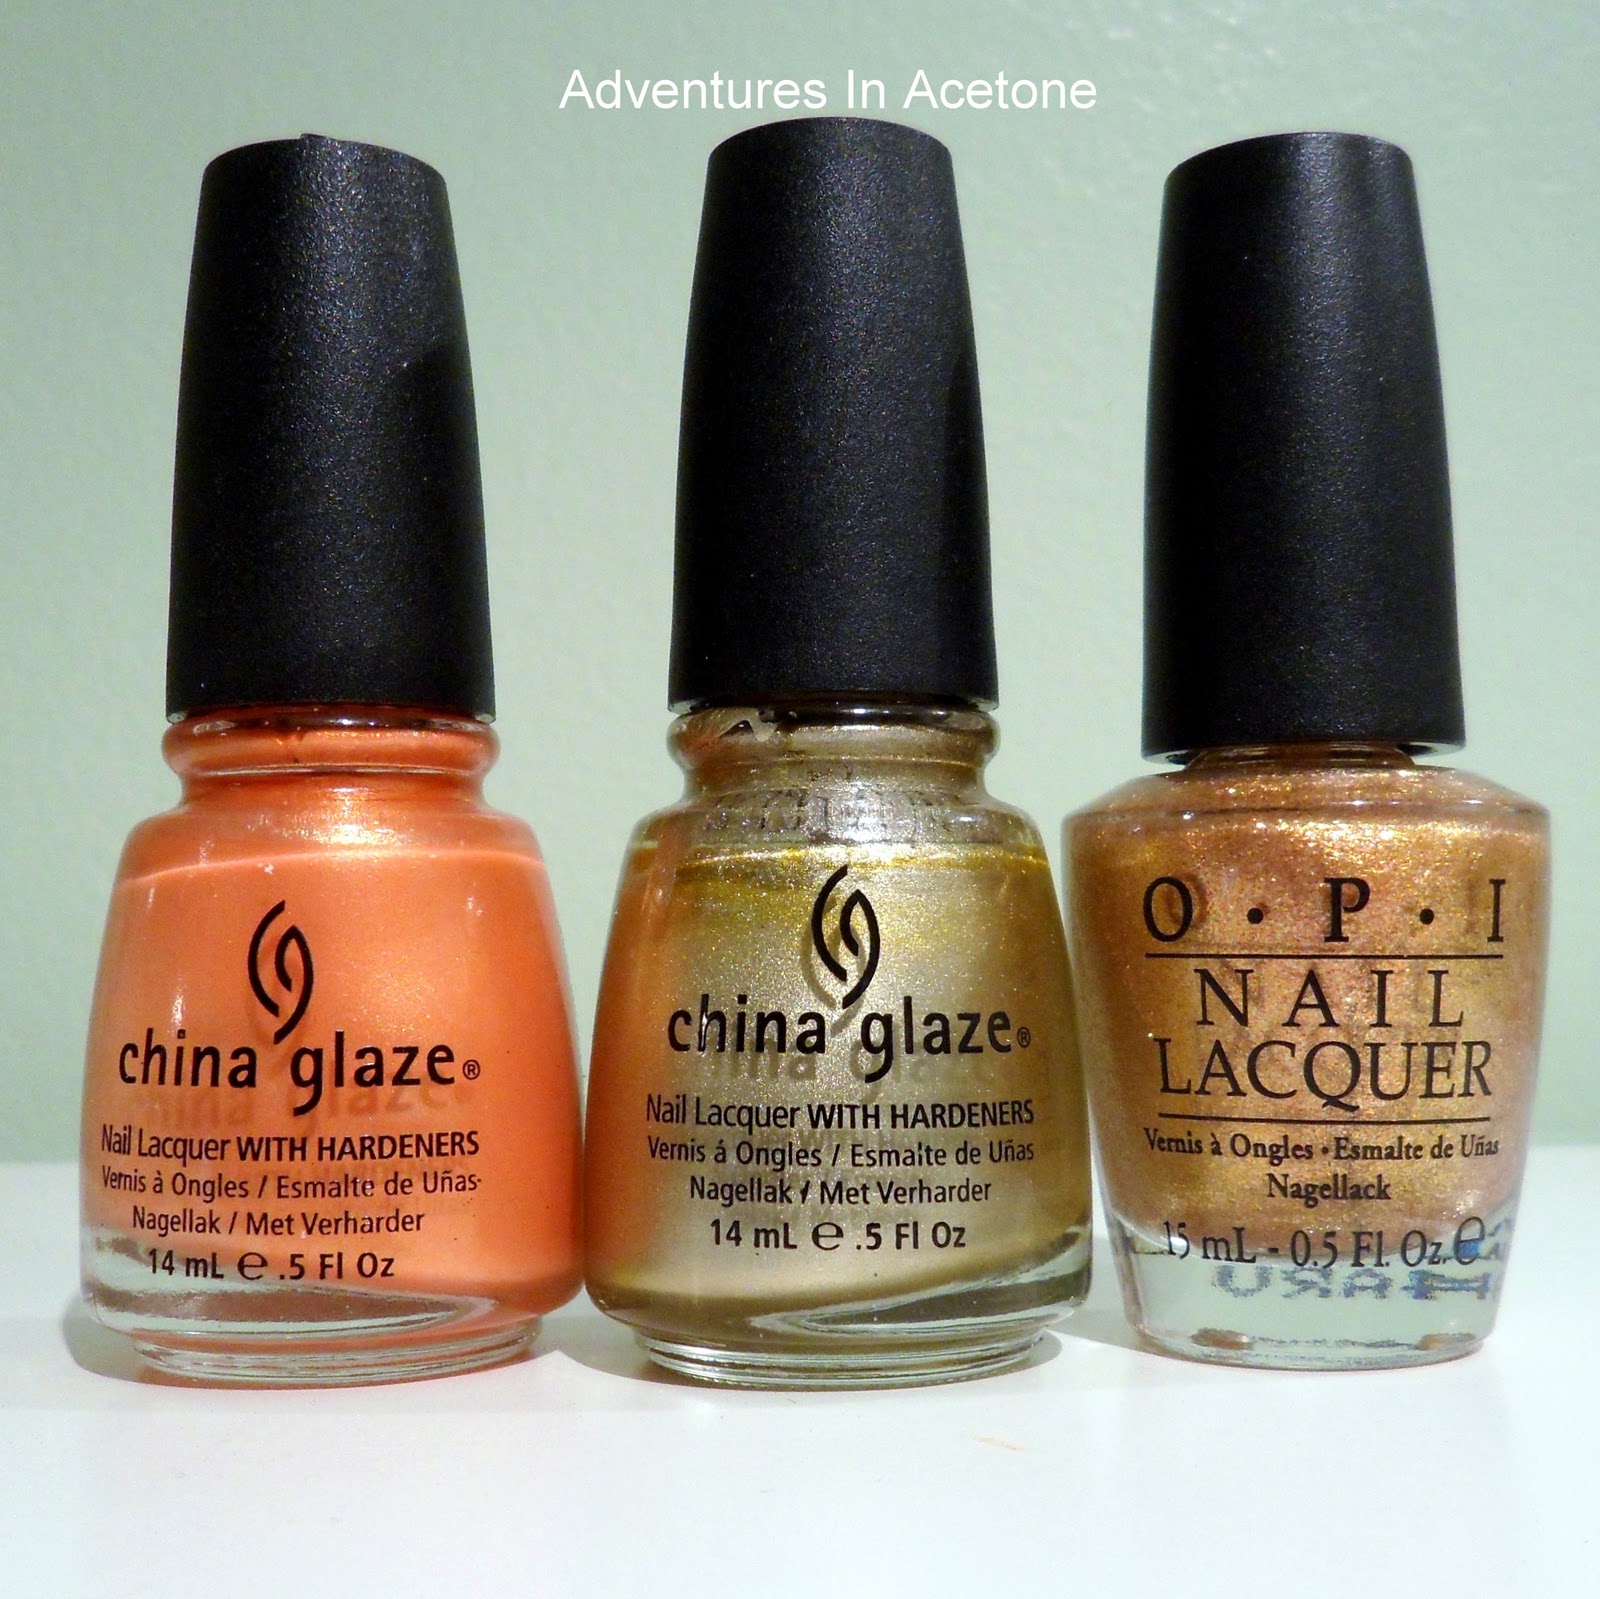
China Glaze Thataway, China Glaze Passion, and OPI Proz & Bronze.
The only tool used:
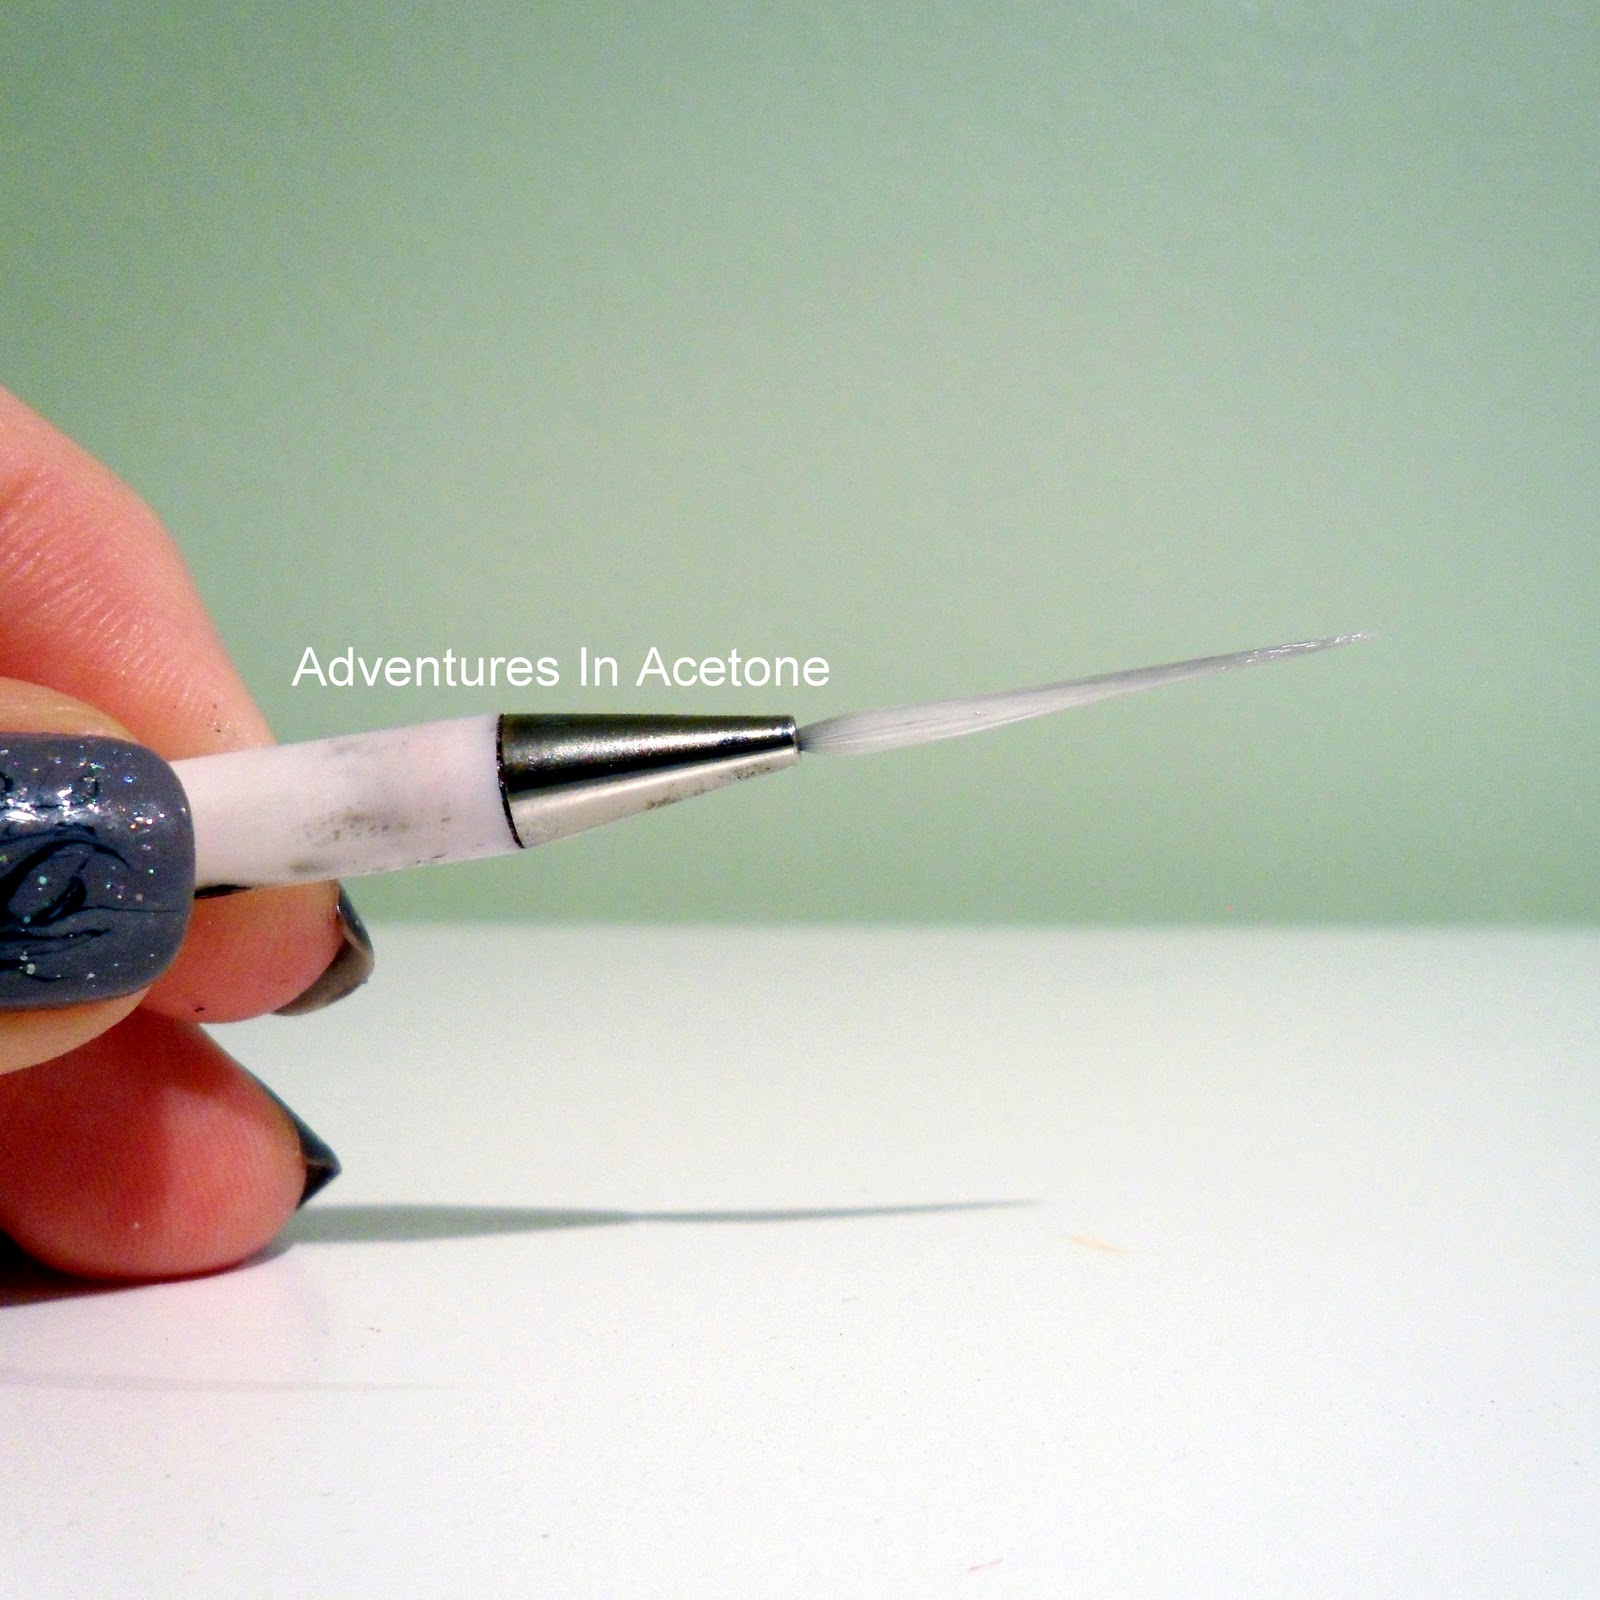
A striper brush.
Step 1) Paint your nails with you base color. I used China Glaze Thataway.

Step 2) Using your gold polish(China Glaze Passion) and your striper brush, draw simple flower petals coming from off of the nail.
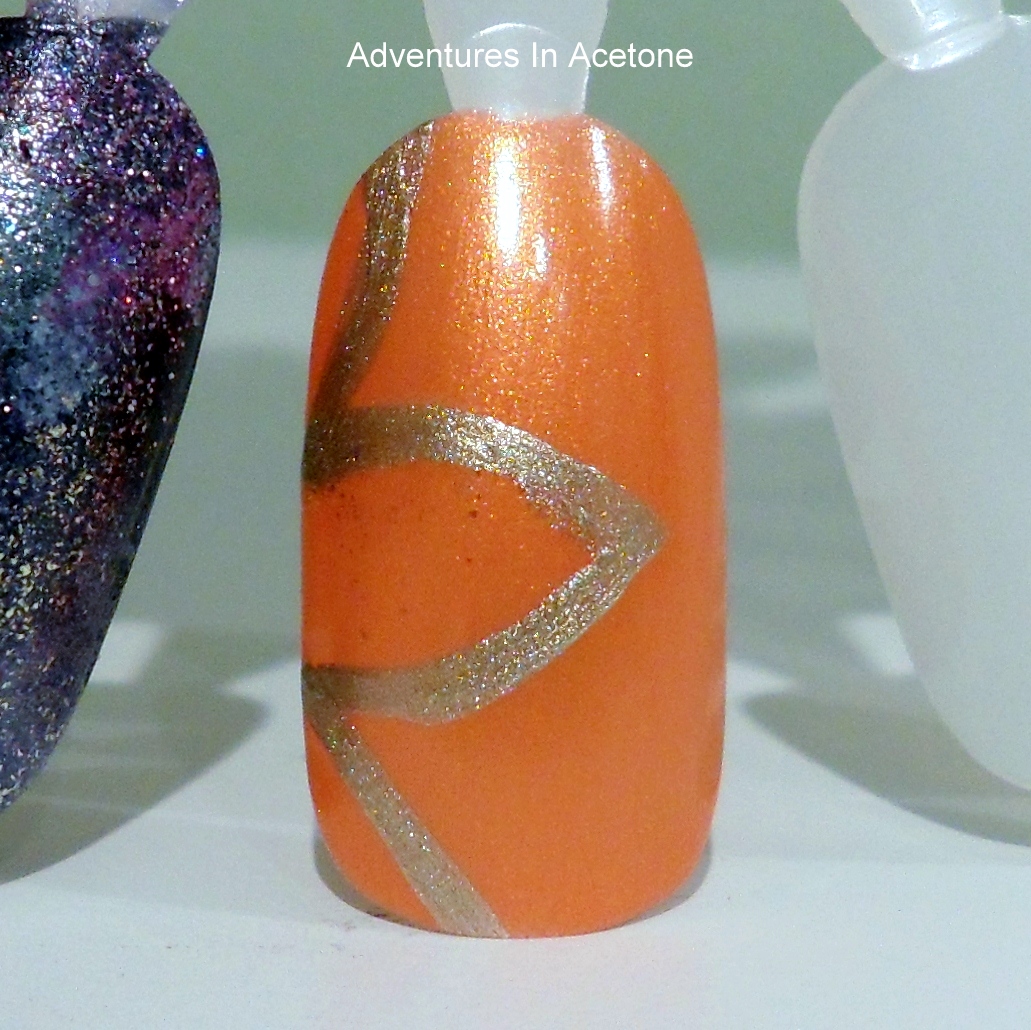
Step 3) Using the same gold polish and striper, fill in the petals.

Step 4) Using your glitter(OPI Proz & Bronze) and striper brush, paint over a smaller petal shape in the center of the gold petals. I had to do 2 coats because the glitter wasn’t dense enough.

Step 5) Using your striper and same glitter polish, do curving lines from between the petals.

Don’t forget top coat!
What do you think? You could do this with any color combinations and they are simple, easy flower nails! Please request more tutorials! Thanks for reading!
If you enjoyed this post, please Sign Up for email updates and you will have the latest news, reviews, nail art, and tutorials delivered right to your inbox! Never miss a post from Adventures In Acetone again. Thank you so much for reading.
– Let’s paint something amazing! –

Comments
Thanks so much for the tutorial!! I can't wait to try it…although I'm sure mine won't turn out as well as yours!
Thanks for this tutorial Jacki! I HAVE to try this soon 🙂
Thanks, it looks great. 🙂
Great tutorial!
This looks great! I will have to try this out sometime!
That's awesome! Thanks for the great tutorial.
OMG! That flower is awesome!